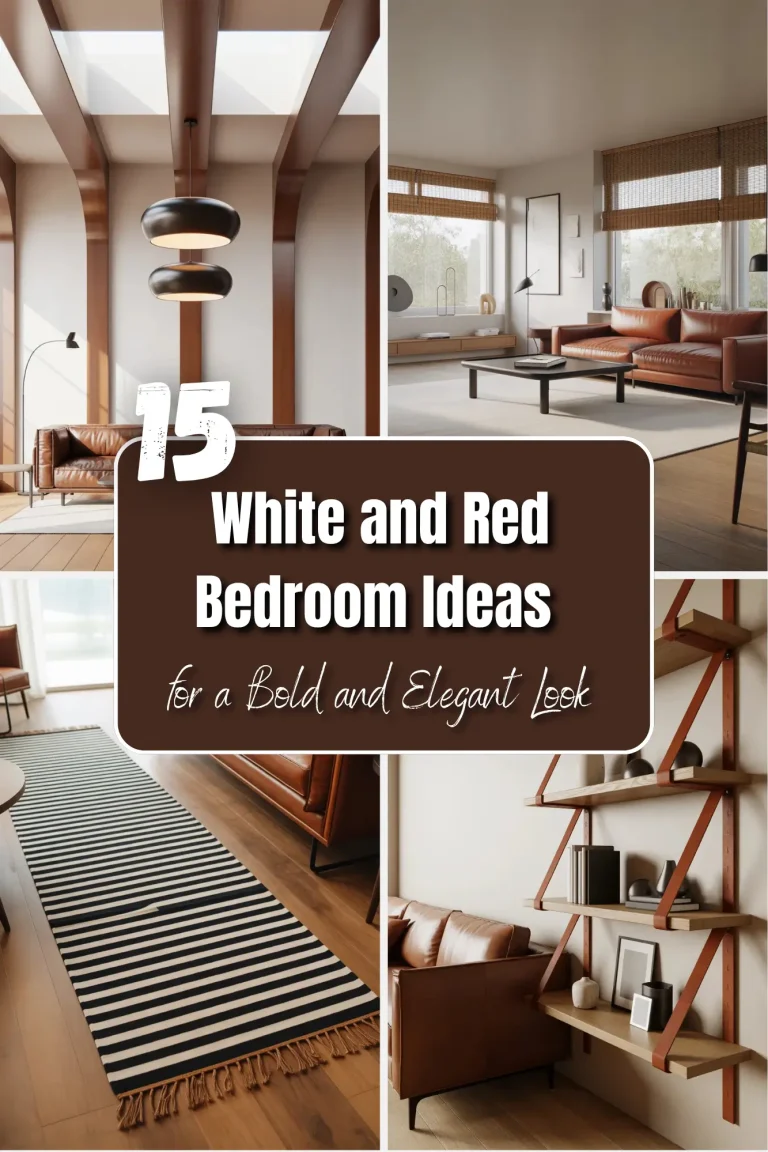
15 Creative Bedroom DIY Shelves Ideas
Your bedroom walls are lonely. They just sit there holding nothing but paint. That’s a waste of good space.
Introduction
You don’t need a huge closet or a fancy dresser to keep your bedroom tidy. What you need is shelves. But not the boring gray slabs from a box store. I’m talking about shelves you build yourself. Shelves that fit your style, your stuff, and your tiny budget.
I’ve put together 15 clever ways to add storage without making your room feel cramped. Each idea uses simple tools. Most cost less than a pizza dinner. And you don’t need to be a carpenter. A kid in 7th grade could build half of these with a little help.
The best part? These shelves do more than hold things. They become part of your room’s personality. You can paint them. You can rough them up for a farmhouse look. You can hang them sideways or upside down. Let’s get started.
1. The Invisible Book Ledge

You know those long floating shelves that make books look like they’re hovering? You can build one in an afternoon.
Find a straight piece of wood. Any lumber yard will cut it to your size. Sand the front edge until it’s smooth like a river rock. Then attach a thin strip of wood along the bottom front. That little lip keeps your books from sliding off.
Paint it the same color as your wall. When you screw it into the studs, the shelf seems to disappear. Only your books remain, floating like magic.
I use this above my bed. It holds my five favorite novels. No headboard needed.
2. Crate Shelves Stacked Wild

Those wooden fruit crates from the craft store aren’t just for picnics. Flip them open side out. Stack two on the floor. Stagger a third on top sideways. Screw them together from the inside so nobody sees the screws.
You get little cubbies that hold shoes, rolled t-shirts, or even a small lamp. The rough wood looks good in a guy’s room or a farmhouse bedroom. If you want it softer, sand it down and rub in some beeswax.
I helped my nephew build six of these for his video game stuff. He painted each crate a different shade of blue. Now his room looks like a cool art studio.
3. Leather Strap Swing Shelves
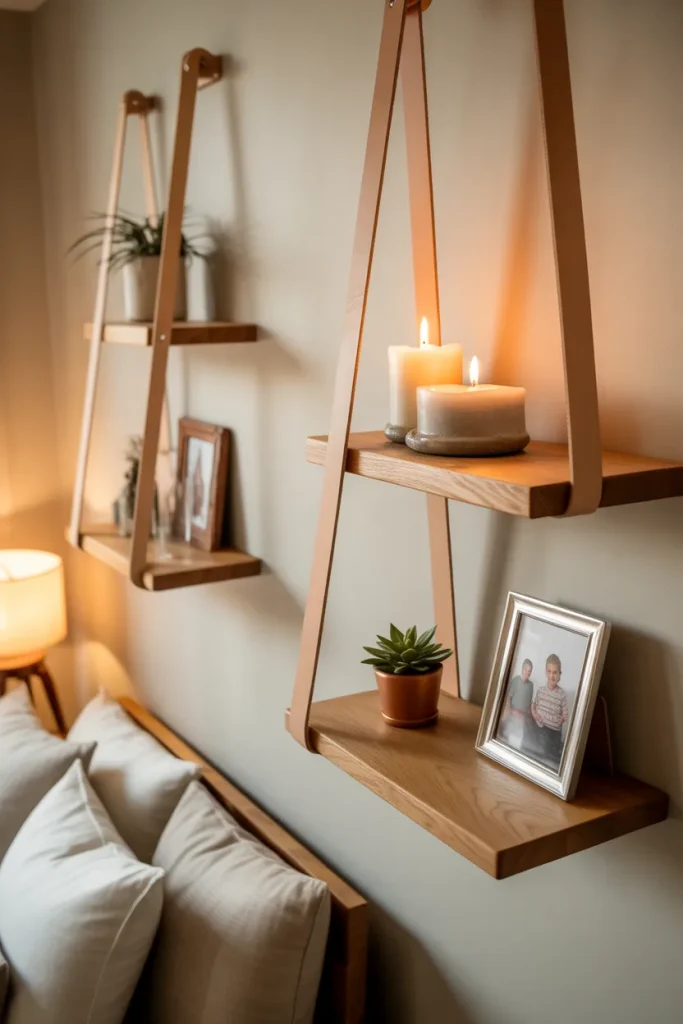
This one sounds fancy but it’s stupid simple. Cut two pieces of leather belt. Any thrift store has old belts for a dollar. Fold each belt in half. Screw the folded ends into your wall. Now slide a flat piece of wood through both belt loops.
The wood hangs there like a swing. You can put a tiny plant, your phone, or a candle on it. Make three of these at different heights. They swing a little when you touch them, which looks playful and loose.
Don’t put heavy books here. The leather will stretch. Stick to light things like a single picture frame or a small clock.
4. Corner Ladder Shelves

Corners are the forgotten wastelands of any bedroom. Fix that with a wooden ladder.
Take an old step ladder or build a simple A-frame from two by twos. Saw off the top rung so it fits snug into the corner. Let the legs spread out against both walls. Now each rung becomes a shelf.
You can lean this against the wall without screwing anything in. That’s perfect for renters. Put your alarm clock on the second rung. Hang a scarf on the third. Your corner now works twice as hard.
5. Upside Down Drawer Shelves
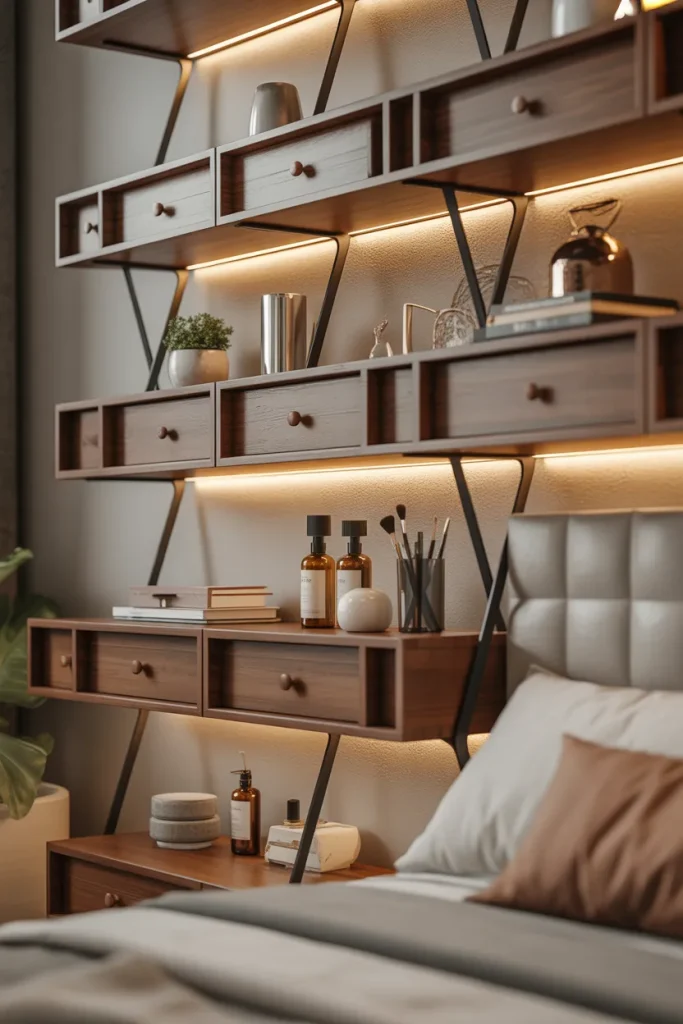
Got an old dresser someone threw away? Pull out the drawers. Take each drawer and flip it upside down. Now the drawer’s bottom faces up. That bottom becomes a flat shelf surface. The drawer’s front hangs down like a little apron.
Screw these upside down drawers right onto your wall. Space them out like stair steps. The open space underneath each drawer hides power strips or cord clutter.
I did this in my daughter’s room. She stores her hairbrushes and lotions on top. The hanging drawer front hides the messy cords from her phone charger. Two problems solved with trash wood.
6. Rope and Plank Hanging Shelf
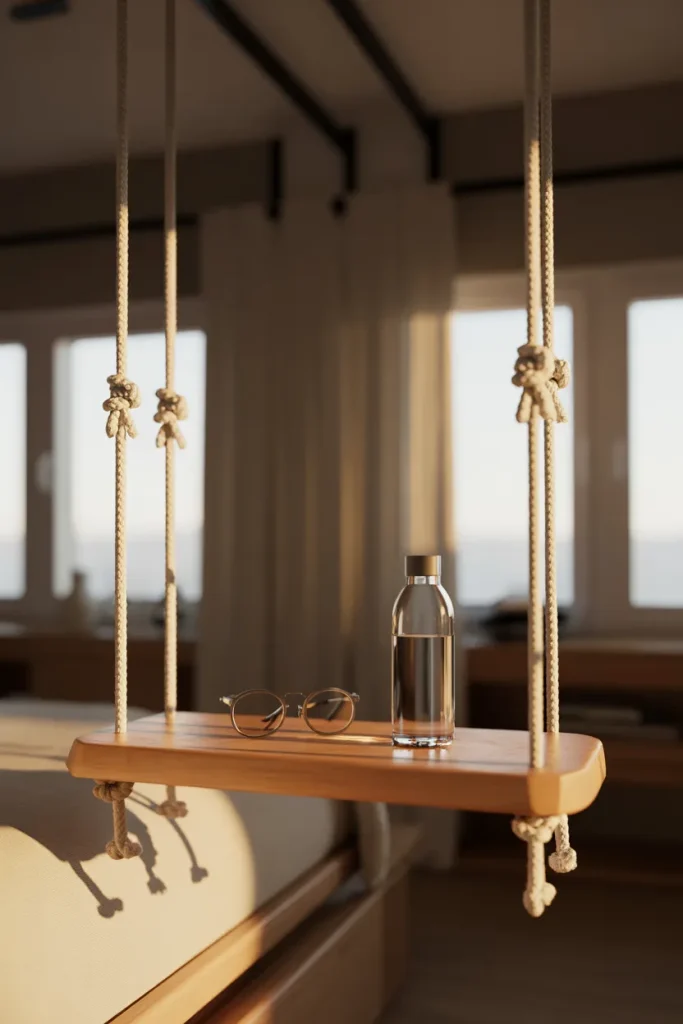
You need two pieces of rope and one wooden plank. Drill two holes near the ends of the plank. Thread rope up through each hole. Tie a big knot under the plank so it can’t slip back. Then hang the whole thing from two ceiling hooks.
The shelf hangs in mid air. It’s great for a corner where you can’t reach the wall. Put your bedtime water bottle and your reading glasses there. The gentle sway feels like a boat.
Use thick cotton rope for a soft look. Use manila rope for a pirate ship feel. Just make sure your ceiling hooks screw into a beam, not just drywall.
7. Pipe and Board Industrial Shelf
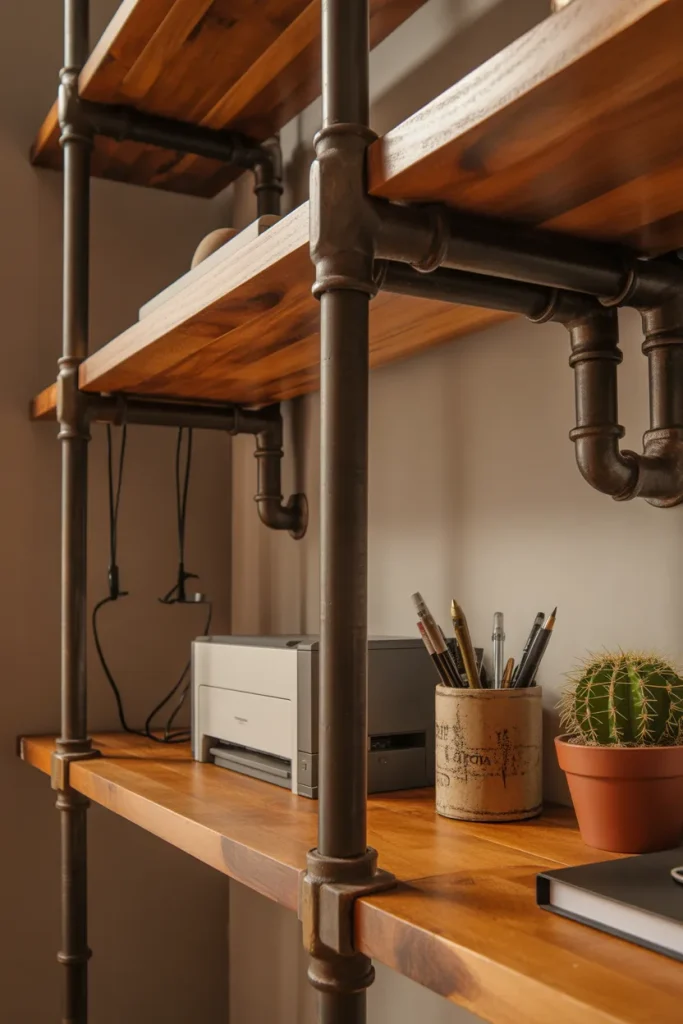
Head to the hardware store’s plumbing aisle. Grab three pieces of black iron pipe. Get two floor flanges and two elbows. Screw the flanges to your wall. Connect the pipes so they stick out like short arms. Lay a thick wooden board across the arms.
This shelf could hold an anvil. Black pipe is that strong. It looks like something from a factory. The dark metal and warm wood together look expensive but cost about twenty bucks.
I use two of these over my desk. One holds my printer. The other holds a jar of pens and a small cactus. The pipes let me hang extra cords from little magnetic hooks.
8. Record Album Display Shelf

If you love music, this one sings. Cut a long thin board. Screw a small wooden lip across the front. Now slide your favorite record albums onto the shelf so the covers face outward. Each album becomes both art and storage.
You don’t need vinyl records. Use the same shelf for picture books, magazines, or your kid’s artwork. The lip keeps everything from sliding off when you close the door too hard.
Paint the shelf black to make album covers pop. Paint it white to look like a gallery wall.
9. Pallet Wood Scrap Shelves
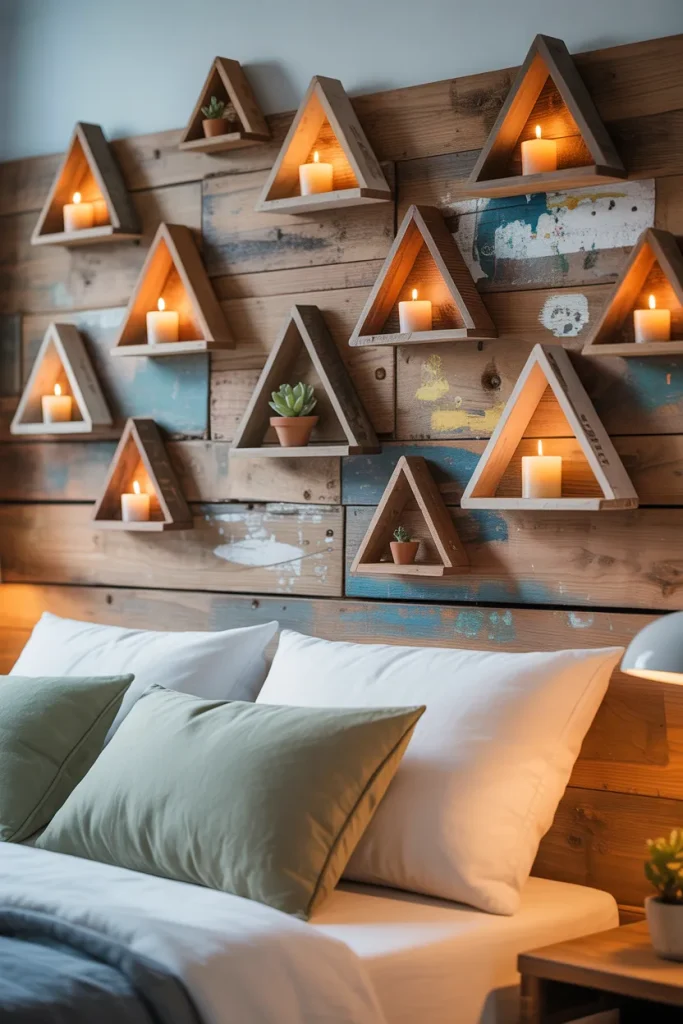
Pallets are everywhere. Behind grocery stores. Next to dumpsters. Break one apart carefully. Don’t hurt yourself on the nails. You’ll get ten or twelve rough boards full of character.
Don’t sand them smooth. Leave the dents and paint splatters. Cut the boards into short lengths, maybe twelve inches each. Stack three of them in a triangle shape on your wall. Screw them together.
Now you have a tiny pyramid shelf. It holds one candle or one small succulent. Make a whole colony of these pyramids scattered across your wall like a village. Each one costs zero dollars.
10. Window Sill Extension Shelf
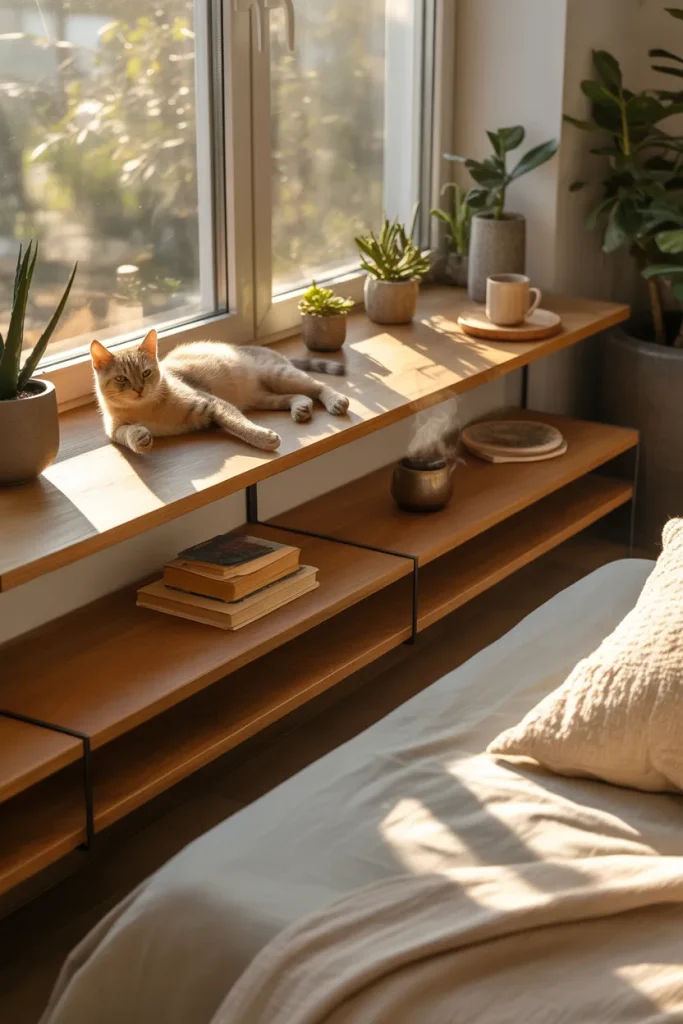
Your window already has a sill. That sill is a shelf waiting to grow. Cut a wider board to match the sill’s length. Attach it on top of the existing sill using small L-brackets underneath.
Now your window shelf sticks out twice as far. You can put a real plant there. Or a stack of books. Or a cup of tea without fear of knocking it into the street.
I added a twelve inch extension to my bedroom window. Now my cat sleeps there every afternoon. The brackets hide under the overhang so you can’t see them from the room.
11. Skateboard Deck Shelves
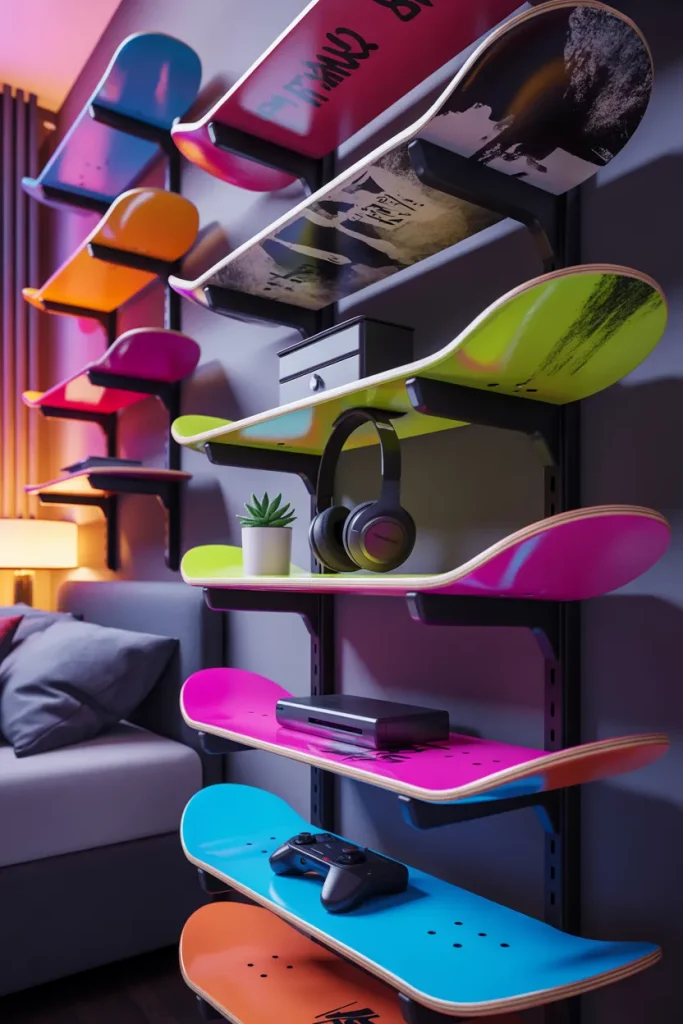
Got broken skateboards? Or find cheap used decks at a thrift store. Remove the trucks and wheels. Hang the deck on your wall with the nose pointing up. The curved ends create natural lips that hold small items.
You can stack two decks vertically. Put one right side up and another right side up a foot below it. Now you have a two tier shelf made of skateboards.
Spray paint them neon colors. Or leave the old grip tape for texture. These work best in a teen bedroom or a game room. They say “I skate” without using words.
12. Tension Rod Corner Shelves

No tools. No screws. No drill. You need three tension rods like the ones for shower curtains. Put each rod in a corner at a different height. Stretch them tight between the two walls. Now lay a small square of wood or thick cardboard across each rod.
That’s it. You have three floating corner shelves. They won’t hold much weight. But they’re perfect for tiny stuffed animals, lip balm, or your morning vitamins.
When you move out, just pop the rods down. No holes to patch. No landlord angry.
13. Guitar Case Shadow Box

An old guitar case has hinges and a latch. Open it flat. Remove the fuzzy lining. Screw the back half of the case onto your wall like a picture frame. The front half becomes a lid you can close.
Inside the case, install small hooks. Hang necklaces, hats, or keys. When you close the lid, everything hides. When you open it, you have a hanging shelf with a door.
I found a broken violin case at a garage sale for two dollars. Now it holds my watch collection. People ask about it every time they visit.
14. Branch and Twig Natural Shelf
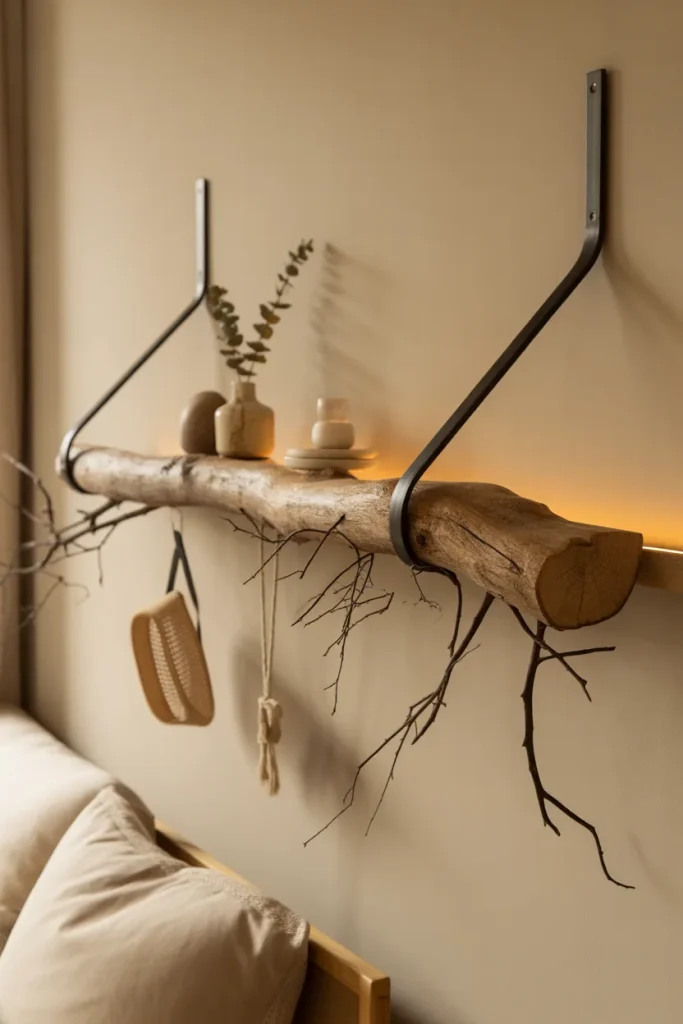
Find a fallen branch outside. Not a huge log. Something wrist thick with a few small branches still attached. Let it dry for a week. Screw the main branch to your wall using pipe straps (those metal loops that wrap around pipes).
The small twigs that stick out become hooks and shelves. You can hang a mask on one twig. Balance a tiny vase on another. The whole thing looks like a tree grew through your wall.
Keep it bare wood or paint it white. Either way, nobody else has this shelf. It’s one of a kind because no two branches are the same.
15. Magazine File Wall Cubby

Those cardboard magazine holders from office stores are ugly. But they’re the perfect shape. Turn them sideways so the open end faces you. Cover them with pretty contact paper or leftover wallpaper. Then screw each holder onto your wall through the back cardboard.
Now each holder is a little cubby. Rolled socks fit perfectly inside. So do belts, small purses, or tablet chargers. Line up five of them in a row. You just built a whole wall of storage for ten dollars.
The best part? When you get tired of the pattern, peel off the contact paper and try a new one. No damage to your wall.
Conclusion
You don’t need a workshop or a fat wallet to fix your bedroom clutter. Every single idea above costs less than a video game. Most take one afternoon. A few take just thirty minutes.
Start small. Pick the idea that matches your skill level and your tools. If you own a drill and a saw, build the pipe shelf. If you own nothing, build the tension rod corner shelves. The goal is not perfection. The goal is a shelf that holds your stuff and makes you smile.
Once you finish one shelf, you’ll want to build another. That’s the trap. Soon your whole bedroom will have smart storage everywhere. Your floor will stay clean. Your dresser tops won’t look like disaster zones. And every time someone asks where you bought your shelves, you get to say “I built them.”
That feeling never gets old.
Now go find some wood. Your walls are waiting.