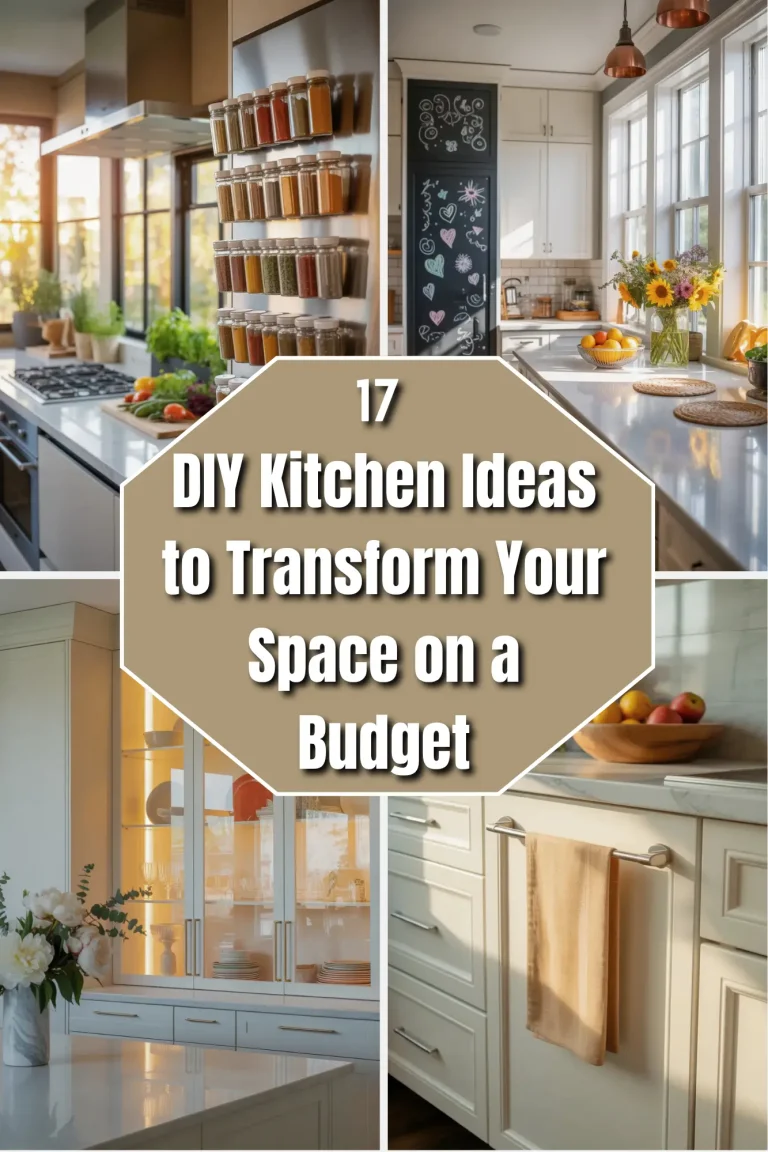
15 Kitchen Remodel Ideas That Won’t Break Your Bank

You walk into your kitchen every morning. Same old faded cabinets. Same scratchy counter. Same light that feels like a doctor’s office. You want to change it. But the word “remodel” sounds like a second mortgage.
Stop right there.
A kitchen remodel does not need a sledgehammer or a loan. I have seen people spend forty thousand dollars on new everything. And I have seen people spend four hundred dollars on smart little fixes. Guess which kitchen felt more loved? The cheap one. Every time.
Below are fifteen kitchen remodel ideas. None of them require a construction crew. Most take one weekend. All of them will make you smile when you pour your morning coffee.
Let’s get to work.
1. Paint Your Cabinets Instead of Replacing Them

New cabinets cost thousands. Paint costs fifty bucks. That is not a typo. Take the doors off your old wood or laminate cabinets. Clean every surface with soap and water. Sand lightly with fine paper. Then use a bonding primer made for slick surfaces.
Choose a satin or semi-gloss paint in a light color. White, pale gray, or soft green open up a small kitchen. Dark colors hide grease but show dust. Use a foam roller for flat areas and a small brush for corners. No brush strokes. No mess.
Let everything dry for two full days before hanging doors back. You just saved eight thousand dollars. Your kitchen looks brand new. Your neighbors will ask who you hired.
2. Swap Outdated Cabinet Hardware
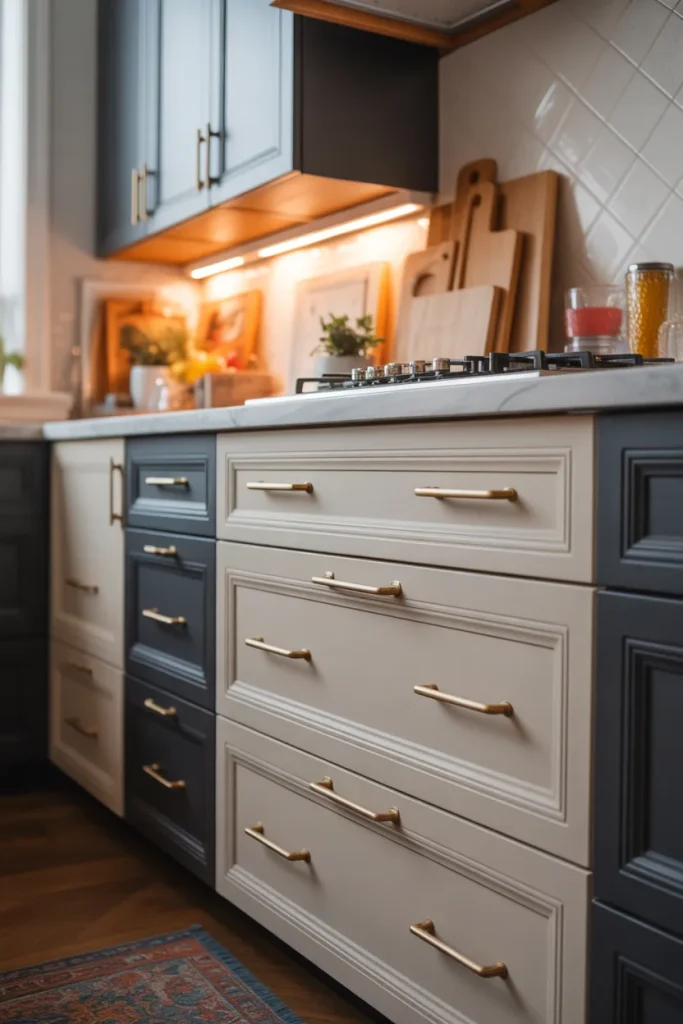
Tiny brass pulls from 1989 scream old. But changing them takes a screwdriver and twenty minutes. Walk into any hardware store. Feel the different handles. Modern matte black, brushed nickel, or oil-rubbed bronze change the whole feel.
Pick handles that match your cabinet style. Round knobs work on shaker doors. Long bar pulls look great on flat panels. Buy one sample first. Hold it against your cabinet. If you like it, buy the rest. You will spend maybe eighty dollars. The difference looks like a thousand.
Pro tip: use a cardboard template to drill new holes if the old ones do not line up. Cover old holes with wooden plugs or the new handle’s base plate.
3. Add Under-Cabinet Lighting
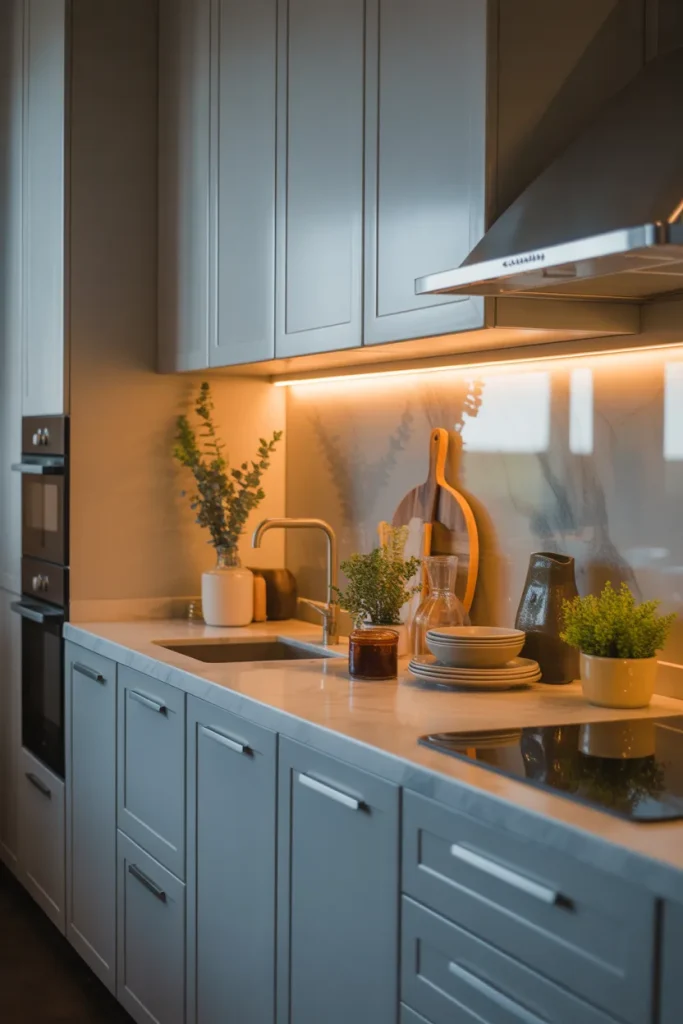
Most kitchens have one ceiling light. That means you cook in your own shadow. Under-cabinet lights fix this for almost no work. Buy stick-on LED light bars from any home store. They run on batteries or plug into an outlet.
Peel the backing. Stick the bar under your upper cabinets. Aim the light toward your counter. Now you see every chop, every spill, every recipe. The warm glow also makes your counters look expensive. You get more light and more fancy feel for under forty dollars.
For a permanent solution, hire an electrician to install hardwired LED strips. But the stick-on kind work great for renters or quick remodels.
4. Replace Your Backsplash With Peel-and-Stick

Real tile backsplash costs money and mess. You need cement, grout, spacers, and a wet saw. Peel-and-stick tiles skip all that. They look like real ceramic, glass, or stone. But they have adhesive on the back.
Clean your wall. Peel the liner. Press the tile on. That is it. Cut pieces with scissors or a utility knife. Start at the bottom center of your backsplash area. Work outward and upward. Use a level every three tiles.
The best part? You can remove them later without destroying the drywall. Cost runs one to five dollars per square foot. A whole kitchen backsplash costs under two hundred dollars. It takes four hours.
5. Paint Your Countertops (Yes, Really)
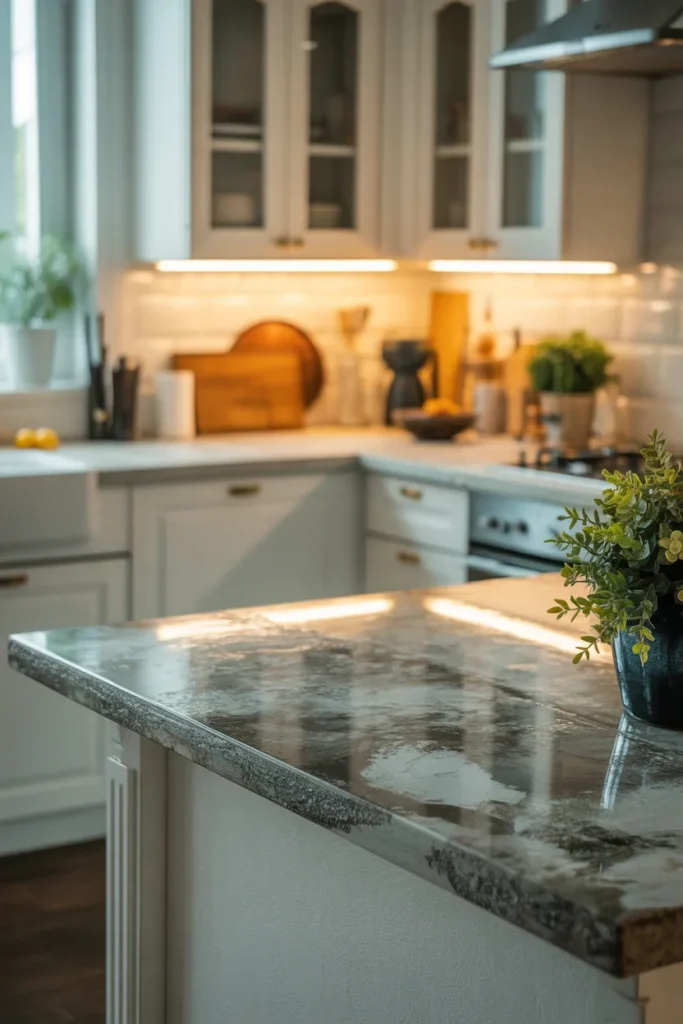
Laminate counters from the 1990s look sad. But replacing them with granite costs two grand. There is a middle option. Countertop paint kits exist. Brands like Giani and Rust-Oleum sell boxes with everything you need.
You clean the counter. You roll on a base coat. You dab on metallic chips for a stone look. You seal it with a clear top coat. The whole process takes a weekend.
The finish looks like honed granite. It feels smooth. It resists heat and stains if you seal it right. Will it last twenty years? No. But it will last three to five years for one-tenth the price of real stone. Perfect for a quick remodel before a future full redo.
6. Install a Stick-On Coffee or Wine Bar

Empty wall space is wasted money. Turn a small corner into a coffee station or wine bar. Buy a stick-on floating shelf or two. Mount them at waist height. Put your coffee maker, mugs, and syrup bottles there. Add a small rack for wine glasses underneath.
Use peel-and-stick wallpaper behind the station to make it pop. This gives your kitchen a whole new zone without moving a single pipe or wire. It costs under one hundred dollars. It takes one hour. And it feels like a fancy hotel.
For wine, add a small countertop fridge if you have room. But even without it, a simple shelf with two nice bottles looks intentional.
7. Change Your Sink Faucet
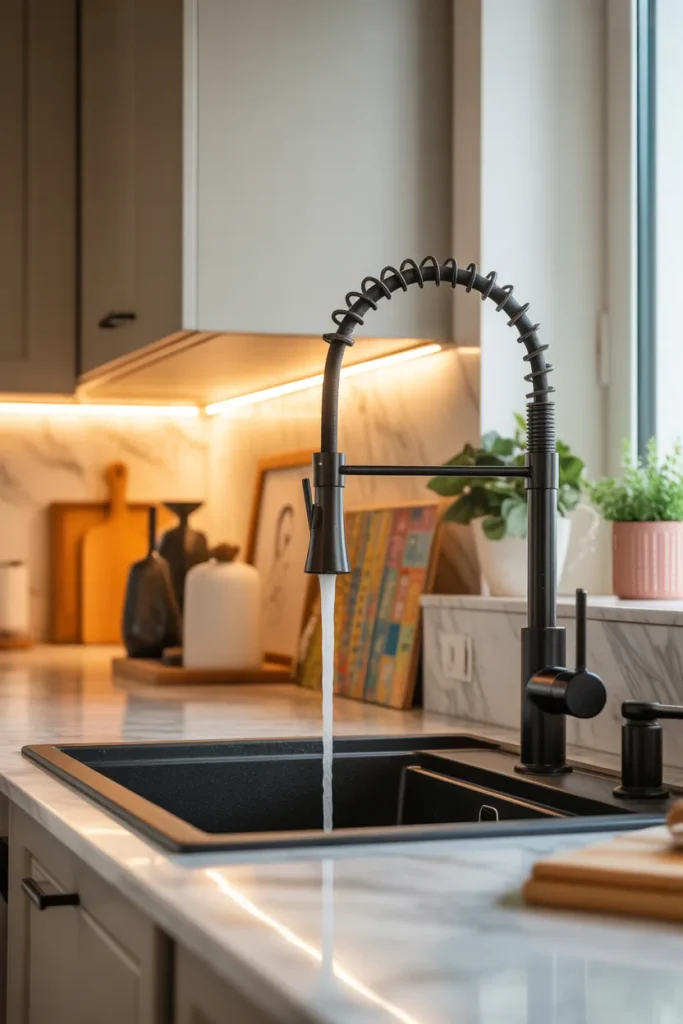
Old faucets drip. They look gross. They have low reach. Changing one is easier than you think. Turn off the water valves under the sink. Disconnect the supply lines. Unscrew the old faucet base. Drop in the new one.
Choose a high-arc faucet with a pull-down sprayer. Brushed nickel or matte black hides water spots. Make sure it has one handle instead of two. One handle is easier to use with messy hands.
You do not need a plumber. Watch one ten-minute video online. Buy a faucet for eighty to one hundred fifty dollars. Your sink goes from builder-grade to custom in thirty minutes.
8. Add Open Shelving by Removing Upper Doors
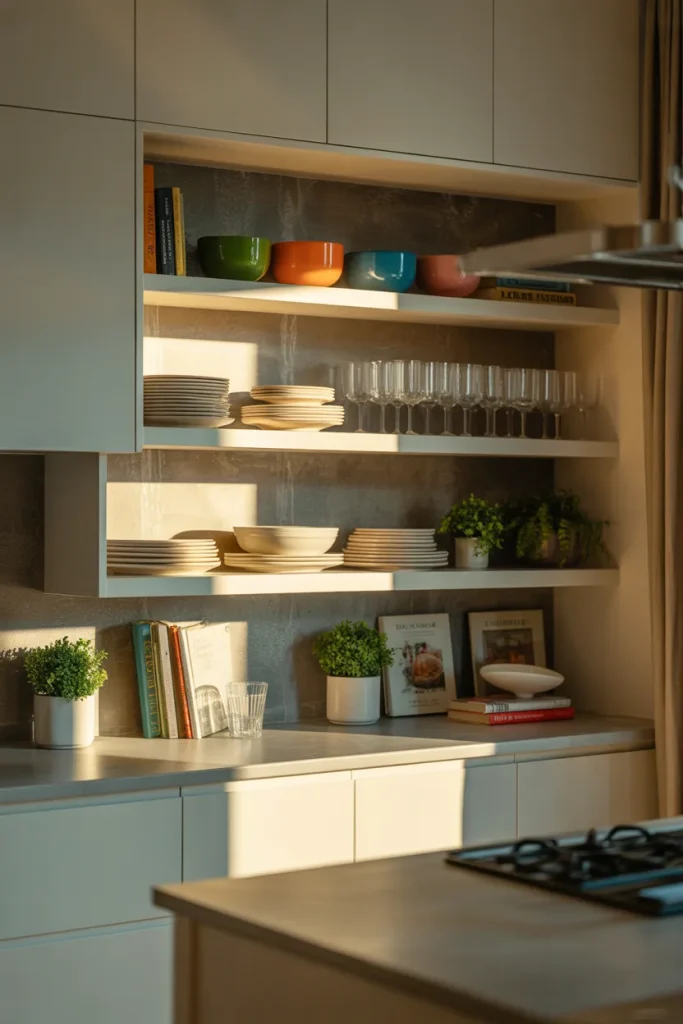
Take the doors off one or two upper cabinets. Leave the shelves exposed. Sand any rough edges. Paint the inside a contrasting color. Now you have open shelving.
Stack your white plates, clear glasses, and pretty bowls there. Roll up cloth napkins in a jar. Put a small plant or cookbook. The open feel makes your kitchen look bigger. It also forces you to keep those dishes clean, which is a nice side effect.
Keep your ugly plastic cups and mismatched Tupperware behind closed doors on other cabinets. Mix open and closed. That balance looks professional.
9. Cover Your Floor With Vinyl Planks

Old sheet vinyl or gross tile? Cover it. Click-lock luxury vinyl planks snap together like Legos. They go right over your existing floor. No glue. No mess. No tearing out old stuff.
Choose a wood look like oak or hickory. Gray-brown tones hide crumbs. The planks are waterproof. They feel warm under bare feet. A box of twelve planks covers about twenty square feet for thirty dollars.
You need a utility knife, a straight edge, and two hours for a small kitchen. Start in the farthest corner. Work toward the door. Watch one video first. This is a beginner job, not a pro job.
10. Swap Your Window Treatment
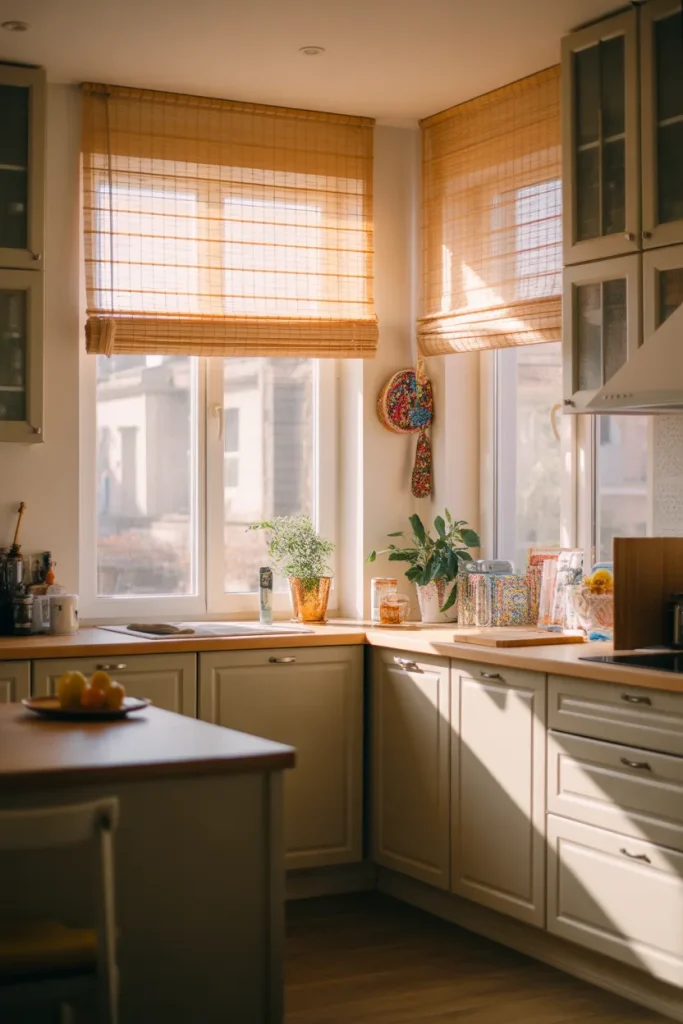
Nasty old blinds or sad curtains ruin a remodel fast. Take them down. Throw them away. Install a simple roller shade or bamboo roman shade. Both look clean and modern.
Roller shades come in light-filtering or blackout. Pick light-filtering for a kitchen. You want sunshine but not glare. Bamboo shades add texture and warmth. They also let air move.
Cost? Twenty to sixty dollars per window. Installation takes four screws and a drill. Your kitchen will look twice as bright and twice as fresh.
11. Reframe Your Window or Add a Faux Arch
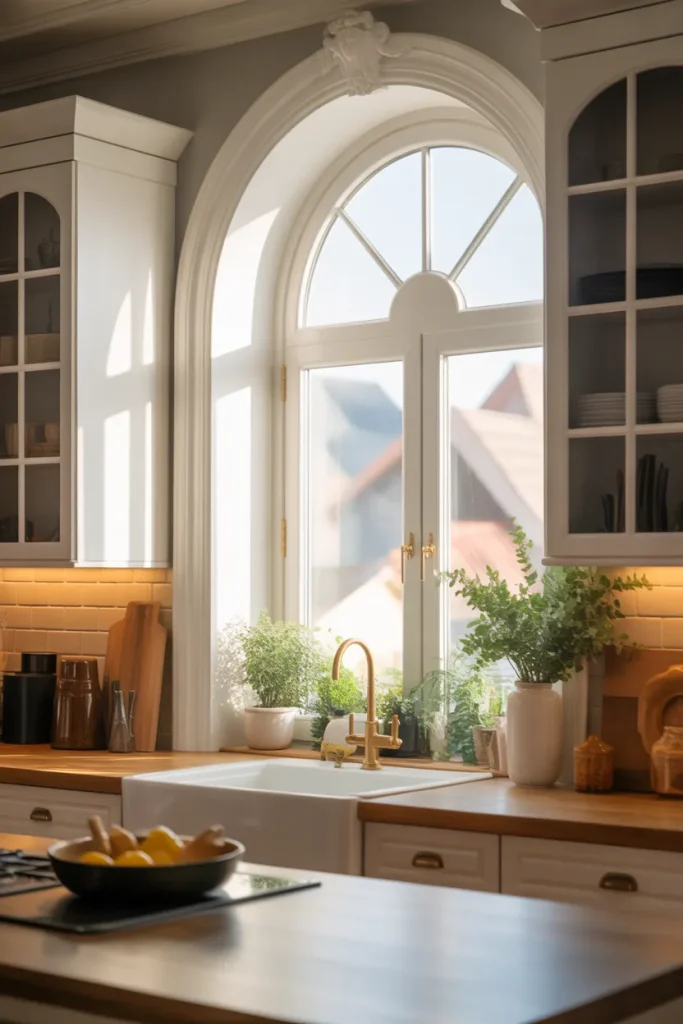
This sounds fancy, but it is cheap. Buy foam crown molding or flexible arch kits from a craft store. Glue them around your kitchen window to create a fake arch or decorative frame. Paint it the same color as your wall.
The eye sees the arch first, not your old window. This trick is two hundred years old. Rich people put real arches in their mansions. You can fake it for forty dollars.
The foam bends easily. Use a hairdryer to soften tight curves. Attach with construction adhesive. Fill gaps with spackle. Sand and paint. No one will know it is foam.
12. Add a Slim Rolling Cart for Island Vibes

You want an island. But you have no room or money. Buy a slim butcher block rolling cart. These are twenty-four inches wide, thirty-six inches tall, and have two shelves and a towel bar.
Roll it against a wall when not in use. Roll it to the center when you need extra prep space. Top it with a large wood cutting board. Hang your pots from a side rack. Use the bottom shelf for cookbooks or potatoes.
Ikea, Home Depot, and Amazon sell these for eighty to two hundred dollars. It gives you an island’s function without an island’s price tag or permanent footprint.
13. Change Your Outlets and Switch Plates
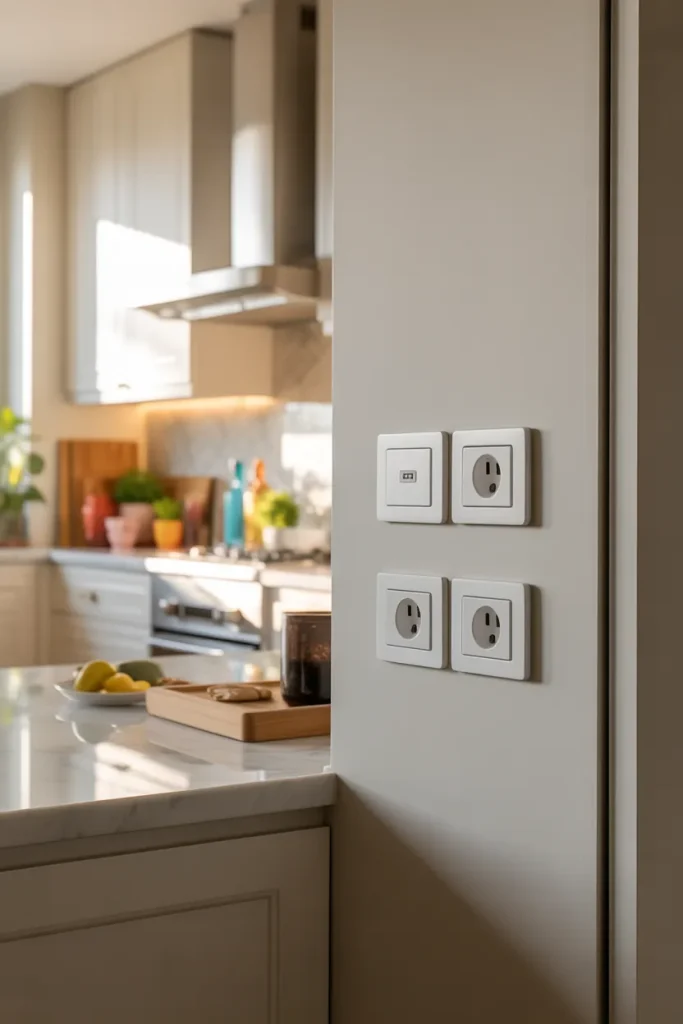
Walk through your kitchen. Look at every outlet and light switch. Are they yellowed? Cracked? Painted over? Replace them. New outlets cost one dollar each. New screwless wall plates cost two dollars each.
Turn off the breaker. Unscrew the old outlet. Move wires one at a time to the new outlet. This is safe and easy. Get decora-style rectangular outlets. They look modern. Buy ones with built-in USB ports for your phone near the coffee maker.
For twenty dollars and one hour, every wall looks cleaner and newer. Tiny detail. Huge impact.
14. Hang a Pot Rack From the Ceiling
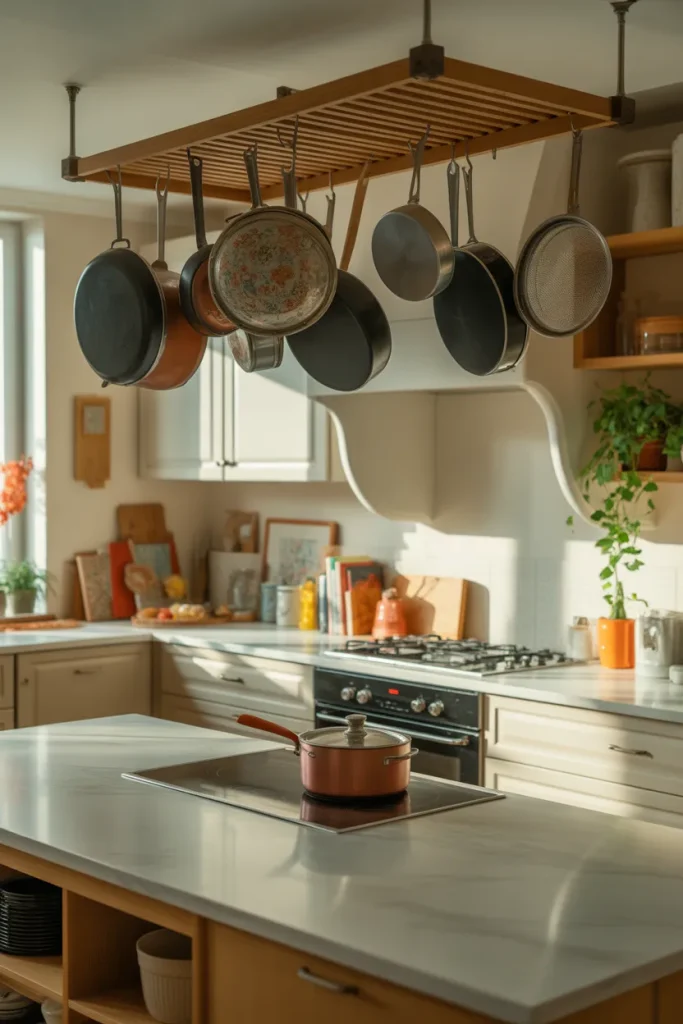
Pots and pans take up cabinet space. They also scratch your nice new shelves. Fix both problems with a ceiling-mounted pot rack. Buy a basic grid rack with hooks. Find a ceiling joist with a stud finder. Screw in heavy hooks with anchors rated for fifty pounds.
Hang the rack. Hang your pots by their handles. Now your cabinets are free for food. Your pots become decoration. This works best over a peninsula or an empty floor area, not right over the stove (grease gets on them).
A simple rack costs forty dollars. Installation takes thirty minutes. Your kitchen feels like a country inn.
15. Add a Magnetic Knife Strip
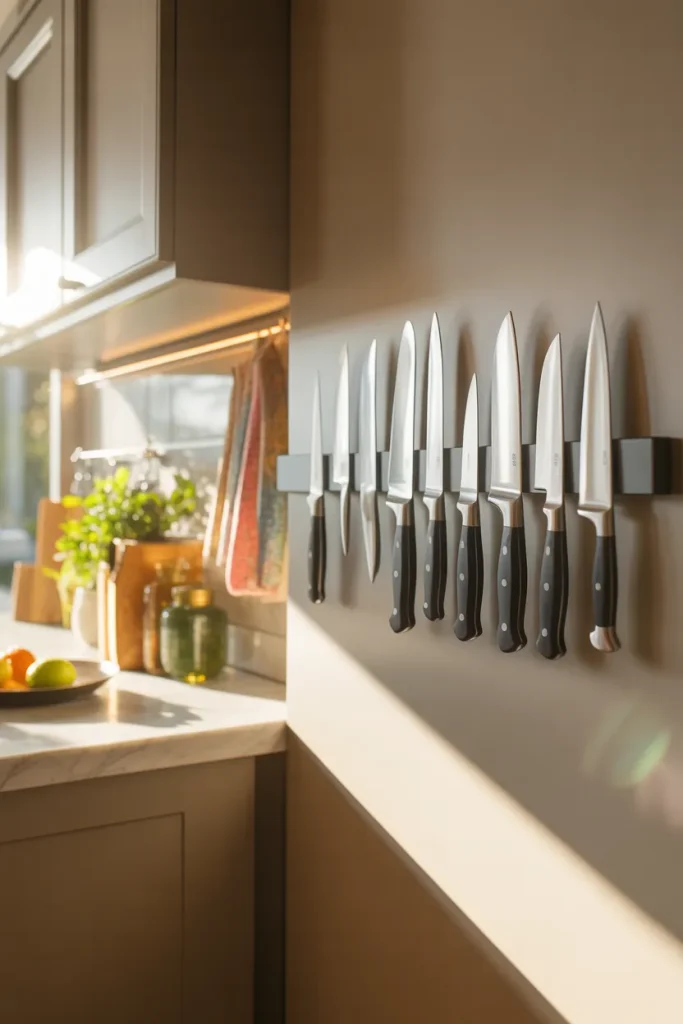
Countertop knife blocks take up space and hide your pretty knives. Magnetic knife strips screw into your wall or backsplash. They hold knives by the blade. You see every knife. You grab the right one in one second.
Mount the strip near your prep zone but away from kids’ reach. Use strong rare-earth magnet strips, not cheap flexible ones. Stainless steel knives stick best. Ceramic knives need special strips.
Cost is fifteen to thirty dollars. Installation is two screws. Your counter gets bigger. Your cooking gets faster. And it looks like a chef’s kitchen.
How to Pick the Right Ideas for Your Kitchen
You cannot do all fifteen at once. Pick three or four that bother you most. Start with paint and hardware. Those give the biggest change for the least work. Then add lighting and a rolling cart. That covers look, feel, and function.
If your kitchen is rental, focus on peel-and-stick items and magnetic racks. Nothing permanent. If you own your home, paint and counters make sense.
Set a budget before you start. Fifty dollars? Do hardware and outlet covers. Two hundred? Add lighting and a backsplash. Five hundred? Paint cabinets, add a rolling cart, and swap the faucet.
A One-Weekend Remodel Plan
Here is a real timeline for a Saturday and Sunday:
Saturday morning: Remove cabinet doors. Clean and sand them. Apply primer.
Saturday afternoon: Paint cabinet doors (first coat). Install under-cabinet lights. Change outlet covers.
Sunday morning: Paint cabinet doors (second coat). Install peel-and-stick backsplash.
Sunday afternoon: Hang cabinet doors. Add magnetic knife strip. Pour a drink. Admire.
You just remodeled your kitchen in two days for under three hundred dollars. No dust. No contractors. No regret.
Conclusion
A kitchen remodel does not mean a gut job. You do not need marble counters or custom cabinets. You need fifteen simple ideas that work with your wallet and your weekend.
Paint old cabinets. Swap tiny hardware. Add lights where you chop. Stick on a new backsplash. Roll in a cart. Hang your pots on the ceiling. Each fix stands alone. Together, they change everything.
Your kitchen should make you happy every single morning. Not just on the day you sell your house. So pick one idea today. Just one. Buy the paint or the handles or the light bar. Start tonight after dinner.
By next Sunday, your kitchen will look different. And more importantly, you will feel different. Proud. Smart. And a little bit like a home improvement pro.
Go make your kitchen yours. It has been waiting long enough.