15 Smart Outdoor Kayak Storage Solutions
Introduction
Your shiny kayak does not deserve to turn into a droopy banana full of leaves and spiders. Before we jump into the fifteen ways, let us agree on two big rules for outdoor kayak storage. First, never let your kayak sit flat on the ground for more than a day. The ground is damp. Bugs love damp. And the weight of the kayak pushes the hull out of shape over time. Second, keep UV rays away. Sunlight is your kayak’s worst enemy. It fades colors and makes plastic brittle. Even cheap fabric covers help.
Outside storage means you fight three enemies: sun, rain, and animals. Sun melts. Rain fills. Animals chew. The fifteen solutions below handle all three in different ways. Some are free. Some cost a little money. All are smart because they solve real problems without overcomplicating things.
I wrote this for a seventh grader to read easily. That means short sentences. No confusing tech talk. Every idea comes from real kayak owners who stored their boats outside for years. You can trust these methods.
Let us get into the list.
1. Wall Mount Brackets on Your House Wall
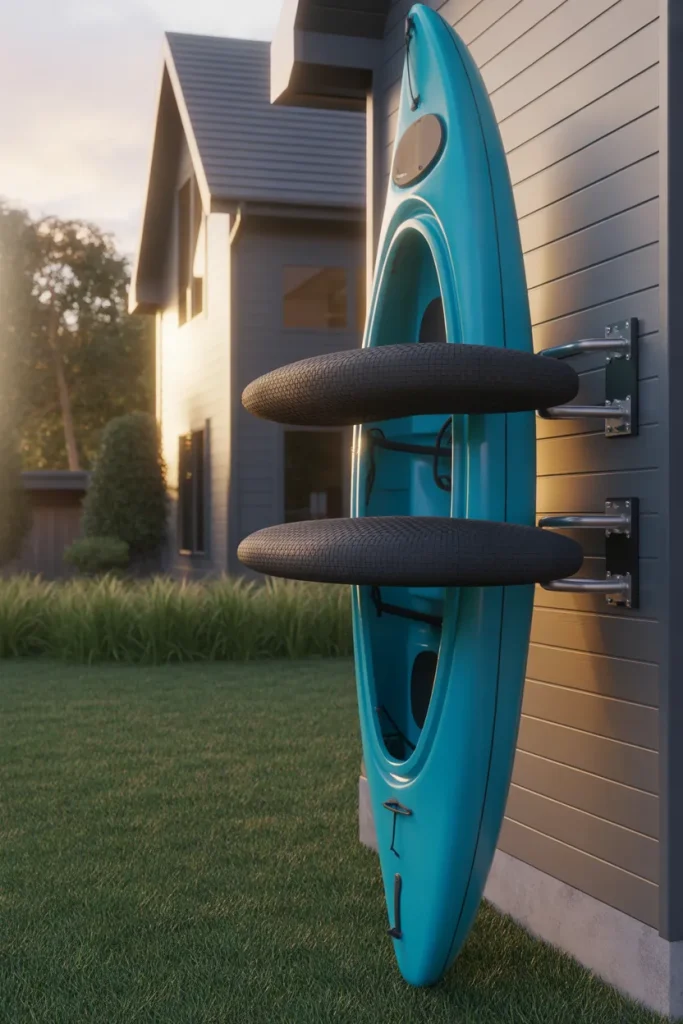
The side of your house is just empty space right now. Turn it into a kayak rack.
You buy two metal brackets made for kayaks. They look like big rubber-coated hooks. Screw them into the wall studs of your garage exterior or your back wall. Lift your kayak and rest it on its side, not flat. The brackets hold the hull steady.
This solution costs about forty to sixty dollars. It takes an hour to install. Your kayak stays off the ground. Rain runs off because the boat sits on its edge. Sun still hits it, so you need a cover. But this is one of the fastest ways to get your kayak out of the mud.
I have seen people use simple ladder hooks from hardware stores. Those work too, as long as they hold at least seventy pounds. Check the weight rating before you buy.
2. Freestanding A‑Frame Rack
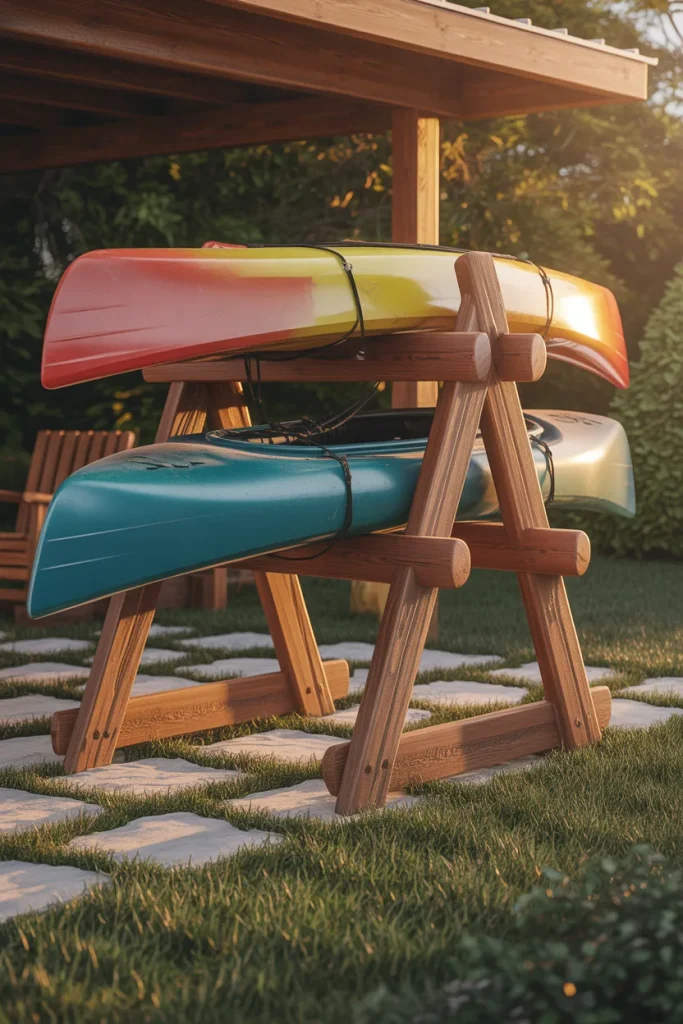
Maybe you cannot drill into your house. Renters know this pain. An A‑frame rack solves that.
You build or buy a wooden frame shaped like the letter A. Two triangles connected by a horizontal bar. The kayak rests on the bar. The frame stands anywhere on your lawn or patio.
You can buy ready‑made A‑frames for kayaks online. They cost between one hundred and two hundred dollars. Or you build one with four 2×4 boards and some screws. The homemade version costs about thirty dollars.
The beauty of an A‑frame is you can move it. Sun too harsh on the east side? Drag the rack to the west side. Snow coming? Tip it and slide it into a corner. Just make sure the bottom legs do not sink into soft dirt. Put flat stones or bricks under them.
3. Pulley Hoist from a Ceiling Joist

This one requires a covered porch, carport, or a really strong tree branch. A pulley hoist lets you lift your kayak straight up into the air.
You screw two pulleys into ceiling beams. Run ropes through them. Attach straps to your kayak. Pull the rope, and the kayak floats up toward the ceiling. Tie off the rope on a cleat.
Your kayak now lives overhead. Rain cannot touch it if the ceiling is solid. Sun cannot touch it either. The floor stays empty. This is a favorite trick of people with small garages.
The kit costs about forty dollars on Amazon. Installation takes a couple of hours. Be sure your ceiling joists are solid. Do not guess. A falling kayak hurts.
4. Sawhorse with Pool Noodles
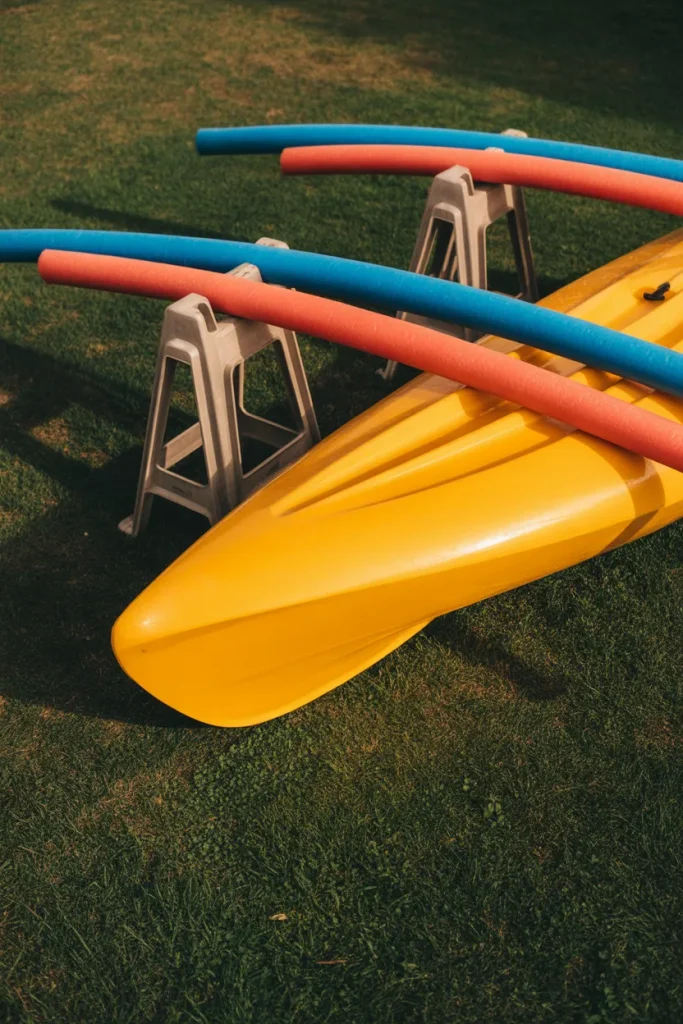
This is the cheapest idea on the entire list. You buy two plastic sawhorses from a hardware store. Each costs about twenty dollars. Then you buy two pool noodles from a dollar store. Slice the noodles lengthwise and snap them over the top bars of the sawhorses.
Set the sawhorses about six feet apart. Lay your kayak across them with the cockpit facing down. That last part matters. Facing down keeps rain from pooling inside.
The sawhorses hold your kayak about two feet off the ground. That is high enough to stop ground moisture but low enough that wind does not knock it over. Weigh down the sawhorses with sandbags or bricks if you live in a windy area.
This setup is not pretty, but it works. I used this for two years before I built a permanent rack. The noodles protect your hull from scratches.
5. Vertical Lean Against a Fence
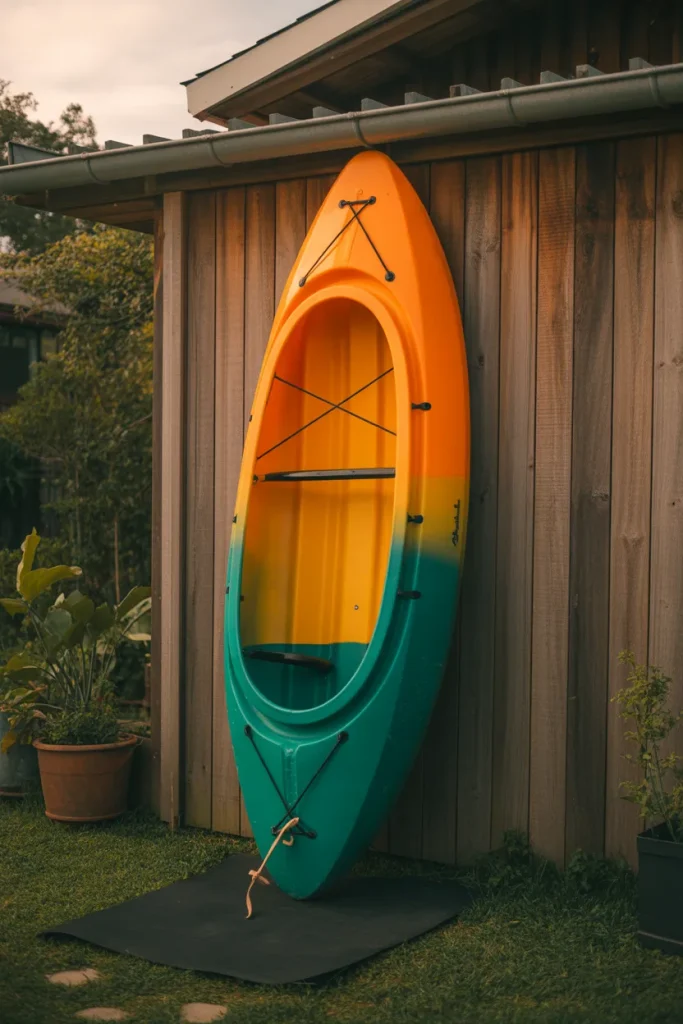
Some kayaks have very tough hulls. If yours is a rotomolded plastic boat, you can lean it vertically against a fence.
Here is the trick. You put a rubber mat or an old car floor mat on the ground. You set the kayak’s stern on the mat. You lean the bow against the fence. Then you strap the kayak to the fence with a bungee cord so it does not fall sideways.
This takes zero dollars if you already own a strap. The kayak takes up almost no ground space. Rain runs straight down. Sun hits only one side, so you rotate it every two weeks to keep fading even.
Do not do this with fiberglass kayaks. They can crack under their own weight when stored vertically. Plastic boats handle it fine.
6. Under‑Deck Storage with Hooks

Do you have a deck or a raised porch? Look underneath it. That dark dry space is perfect for a kayak.
You screw heavy‑duty hooks into the deck joists overhead. Hang your kayak upside down from the hooks. Two straps work better than hooks for fragile boats, but plastic boats handle hooks fine.
The space under a deck stays cool and shaded. Rain does not reach it. Sun does not either. Your kayak will last for years down there.
The only downside is crawling under the deck to get the kayak. But if you store your boat there for months at a time, that small hassle beats seeing it rot in the yard.
7. Pallet Rack with Cinder Blocks
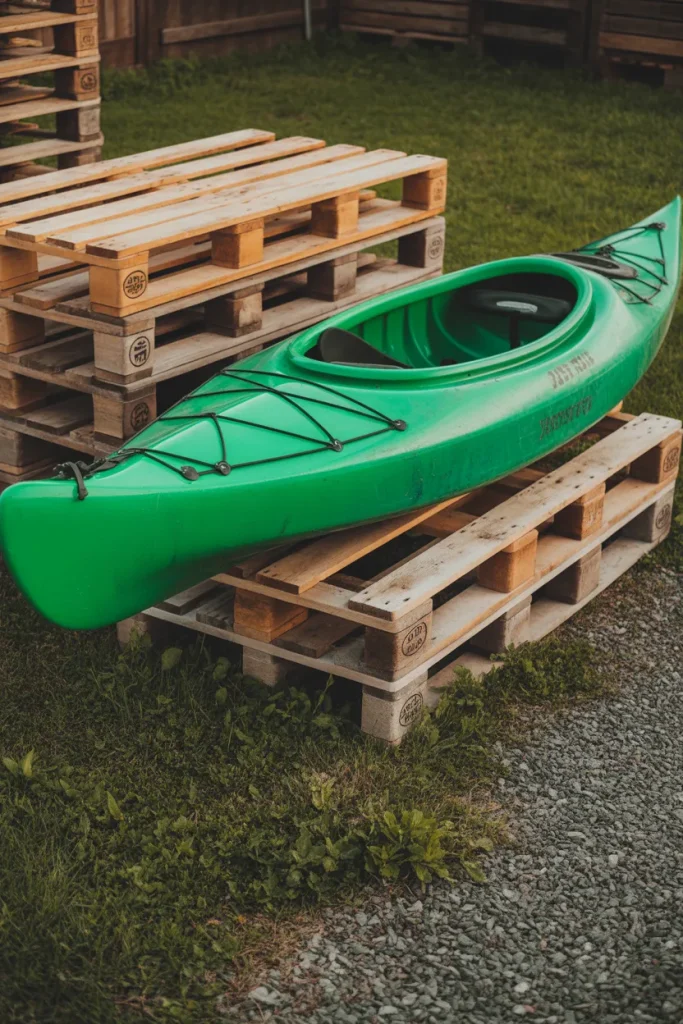
This is a redneck solution that works beautifully. You find two wooden pallets for free behind any grocery store. You buy six cinder blocks from a hardware store for about twelve dollars.
Stack three cinder blocks on top of each pallet. Place each pallet on its side so the slats face upward. Set the kayak across the two pallets.
The cinder blocks raise the pallets high enough to keep the kayak off wet ground. The wood slots let air flow around the hull. Nothing rusts. Nothing rots. And when you move houses, you leave it all behind.
This looks rough, but who cares? Your kayak does not judge. It just wants to stay dry.
8. Wall‑Mounted Eye Bolts with Bungees
You do not need fancy kayak brackets. Two eye bolts from the hardware store cost three dollars each. Screw them into your house wall or garage wall. Run a bungee cord or a ratchet strap between them.
Lay your kayak horizontally against the wall. The bungee cord wraps over the hull and holds it snug. The bottom of the kayak rests on a small wooden block or a brick to keep it off the ground.
This is ugly but effective. I know a guy who stored three kayaks this way on one wall. He spaced the eye bolts at different heights so the boats overlapped like books on a shelf. It looked chaotic but saved a ton of space.
9. Kayak Cover with Inflatable Blocks

Sometimes you cannot build anything. Maybe you rent. Maybe you move every year. A kayak cover plus inflatable blocks is your answer.
You buy a kayak storage cover that blocks UV rays. These cost about thirty dollars. Then you buy two inflatable foam blocks that go under the hull. You inflate them with a pump, slide them under the kayak, and the kayak sits on top of the blocks right on the ground.
The blocks lift the kayak an inch off the ground. That inch stops moisture wicking up into the hull. The cover blocks the sun. The whole setup costs under sixty dollars and packs into a duffel bag.
This is not a long‑term solution for years of storage. But for six months between seasons, it works fine.
10. Fence Post Rack
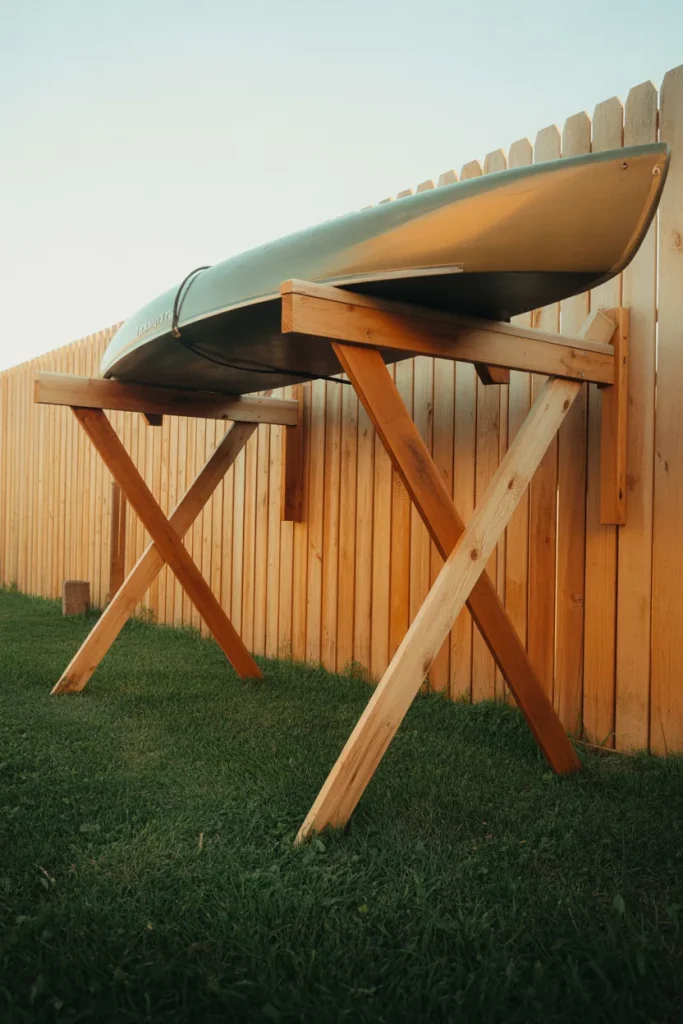
Do you have a wooden privacy fence? Use those fence posts.
You screw two short 2×4 boards horizontally across two fence posts. The boards stick out like little shelves. You rest the kayak on its side across the boards.
This keeps the kayak completely off the ground. The fence blocks wind. The boards are cheap to replace if they rot. You can build the whole thing for fifteen dollars.
The only catch is your fence must belong to you. Do not screw things into a neighbor’s fence. That starts fights.
11. Old Ladder Rack from a Pickup Truck
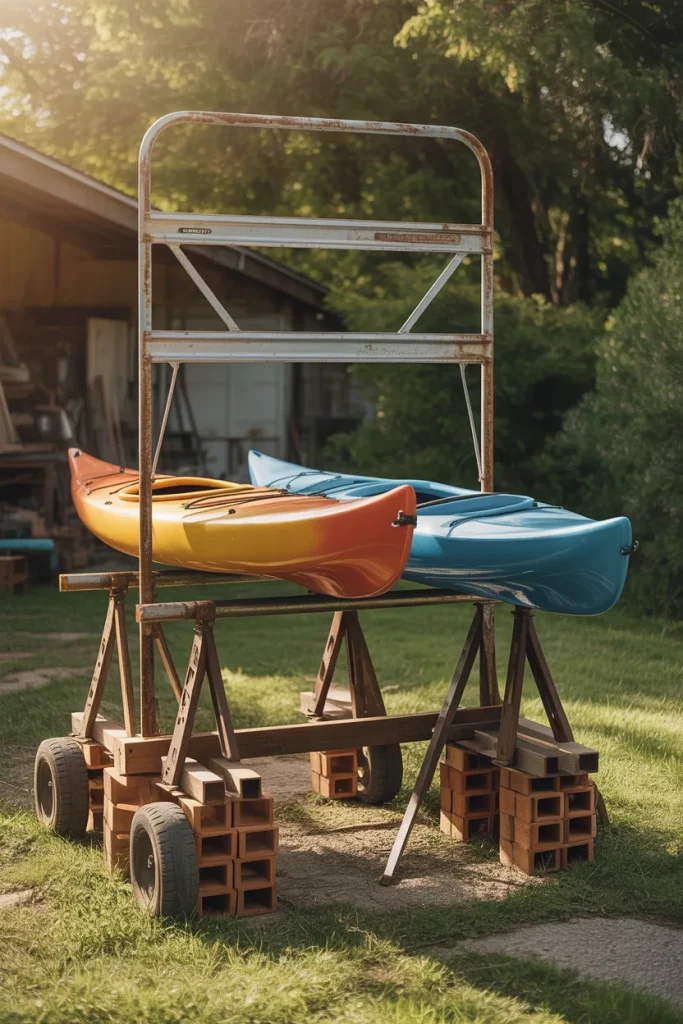
People throw away old pickup truck ladder racks all the time. Check Facebook Marketplace or a junkyard. You can often get one for free or for twenty dollars.
Set the ladder rack on top of two wooden horses or cinder blocks. The rack already has crossbars designed to hold long heavy things. Your kayak fits perfectly on those crossbars.
Now you have a metal rack that looks kind of industrial and cool. It sits three feet off the ground. Air flows underneath. You can roll it around if you put wheels on the bottom. This is a recycling win.
12. Tire Rack from a Garage
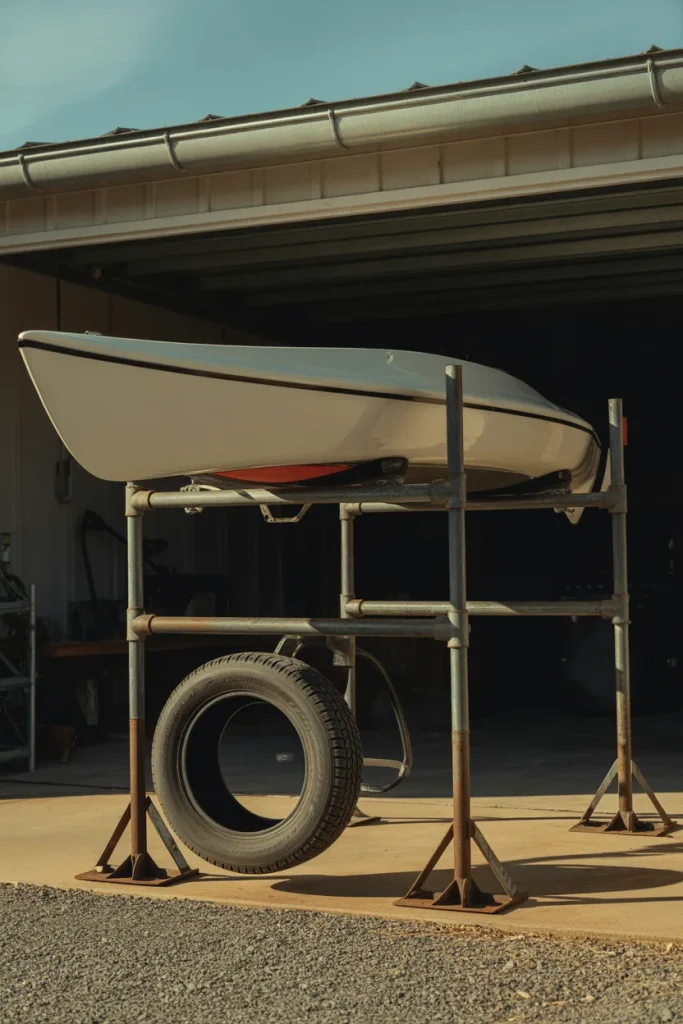
Old tire storage racks from auto shops are made of heavy steel. They are designed to hold round heavy objects. A kayak is not round, but it is heavy.
You remove the tire arms and replace them with two long steel pipes. The pipes become the resting bars for your kayak. The whole unit stands alone and weighs a ton, so wind never moves it.
I found one of these for ten dollars at a garage sale. It took me an hour to modify. My kayak has sat on it for three years without a single problem. Look for used tire racks online.
13. Clothesline Pole with T‑Posts
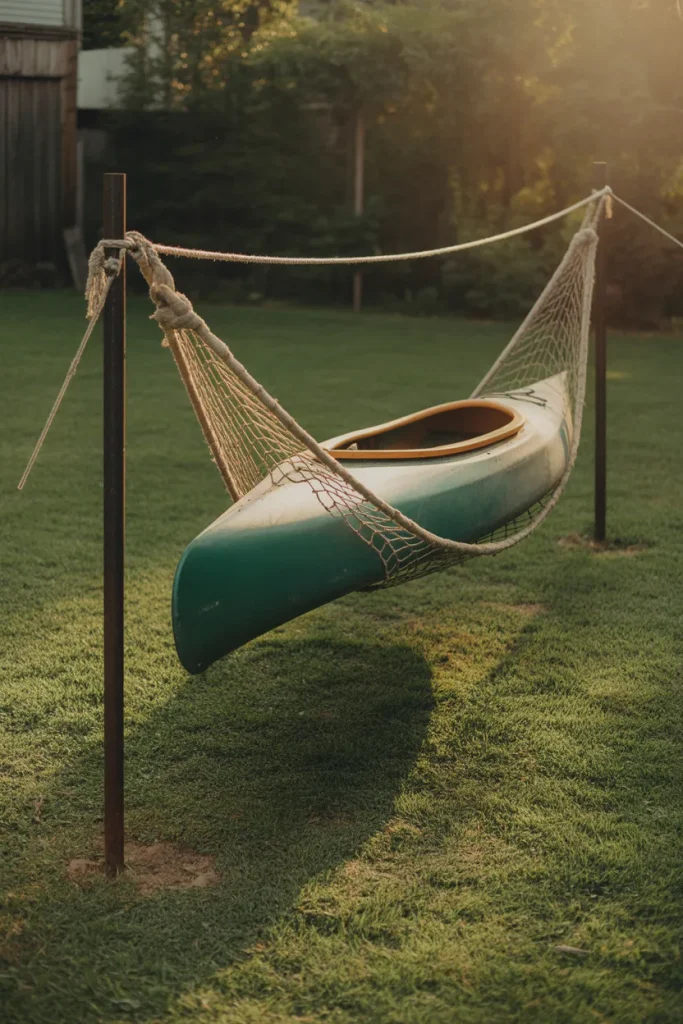
Drive two T‑posts into the ground a few feet deep. These are metal fence posts. They cost about five dollars each. Between them, you string a heavy clothesline rope or a steel cable.
Lay your kayak upside down over the rope. The rope sags slightly and cradles the hull like a hammock. The T‑posts hold everything steady.
This is a very soft storage method because the rope bends around the kayak. No hard points press into the plastic. Rain runs off if you tilt the kayak slightly. The whole thing looks strange, but your kayak will thank you.
14. Plastic Trash Can Rack
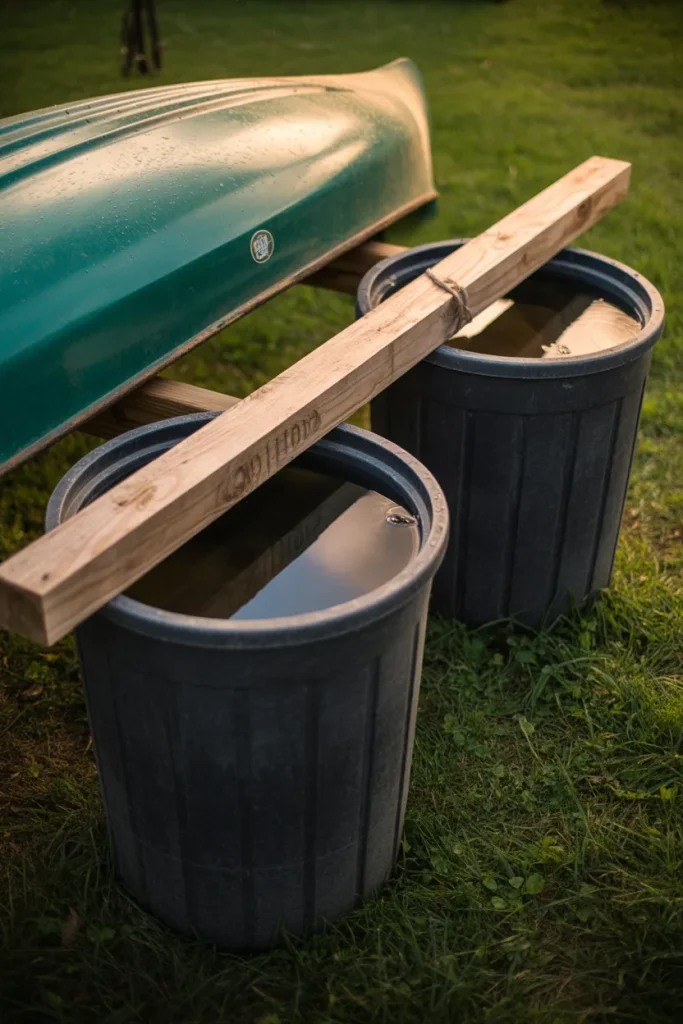
This one makes people laugh until they try it. You buy two large plastic trash cans with lids. You fill them with water or sand for weight. You strap a long 2×4 board across the tops of the cans. You rest the kayak on the board.
The trash cans become extremely stable bases. Water inside each can weighs about forty pounds per can. That is eighty pounds of anchor. Wind will not tip them.
Cost is about thirty dollars for two cans. You can roll the cans to move the rack. And when you stop storing the kayak, you still have two trash cans. No waste.
15. Simple Ground Tarp with Slope
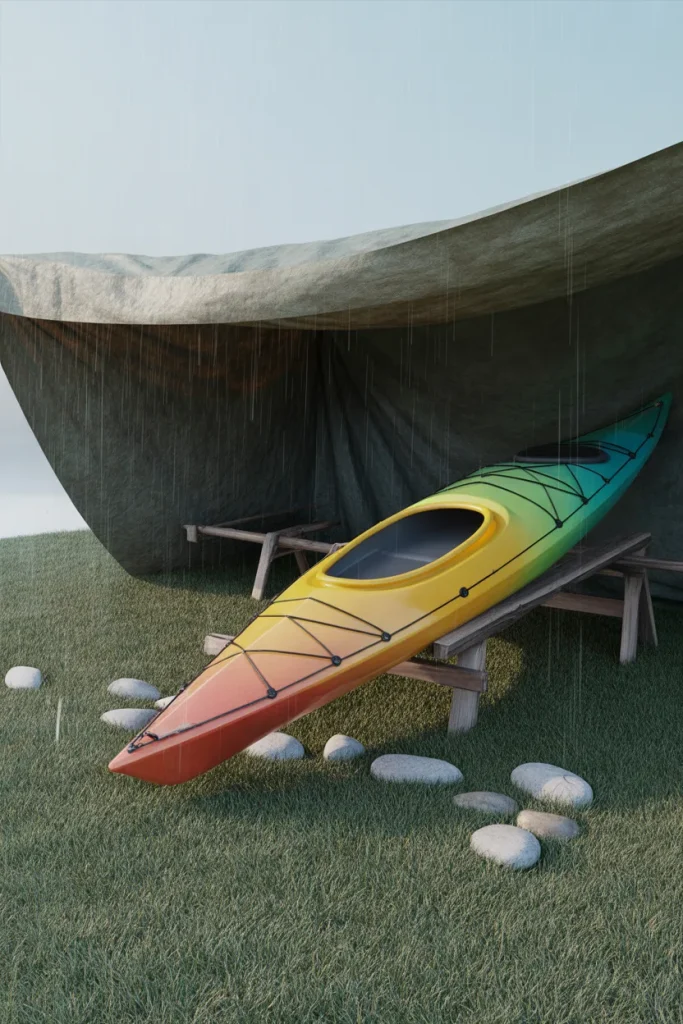
Last solution is the simplest of all. Sometimes you just need a quick fix for a week or two before a trip.
Lay a heavy tarp on the ground where the ground slopes slightly. Put your kayak on the tarp with the cockpit facing down. Angle the kayak so the bow points downhill. Water runs right off the tarp and away from the boat. Put a rock inside the cockpit to hold the nose down if needed.
This is not for long term. Leaves pile up. Sun still hurts. But for a short break between weekend paddles, a tarp and a slope keep your kayak drier than bare mud.
Conclusion
You do not need a palace to store a kayak. You need a little creativity and a few basic parts.
Look back at these fifteen ideas. Some take five minutes. Some take half a day. All of them keep your kayaway from the three killers: wet ground, baking sun, and nesting animals. Your boat will stay straight. Your plastic will stay strong. And next summer, when you pull that kayak down from its rack, it will feel as fast as the day you bought it.
Pick the solution that fits your yard, your budget, and your patience. If you have no money, use sawhorses and pool noodles. If you have a little money, buy wall brackets. If you have a lot of wind, build the trash can rack. There is no wrong answer except leaving your kayak flat on the grass.
Now go outside and look at your space. A fence. A wall. A porch ceiling. An old pallet. Something in that list will jump out at you. Build it this weekend. Your kayak will thank you with many more sunny days on the water.