18 Smart Canning Storage Ideas for Your Home
You open your cupboard and a glass jar rolls out. It hits the floor and shatters. Tomato sauce splatters everywhere. You sigh because this is the third time this month.
Sound familiar?
If you grow your own food or buy in bulk, you know the struggle. Those mason jars with your precious jam, pickles, and green beans need a real home. Not a wobbly stack on a high shelf. Not a cardboard box in the corner.
I have been there. My pantry looked like a glass explosion. So I started digging for better ways to store canning jars. I tried cheap tricks and clever hacks. Some worked great. Some failed hard.
After testing dozens of ideas, I picked the 18 smartest ones for you. These ideas will save your jars from breaking. They will save your floor from sticky messes. And they will make your kitchen look like a magazine photo.
Let me be clear. You do not need a huge house or a lot of money. Most of these ideas use stuff you already own. A few might cost ten or twenty dollars. But every single one will keep your jars safe and easy to reach.
Ready to fix that jar avalanche? Let us jump in.
1. Use Plastic Milk Crates for Stacking
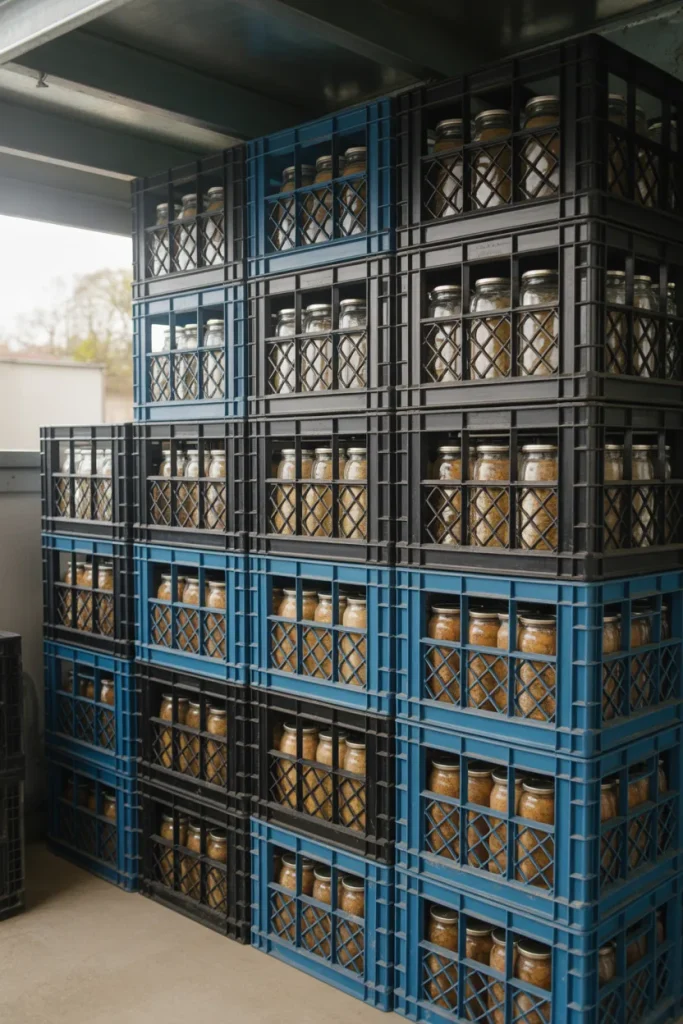
You know those blue or black plastic crates that hold milk jugs at the grocery store? They are amazing for canning jars. One crate holds exactly twelve pint jars or seven quart jars. The crates stack on top of each other without tipping. The sides keep jars from rolling out.
I asked my local grocery store for empty crates. The manager gave me six for free. They just throw them away anyway. Wash the crates with soap and water. Let them dry. Then fill each crate with jars of the same size. Stack them in your garage or basement. You can see through the holes in the crate. That means you know what is inside without pulling the crate down.
The best part? The crates have handles. So you can carry twelve jars at once. No more juggling two jars and praying.
2. Hang Jars from a Wooden Board

This one sounds strange but hear me out. Take a long piece of wood. A two by four works fine. Screw wide mouth jar lids into the wood. Space them four inches apart. Then screw the board to the bottom of a shelf or cabinet. Now you can twist empty jars up into the lids. The jars hang upside down.
Why do this? First, it saves shelf space. Second, the jars stay dust free because they hang upside down. Third, it looks cool. Your friends will ask where you bought it. You can say you made it in twenty minutes.
Use this for empty jars only. Do not hang full jars. The weight might pull the screws out. But for your empty canning jars waiting for next year’s tomatoes? Perfect.
3. Slide Jars into Wine Racks
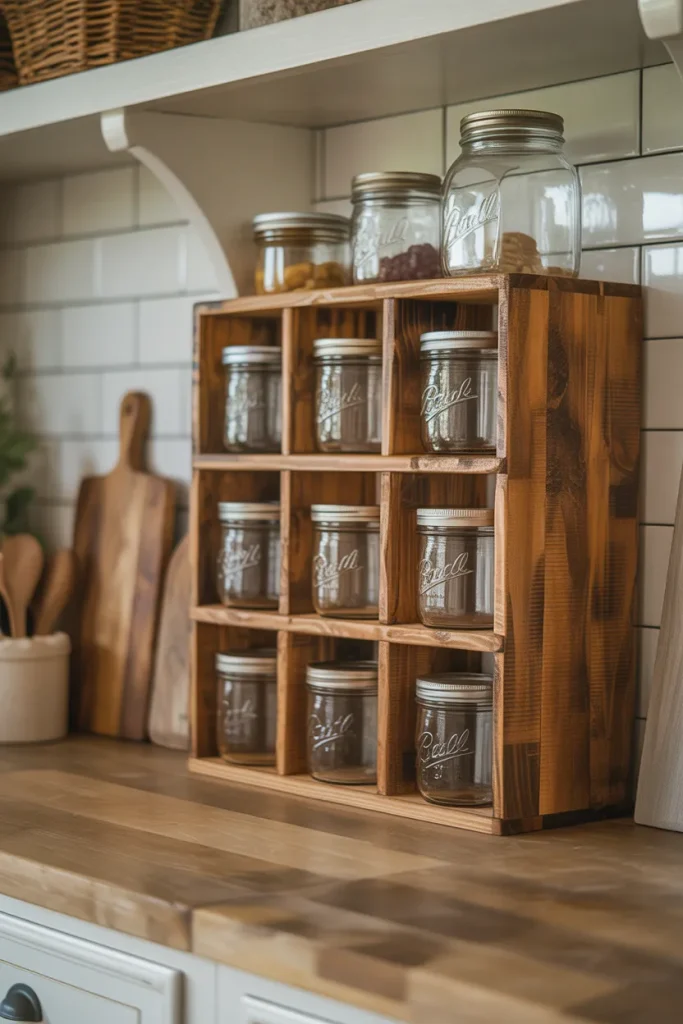
Wine racks are not just for wine bottles. They fit quart and pint jars like a glove. Look at garage sales or thrift stores. People sell old wooden wine racks for five or ten dollars. Bring one home. Wipe it down. Then slide your jars in sideways.
The dividers in the rack keep jars from banging into each other. You can stack some wine racks two high if you buy sturdy ones. Place the rack on a counter or inside a wide pantry. Each cubby holds two to four jars depending on size.
I found a cube style wine rack at a flea market for eight bucks. It holds twenty four pint jars. That is a steal compared to fancy canning storage shelves.
4. Build a PVC Pipe Wall Rack
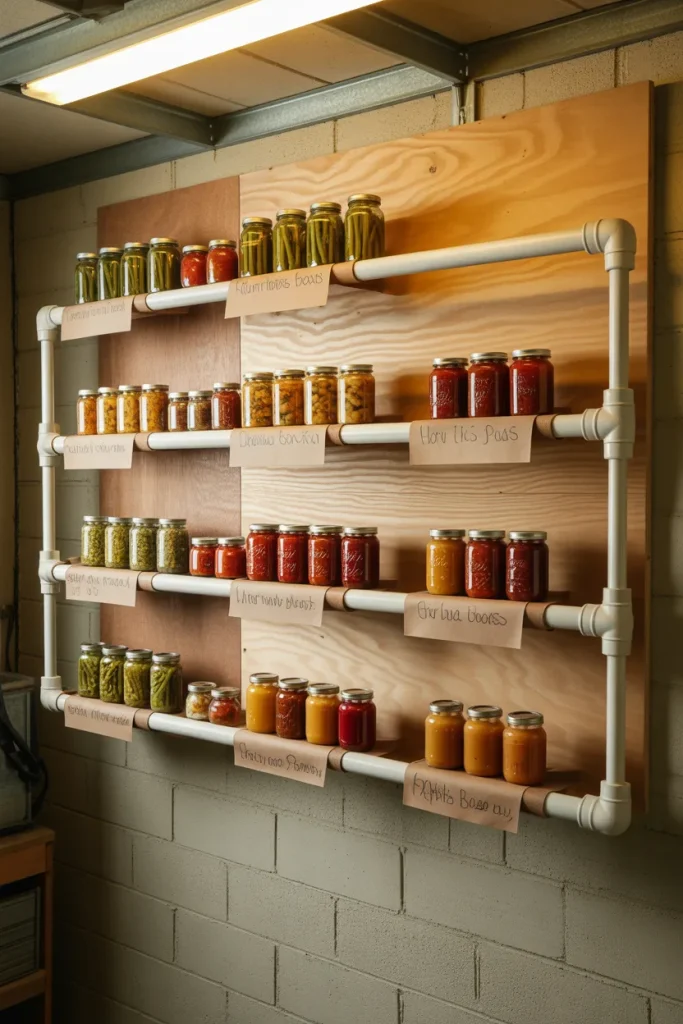
Go to the hardware store. Buy four inch wide PVC pipe. Ask the worker to cut it into twelve inch long pieces. Also buy a sheet of plywood and some pipe straps. Screw the pipe straps onto the plywood. Snap the PVC pieces into the straps. Now you have a wall rack where each pipe section holds one wide mouth quart jar.
This works best for a workshop or garage wall. The jars sit inside the PVC tubes. They cannot fall over. You can label each tube with a marker. One tube for green beans. One tube for salsa. One tube for apple butter.
The whole project costs about twenty dollars. It takes one hour to build. And it looks very professional. Not like a hillbilly solution at all.
5. Store Lids and Rings on a Magnetic Strip
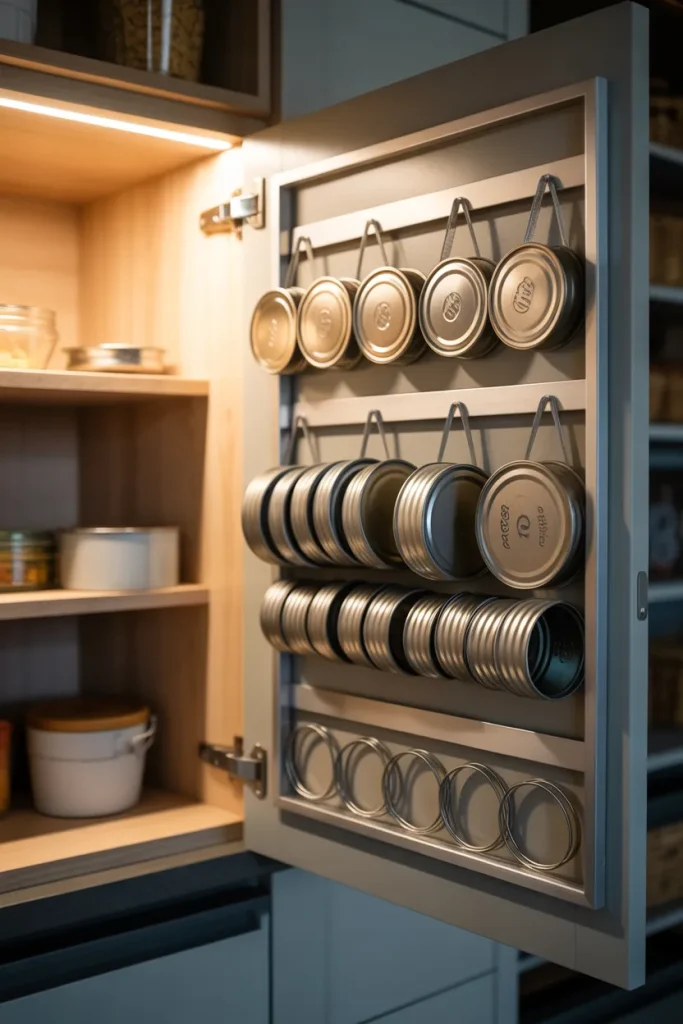
You know those magnetic strips for holding kitchen knives? Buy a cheap one for ten dollars. Screw it to the inside of your pantry door. Then stick your metal canning lids and rings onto the strip. They stay right there. No digging through a drawer full of loose rings.
This trick saves so much time. When you need a lid, you just reach and pull one off the magnet. The rings stack nicely on the strip too. You can fit about fifteen rings on a twelve inch strip.
Do the same thing for your extra bands. Put a second strip lower on the door. Your lids and rings will never get lost again. Plus they look neat and tidy every single day.
6. Turn a Dresser into a Jar Drawer Unit
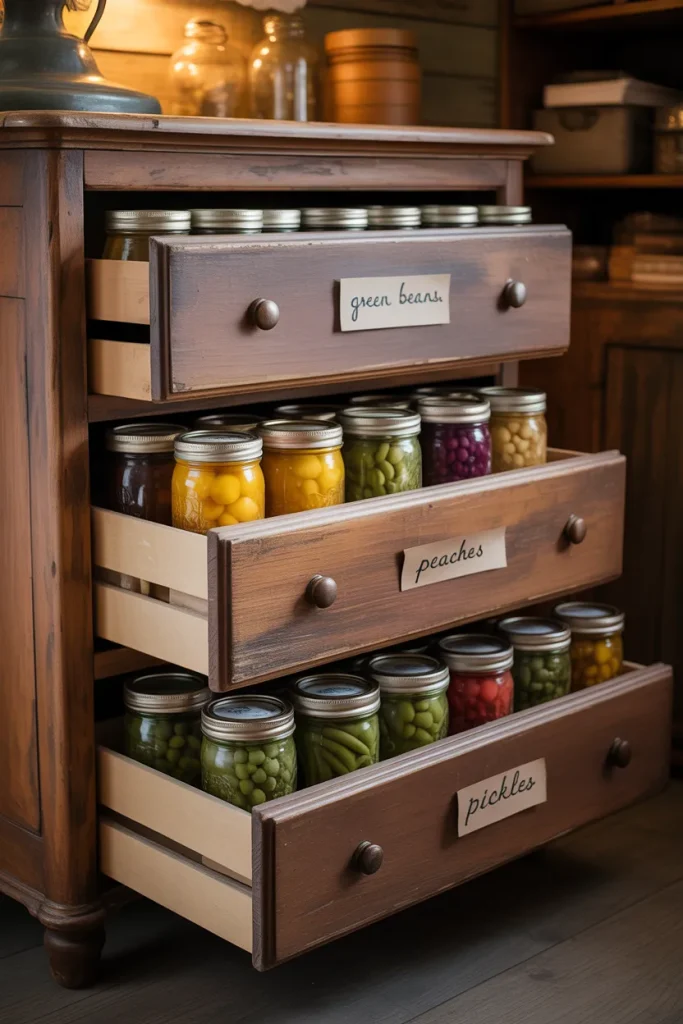
Old dressers show up on the side of the road all the time. Grab one. Pull out the drawers. Measure the inside depth. Most dresser drawers are exactly eight inches deep. That is perfect for pint jars lying on their sides.
Line each drawer with a non slip mat. This keeps jars from rolling. Then fill the drawer with jars laid flat. You can stack a second layer if you put cardboard between the layers. Close the drawer. The jars stay in the dark. No light means your canned food keeps its color and taste longer.
Label each drawer with a piece of tape. Green beans in drawer one. Peaches in drawer two. Pickles in drawer three. This turns an ugly old dresser into a beautiful canning pantry.
7. Screw Lids to a Ceiling Joist
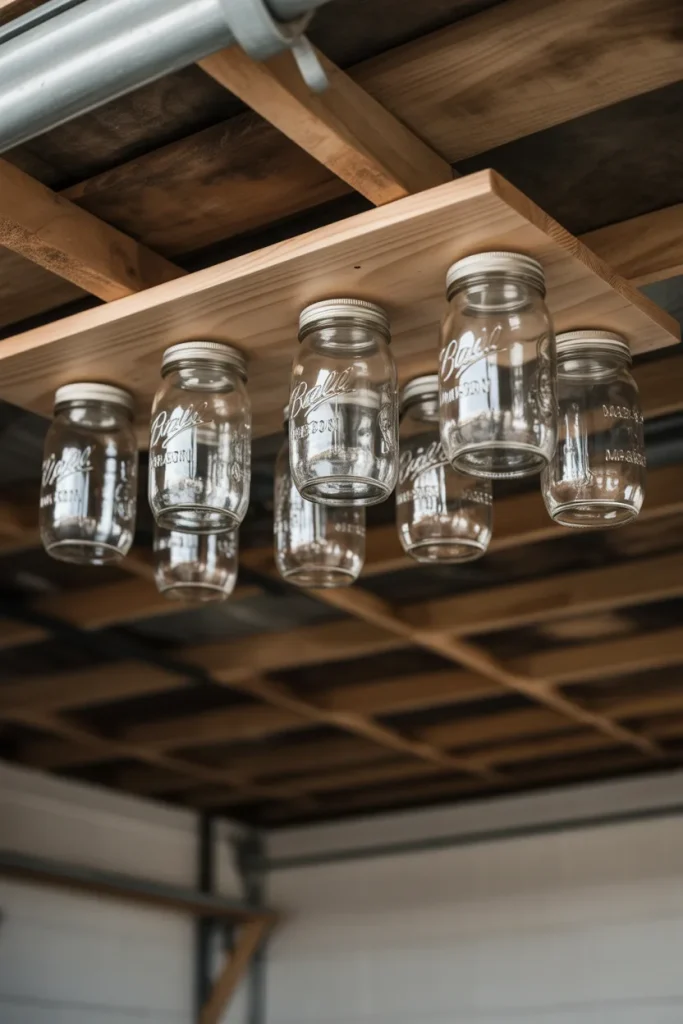
This is for people with basements or garages that have open ceiling joists. Take a two inch thick board. Screw a bunch of wide mouth jar lids into the board. Then screw the board up into a ceiling joist. Now you can twist empty jars up into the lids. The jars hang above your head.
Why would you do this? Because floor space is precious. Ceiling space is free. You can store hundreds of empty jars overhead. They do not get in your way. They stay clean. And when you need a jar, you just reach up and twist one down.
Be careful not to put heavy full jars up there. Empties only. Also watch your head if you are tall. I learned that the hard way.
8. Use Shoe Organizers on a Door

A clear plastic shoe organizer that hangs over a door is not only for shoes. Put it on your pantry door. Each pocket holds one pint jar perfectly. The jar sits upright. You can see right through the plastic to read your labels.
This idea is cheap. Fifteen dollars at any discount store. It holds twenty four pint jars. That is a lot of storage for very little money. The pockets keep jars separate so they do not clink together.
Make sure the shoe organizer has strong fabric. Cheap ones rip after a few months. Spend a couple extra dollars for the thick vinyl kind. Your jars will thank you.
9. Build a Rolling Cart from a Wire Shelf
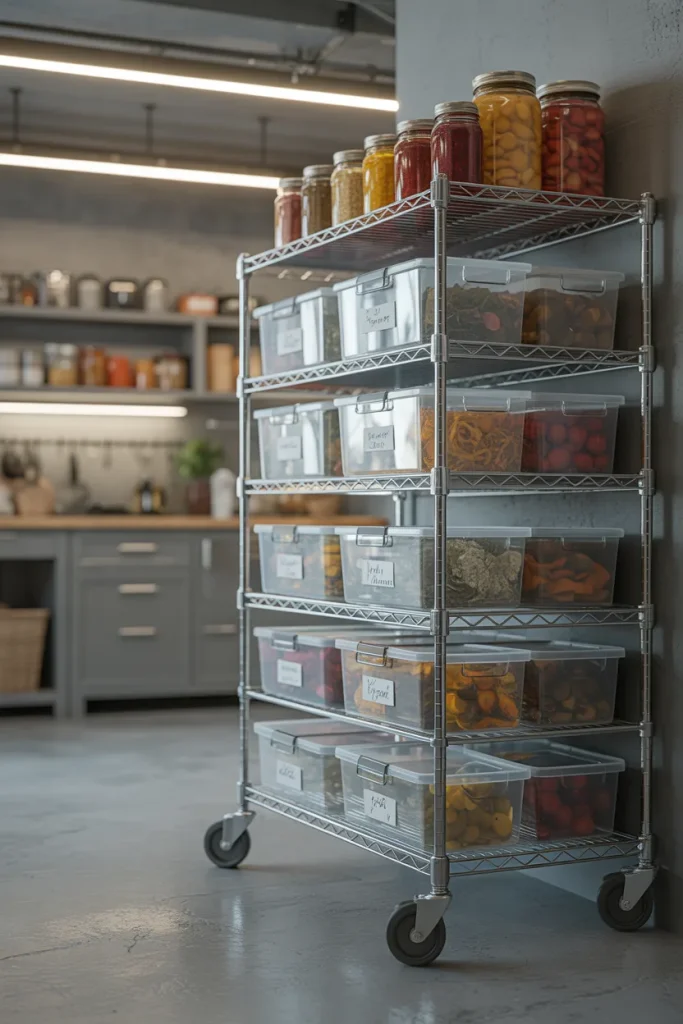
Buy a wire shelf unit on wheels. You can find them for forty dollars at home stores. Then buy plastic bins that fit the shelf depth. Put your jars inside the bins. Slide the bins onto the wire shelves. Now you have a rolling canning pantry.
Roll it to the kitchen when you need a jar. Roll it back to the garage when you are done. The wheels make everything easy. You can even roll it outside on canning day. Set the cart next to your canning pot. Grab jars without walking back and forth twenty times.
The wire shelves let air move around. That stops moisture from building up. Moisture leads to rusty lids. No one wants rusty lids.
10. Stack Jars in Five Gallon Buckets
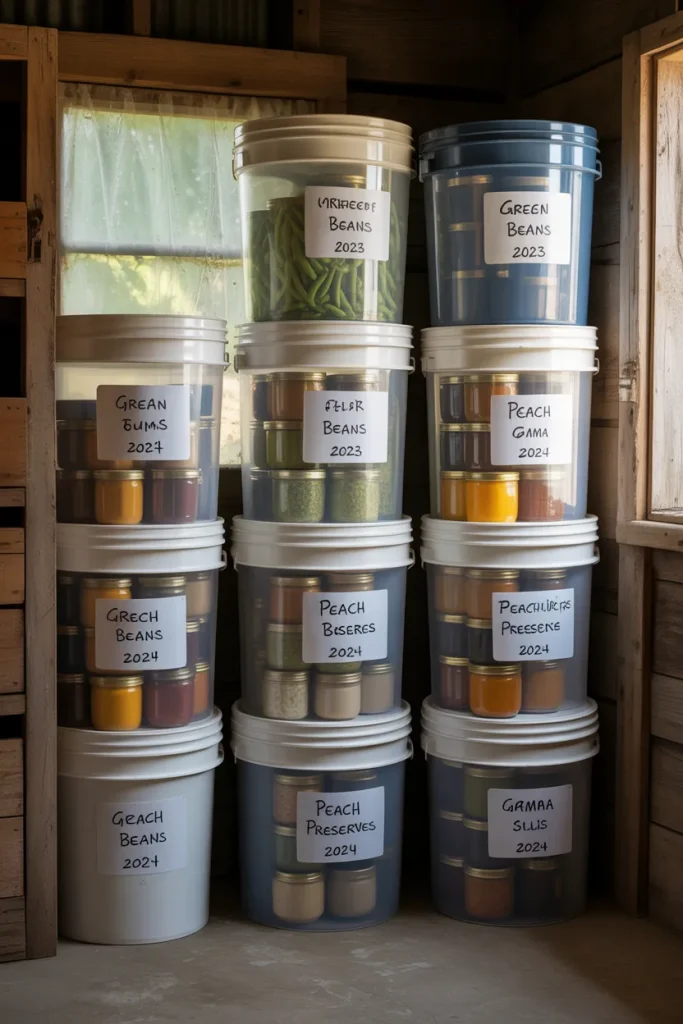
Five gallon buckets from the hardware store cost five dollars each. They are tough. They have handles. And they stack perfectly on top of each other. Fill a bucket with quart jars. You can fit seven quarts standing up. Or you can fit twelve pints. Put the lid on the bucket. Stack another bucket on top.
Buckets protect jars from mice and bugs. This is huge if you store jars in a shed or barn. Mice cannot chew through thick plastic. Also buckets block light. Light makes canned food lose nutrients. Dark buckets keep your food healthy.
Label each bucket with a marker. Write what is inside and the year you canned it. Stack buckets in a corner. They take up very little floor space for how many jars they hold.
11. Hang Jars from a Pallet on the Wall

Find a free wooden pallet behind a store. Sand it so you do not get splinters. Paint it if you want it to look nice. Then screw the pallet to your wall with lag bolts. Use the gaps between the slats to slide jar lids through. Screw wide mouth lids onto the slats from the back side. Now the lids poke through the gaps. Twist your empty jars up into those lids.
The jars hang against the wall like art. Seriously, it looks like a rustic decoration. But it is actually hard working storage. You can fit about thirty jars on one pallet.
This works best in a mudroom or laundry room. Somewhere you have wall space but not floor space. It is free if you find a pallet. It is cool if you have friends who like farmhouse style.
12. Store Jars Under the Bed
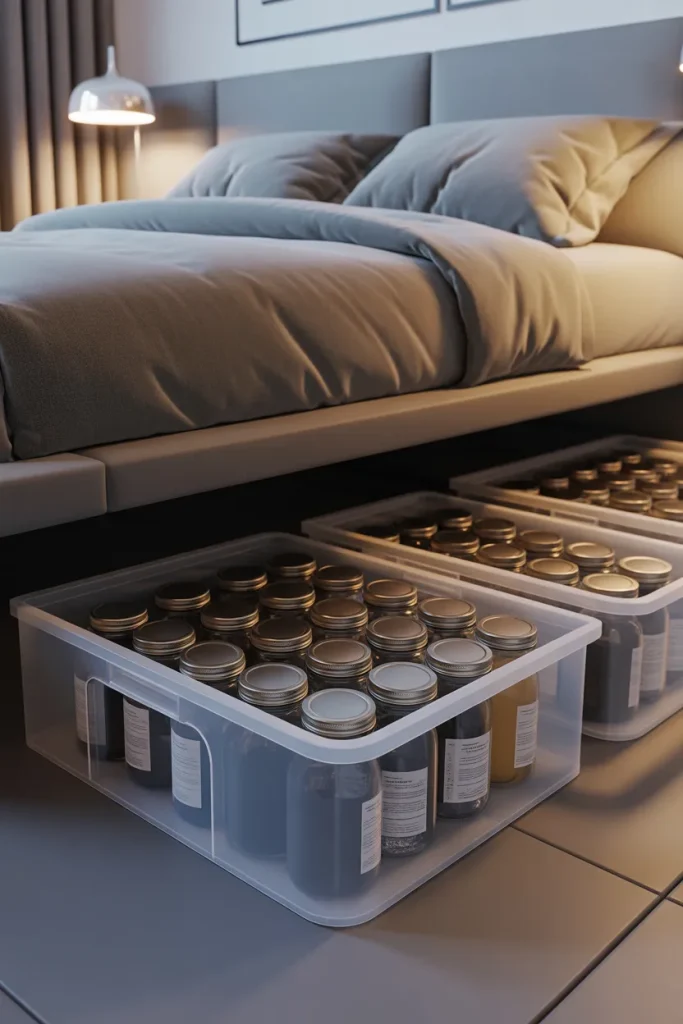
Your bed sits on a frame, right? That space underneath is empty. Measure how tall your jars are. Pint jars are about five inches tall. Most bed frames give you six inches of clearance. Perfect.
Buy flat plastic bins that slide under beds. Put your jars inside. Slide the bins under the bed. Now you have hidden storage that uses zero extra floor space. This is genius for small apartments.
The bed keeps jars in the dark. The bins keep dust off the lids. You can fit four bins under a queen size bed. Each bin holds about eighteen pint jars. That is seventy two jars completely out of sight.
13. Use Cardboard Boxes with Dividers
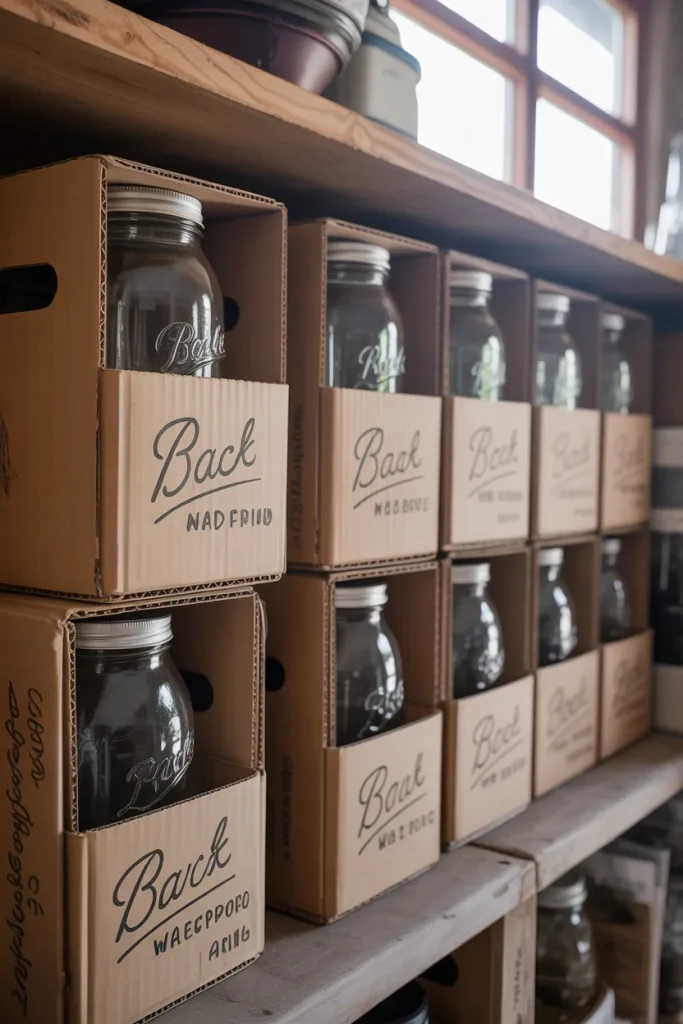
Go to a liquor store. Ask for empty wine boxes. Those boxes have cardboard dividers inside. Each divider section holds one wine bottle. Guess what fits exactly the same? A pint jar.
Wine boxes are free. Liquor stores throw away dozens every day. Take as many as you want. Each box holds twelve pint jars. Stack the boxes two or three high. The cardboard dividers keep jars from touching each other.
Write on the outside of each box with a big marker. You will know exactly what is inside. When a box gets worn out, just recycle it and grab another free box.
This is the cheapest idea on this entire list. Zero dollars. Zero effort. Huge reward.
14. Build a Shelf with a Lip
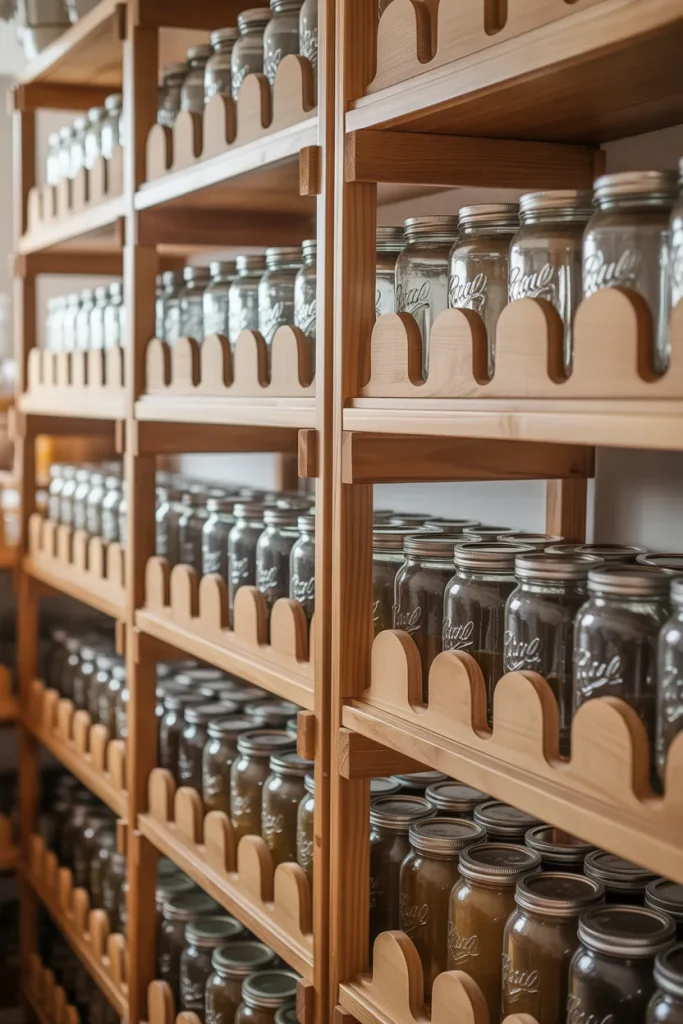
Many people build plain shelves for their jars. Then the jars roll off the front and break. That is frustrating. Here is the fix. Build or buy shelves that have a raised lip on the front edge. A one inch tall piece of wood works great.
The lip stops jars from sliding forward. You can stack jars two deep on the shelf. The lip holds the front row in place. The back row sits against the wall. No rolling. No falling. No breaking.
You can add a lip to existing shelves too. Buy a thin strip of wood. Glue and nail it to the front edge of your shelf. Paint it to match. Job done in twenty minutes.
15. Hang Jars from a Closet Rod
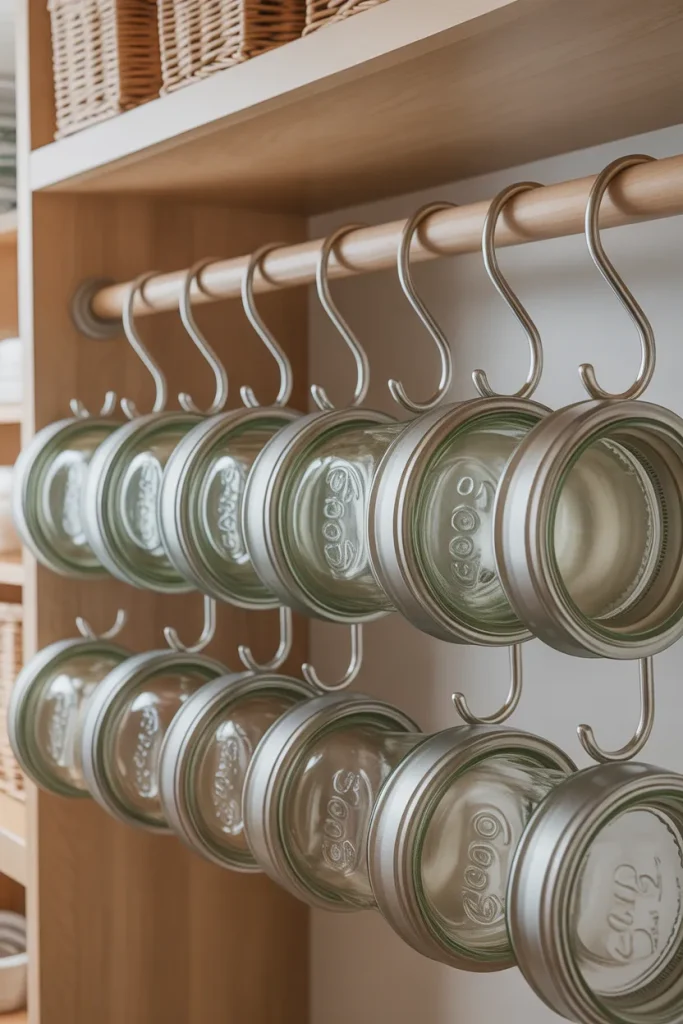
Take a closet rod. The kind you hang clothes on. Mount it high on a wall. Then hang S hooks over the rod. Screw jar lids into the S hooks. Twist your empty jars up into the lids. Now your jars hang like shirts in a closet.
This looks wild but it works. You can hang about twenty jars on a four foot rod. The jars stay out of the way. They do not take up any shelf space. And you can see each jar clearly because they hang at eye level.
Use heavy duty S hooks. Cheap thin ones bend under the weight. Spend two dollars more for thick steel hooks.
16. Store Jars in a Cooler
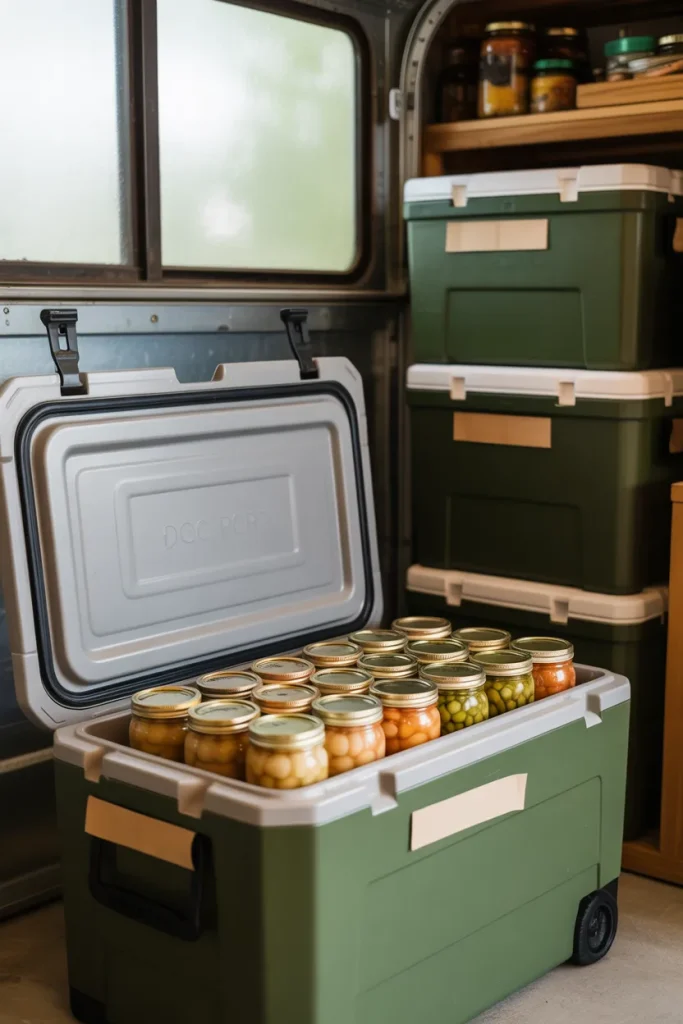
Do you have an old cooler in your garage? The kind you take camping? Put your canned jars inside. Close the lid. The cooler keeps the jars at a steady temperature. It also blocks all light. And if a jar ever leaks, the cooler catches the mess.
Coolers stack nicely too. Put one cooler on top of another. You can label the outside with masking tape. Write “2024 Peaches” or “Green Beans.” This works great for long term storage. Your jars will stay fresh for years.
The foam insulation in coolers also muffles sound. No clinking glass noises every time you walk past.
17. Use Drawer Dividers in Deep Drawers
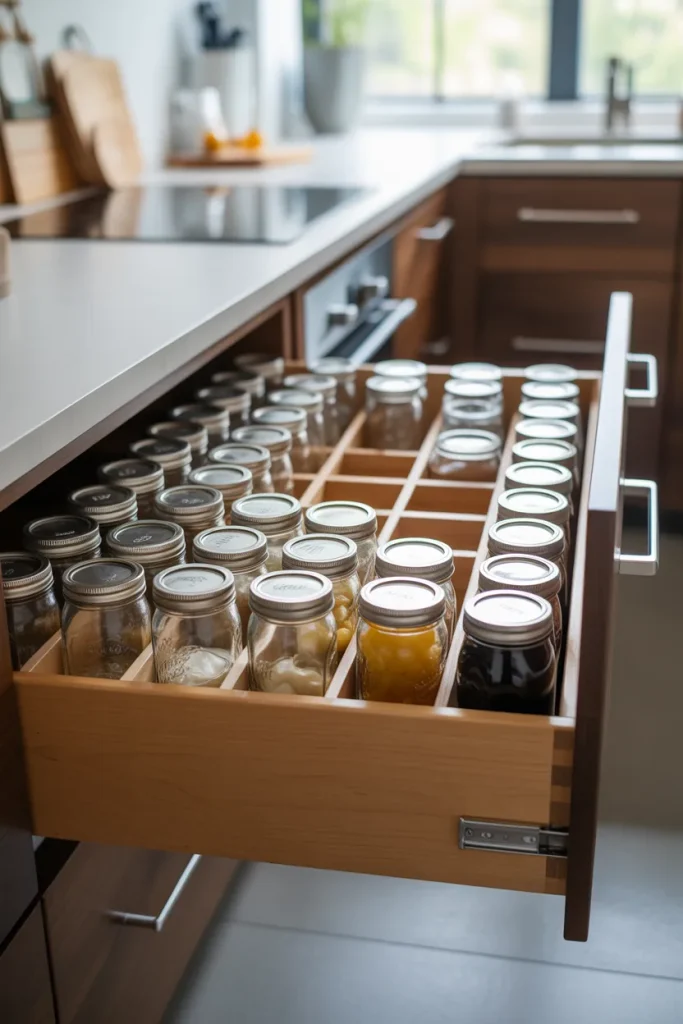
If you have deep kitchen drawers, do not waste them. Install adjustable drawer dividers. These are plastic or wooden strips that snap into place. You can move them to fit different jar sizes.
Arrange the dividers so each jar has its own little square. Put pint jars in one row. Put half pint jelly jars in another row. The dividers keep jars from sliding into each other when you open and close the drawer.
You can find drawer dividers at any home store for about fifteen dollars per pack. One pack does three drawers. This turns a messy junk drawer into a neat jar drawer.
18. Label the Tops, Not the Sides
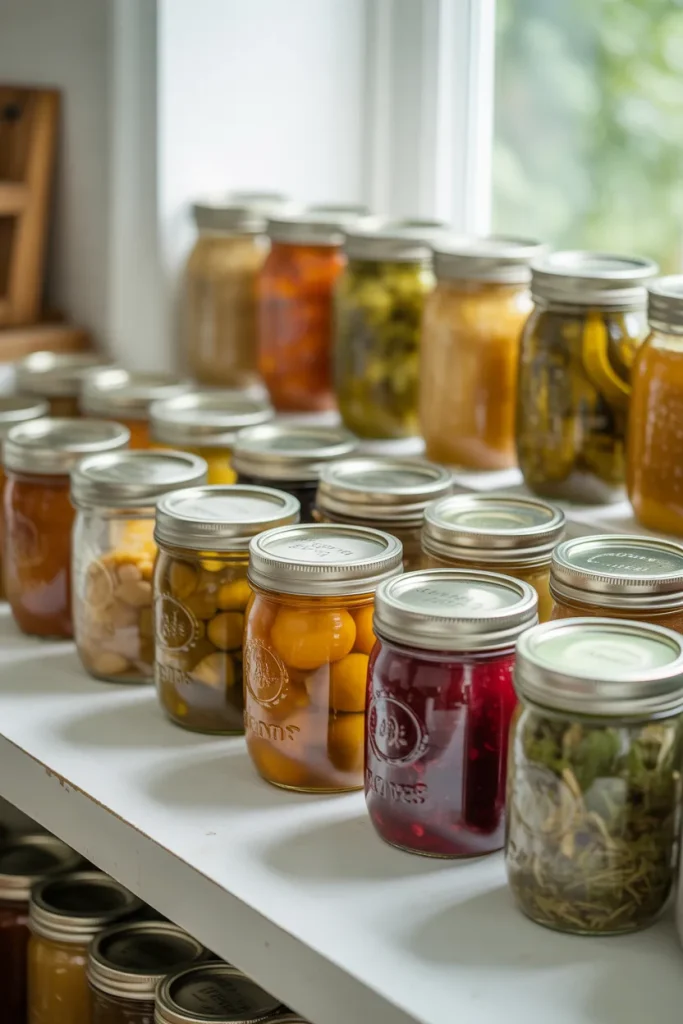
This last idea is not about where to put jars. It is about how to find them fast. Most people put labels on the sides of their jars. Then when jars are stacked or in a crate, you cannot read the labels. You have to pull each jar out.
Instead, put round labels on the lids. Then look down from above. You can see every label at once. No more digging. No more guessing. You just scan the tops and grab what you need.
You can buy round canning labels online. Or you can cut circles from masking tape. Write with a permanent marker. Put the label on the lid right after you fill the jar. This small change saves you hours over a whole year.
Conclusion
You now have eighteen smart ways to store your canning jars. Some are free. Some cost a little money. All of them work better than a wobbly stack on a high shelf.
Pick two or three ideas that fit your home best. Start with the easiest one. Maybe that is free wine boxes from the liquor store. Or maybe it is a magnetic strip for your lids. Try it for one week. See how much better your kitchen feels.
Then add another idea. Slowly build your perfect jar storage system. You do not have to do all eighteen at once. That would be overwhelming.
The main point is simple. Your hard work canning food deserves a safe home. Those jars full of summer tomatoes and fall apples are treasures. Treat them like treasures. Give them a spot where they will not fall, break, or get lost.
Your floor will stay dry. Your glass will stay whole. And next time you open your pantry, nothing will roll out and shatter. That is a win worth celebrating. Now go organize those jars. You have got this.