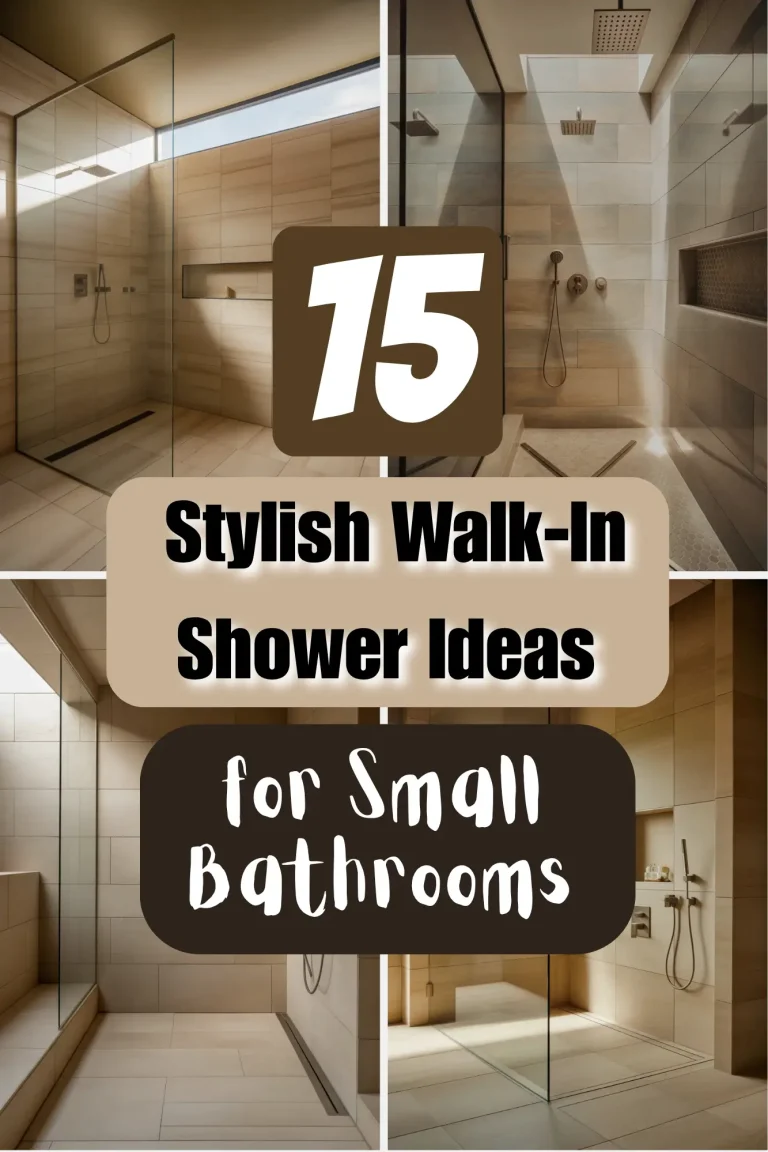
15 Board and Batten Bathroom Ideas That Actually Work

You walk into your bathroom. The walls are plain. Nothing bad. But nothing special either. You want a change. Something that looks expensive but does not drain your wallet. Something that feels warm, not cold like a doctor’s office.
Board and batten is your answer.
This old-school wall style has come back. Big time. It adds lines, depth, and charm. And the best part? You can do it yourself over a weekend.
Below are 15 board and batten bathroom ideas. Each one is simple. Each one works in small or large bathrooms. No fancy words. No tricks. Just real help.
Idea 1 – Half Wall With a Deep Color

Paint only the lower half of your bathroom wall with board and batten. Leave the top half plain or with simple wallpaper. Pick a deep color like forest green or navy blue for the boards. The dark shade hides dirt and water splashes. It also makes white fixtures pop. Your toilet and sink look cleaner next to a bold wall. Keep the boards wide. Wide boards mean fewer cuts and less work. Use moisture resistant paint so steam does not peel the finish.
Idea 2 – Tall Skinny Battens for Small Bathrooms

Small bathrooms feel cramped fast. Thick boards eat up visual space. So go thin. Use battens that are only one and a half inches wide. Space them close together, about two inches apart. The vertical lines trick your eyes. They make the ceiling seem higher. Paint everything the same light color, like soft cream or pale gray. The uniform look blends the lines into a gentle texture. Your small bathroom suddenly feels taller. No knocking elbows on the sink anymore.
Idea 3 – Board and Batten Behind the Toilet

Most bathrooms have that awkward empty space behind the toilet. It collects dust and looks forgotten. Turn it into a feature. Run board and batten on just that one wall section. Make it go from the floor to the ceiling. Use medium width boards. Paint it a color that matches your vanity. Then hang a small shelf above the toilet. Place a fake plant or a pretty soap bottle there. The boards give the eye a place to rest. Guests notice it right away. They will ask how you did it.
Idea 4 – Rustic Weathered Boards
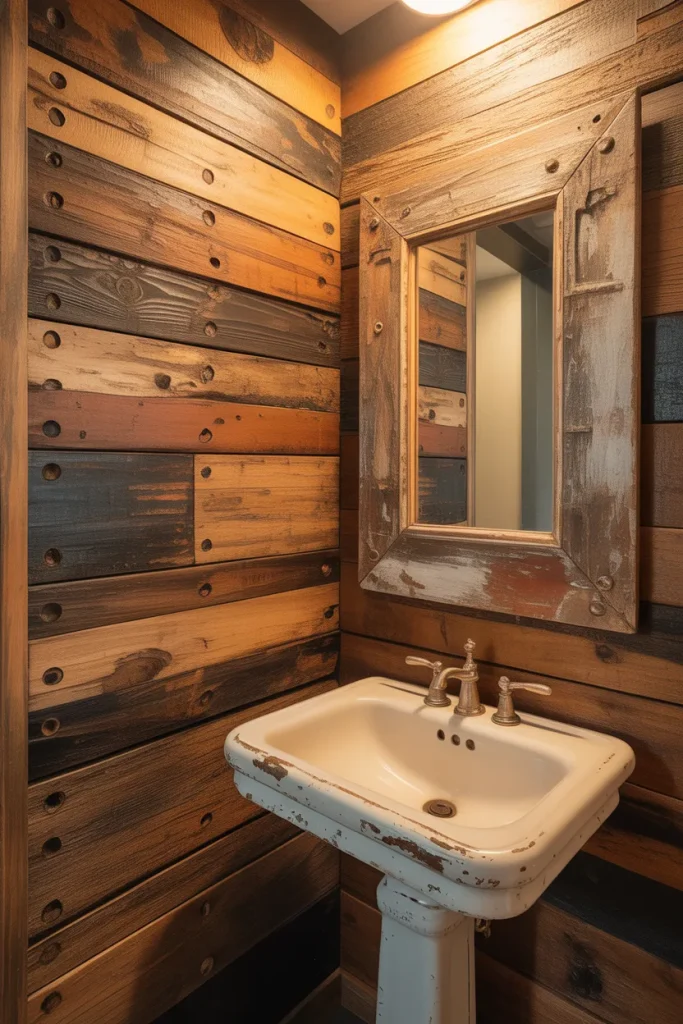
Not all bathrooms need shiny perfection. A rustic bathroom feels cozy and forgiving. Use reclaimed wood for your battens. Or buy new wood and beat it up a little. Drag a chain across it. Tap it with a hammer. Then stain it a warm brown. Do not paint over the dents and marks. Install the boards with visible screws or nails. Leave the caps exposed. Pair this look with a cast iron sink or an old mirror. The rough texture hides future dings. And every scratch just adds more character.
Idea 5 – Board and Batten With a Chair Rail Cap

A plain board and batten wall looks good. But adding a chair rail on top makes it look professional. The chair rail is a horizontal piece of wood that sits on top of the vertical battens. It creates a finished ledge. You can set small items on it. Think a candle, a tiny vase, or a seashell. The ledge also stops water from dripping behind the boards. Use a rounded chair rail so it feels smooth to the touch. Paint the ledge a slightly darker shade than the boards. That tiny difference catches the light.
Idea 6 – Full Wall Board and Batten in the Shower Area

Wait. Wood in the shower? Yes, but with big rules. Do not use real wood inside a wet shower. Use PVC or composite boards that look like wood. They do not rot or swell. Install them from floor to ceiling on the back wall of your shower. Keep the battens farther apart, about eight inches. This gives you fewer crevices to clean. Seal every seam with waterproof caulk. The result looks like a spa. It feels warm under bare feet. And you never worry about mold.
Idea 7 – Two Tone Board and Batten

Pick one color for the vertical battens. Pick a second color for the flat spaces between them. This sounds hard but it is easy. Paint your whole wall the lighter color first. Let it dry. Then install your battens. Paint the battens the darker color. Do not paint the flat wall again. The dark lines against the light background create a striped look. Try light gray walls with dark slate battens. Or soft pink walls with deep burgundy battens. This idea works best in a powder room. Guests will stare at the contrast.
Idea 8 – Horizontal Board and Batten

Almost everyone runs battens vertically. Flip the script. Run your boards horizontally across the wall. Use wide horizontal rails spaced far apart. This makes your bathroom look wider. It is perfect for narrow bathrooms where you bump your hips on the sink. Keep the horizontal lines below waist height. Paint them a glossy white. The gloss reflects light. Suddenly your narrow bathroom feels open. Add a long mirror above the boards to double the effect.
Idea 9 – Board and Batten as a Wainscoting Alternative

Wainscoting costs a lot. Board and batten does the same job for less money. Replace traditional wainscoting on your lower walls with board and batten. Go up about forty inches from the floor. Cap it with a shelf. Then paint everything semi gloss. The semi gloss finish wipes clean fast. Toothpaste splatter, soap drips, and hair spray all come off with one wet rag. This is a mom approved idea. It saves hours of scrubbing. And it looks just as fancy as expensive wainscoting.
Idea 10 – Board and Batten Around a Freestanding Tub

A freestanding tub sits in the middle of the floor. The space around it often feels empty. Build a short board and batten half wall behind the tub. Make the wall about waist high. Run it the full width of the tub. Paint it a calm color like seafoam or dusty blue. Place two small shelves on top of the wall. Put a washcloth, a candle, and a small plant there. The half wall defines the tub area. It makes the tub feel like a real room feature, not an afterthought.
Idea 11 – Black Board and Batten for Drama

Most people fear black walls. Do not be most people. Black board and batten in a bathroom looks bold and clean. Use matte black paint on the boards. Keep the flat wall between them white. The white spaces pop against the black battens. Install bright white lights on the ceiling. The light bounces off the white sections. The black sections absorb extra glare. The result is a bathroom that feels like a high end hotel. Black also hides every water spot and fingerprint. Less cleaning for you.
Idea 12 – Board and Batten With Hidden Storage

This idea takes a little more skill but pays off big. Build your battens on hinges. That is right. Make some battens into small doors. Behind each door, cut a hole in the drywall. Install a shallow storage box in the wall cavity. Now you have hidden spots for extra toilet paper, cotton balls, or cleaning spray. The battens look like normal wall lines. Nobody knows they open. Paint them the same as the rest. This is genius for tiny bathrooms with no cabinets. Every inch of space gets used.
Idea 13 – Single Accent Wall Only

You do not need four walls of board and batten. One accent wall is enough. Pick the wall your eyes hit first when you walk in. Usually that is the wall with the mirror or the window. Install board and batten only there. Leave the other walls plain. Use a bold color on the accent wall. Keep the other walls white or beige. The one wall grabs attention. It adds style without overwhelming the room. This approach also costs the least. You buy less wood and less paint. Smart and beautiful.
Idea 14 – Board and Batten With a Patterned Top Half

Plain drywall on top of your board and batten works fine. But a pattern is better. Find removable wallpaper with a simple print. Stripes, tiny flowers, or soft geometric shapes all work. Apply the wallpaper above your board and batten. Keep the boards solid white. The pattern draws the eye up. The white boards ground the room. This combination feels playful but not childish. It works great in a kid’s bathroom or a guest bath. And removable wallpaper means you can change it next year if you get bored.
Idea 15 – Floor to Ceiling Board and Batten in One Color

Sometimes simple wins. Run board and batten from the floor all the way to the ceiling. Cover every inch of every wall. Use narrow battens spaced evenly. Paint everything one single color. A soft sage green works. So does warm white or pale clay. The continuous lines from floor to ceiling make your bathroom feel like a jewel box. It feels finished and complete. No awkward transitions. No top half versus bottom half. Just pure texture from bottom to top. This is the most expensive idea on the list. But it transforms a boring bathroom into a room you love.
How to Start Your Board and Batten Project
Before you pick up a hammer, measure your wall space. Write down the numbers. Go to a hardware store. Buy furring strips or primed pine boards. One by three inch boards work well. Buy a level. Buy a nail gun if you have one. A hammer works too but takes longer. Buy paint that says “bathroom” or “moisture resistant” on the can. Gloss or semi gloss is best. Flat paint peels in steamy rooms.
Clear everything out of your bathroom. Remove towel bars and toilet paper holders. Patch any holes in the drywall. Sand the wall smooth. Draw level lines on your wall where each batten will go. Use a chalk line for long straight marks. Cut your boards to height. Attach them with construction glue and nails. Wipe away extra glue fast. Let everything dry overnight. Then paint two thin coats. Let the paint dry fully before hanging towels again.
Total time for a small bathroom: one weekend. Total cost: one hundred to three hundred dollars. Compare that to a full remodel for thousands. Board and batten wins every time.
Common Mistakes to Skip
Do not use untreated wood near the shower. It will warp and grow black mold. Do not skip primer. Primer blocks stains and helps paint stick. Do not use flat paint. Flat paint absorbs moisture and peels. Do not space battens unevenly. Measure twice. Cut once. Do not forget to seal the top and bottom edges with caulk. Water finds gaps. Do not overload a small room with wide boards. Thin boards work better in tight spaces.
Why Board and Batten Works So Well in Bathrooms
Bathrooms face three enemies: water, humidity, and boredom. Board and batten fights all three. The vertical lines break up large flat walls. Your eyes have something to follow. The extra wood thickness adds insulation. The room feels less echoey. The paint finishes wipe clean. Kids splash water. No problem. Wipe it up. Steam from hot showers slides off gloss paint. The boards stay dry. And the look never goes out of style. Farmhouse, modern, coastal, traditional – board and batten fits all of them.
What Tools Save You the Most Time
A miter saw cuts perfect angles fast. A nail gun sinks nails in one second. A stud finder helps you attach boards to solid wood behind the drywall. A level keeps your lines straight. A paint sprayer covers boards faster than a brush. You can rent all these tools at most hardware stores. Or borrow from a handy neighbor. The right tools cut your work time in half.
How to Make Your Project AdSense Friendly
Google likes honest, helpful content. That is what you just read. No fake promises. No get rich quick schemes. Just real bathroom advice. AdSense also likes family safe topics. Bathroom remodeling counts as safe. No swear words. No adult topics. No dangerous advice. Everything here is beginner friendly. Everything here is legal and safe. That means your site stays in good standing.
Final Thoughts Before You Build
Board and batten is not hard. It is cutting wood and nailing it to a wall. A teenager can do it. A grandparent can do it. You can do it. Start small. Pick one wall. Try the half wall idea with a single dark color. See how it feels. Then add more later. The beauty of board and batten is you can add to it over time. One wall this month. Another wall next month. Before you know it, your whole bathroom looks like a magazine photo.
Conclusion
Plain bathroom walls do nothing for you. They sit there. They collect dust. They make you feel bored every morning. Board and batten changes that. It adds lines, texture, and warmth without needing a construction crew. You have fifteen different ideas here. Some are cheap. Some are bold. Some are tiny changes that make a big difference. Pick the one that fits your space and your skill level. Buy the wood. Turn on some music. Spend a weekend building something with your own hands. Every time you walk into that bathroom after, you will smile. That is the whole point. Not perfection. Just a bathroom that feels like yours.