16 Inspiring Watercolor Background Ideas to Try
You pick up a brush. You dip it in water. Then you touch it to paper, and suddenly the color blooms like a flower in fast motion. That feeling? That’s why watercolor hooks you. But after a few paintings, you might stare at a blank white page and think, “What now?” The background. That’s where the magic lives.
A good background turns a simple doodle into something you want to frame. It can be soft like morning fog or bold like a candy wrapper. And you don’t need fancy supplies. Just paint, paper, water, and a little curiosity.
In this article, you’ll find sixteen watercolor background ideas that are easy to pull off. Each one works for beginners. Each one looks like you tried hard (even when you didn’t). Let’s jump in.
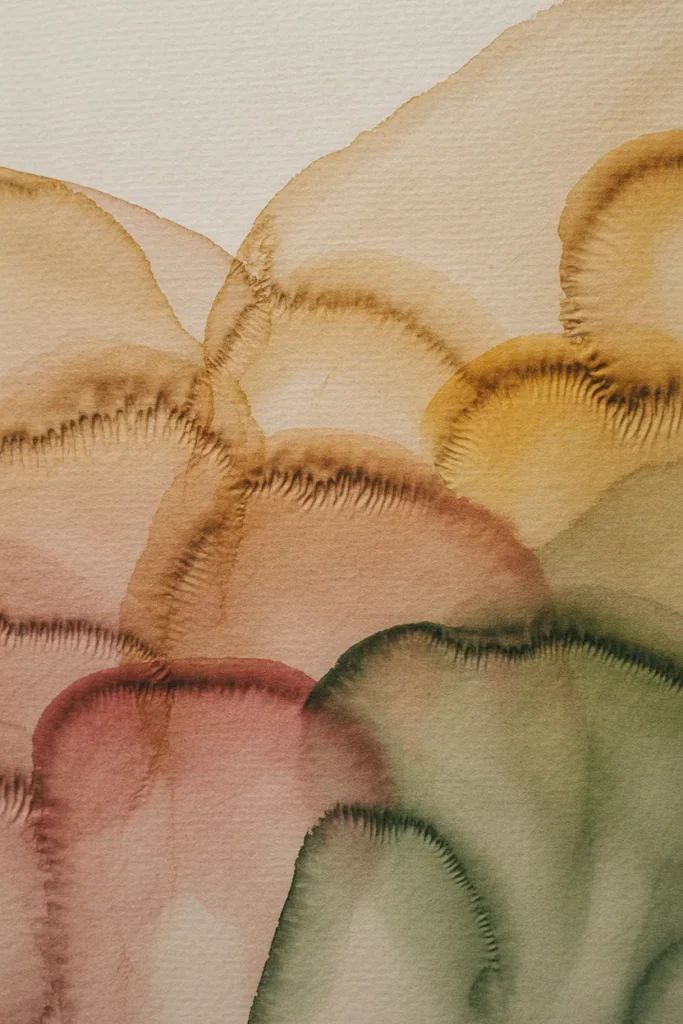
1. Wet‑on‑wet color melt
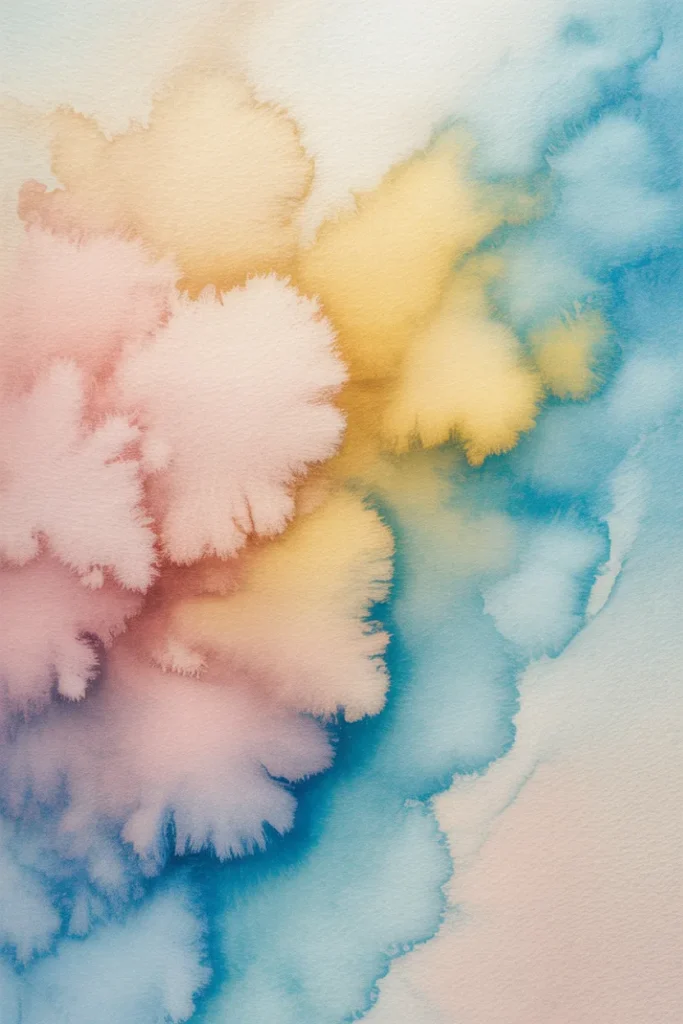
This is the classic watercolor trick. First, wet your paper with clean water using a wide brush. The paper should shine but not pool like a puddle. Then drop in colors—maybe a pink, then a yellow, then a soft blue. Watch them kiss and blend on their own. No pushing. No fighting.
Let it dry flat. You’ll get a dreamy, tie‑dye look that feels like a cloud having a good day. Use it behind flowers, quotes, or just as a standalone pretty page. The trick is to use two or three colors max. Too many turn into mud.
2. Salt texture surprise
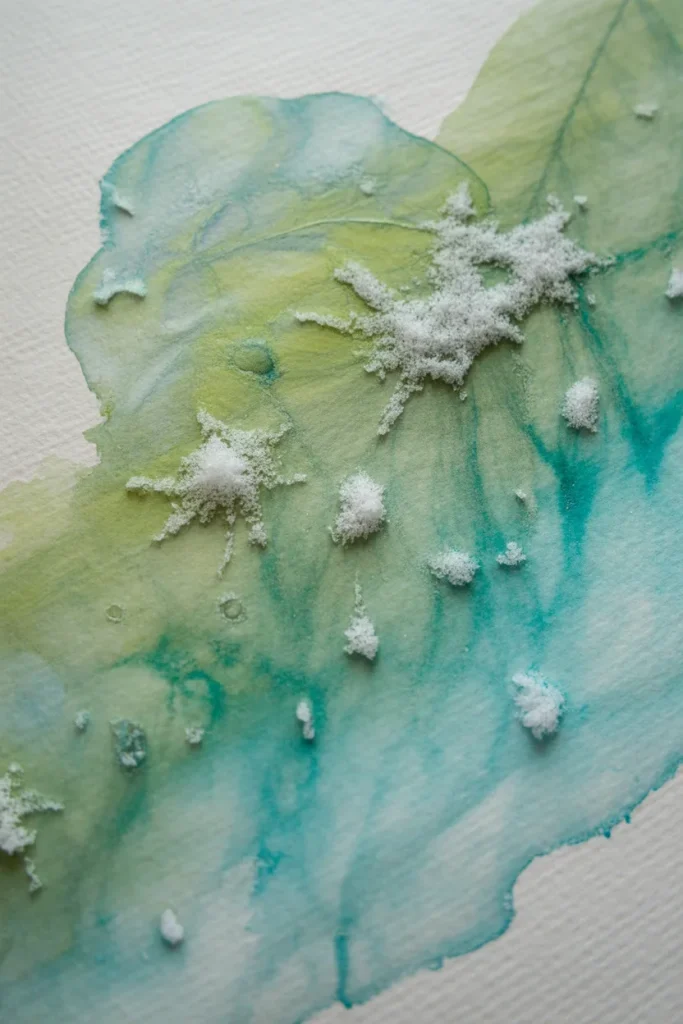
Paint a wet background with one or two colors—say, a leafy green and a splash of turquoise. While the paint is still wet and shiny, sprinkle ordinary table salt over the top. Don’t bury it. Just a pinch here and there. Walk away for ten minutes. When you come back, the salt will have sucked up little dots of paint, leaving starry, snowflake‑like shapes.
Brush off the dry salt with your fingers. What you get is a textured background that looks like frost on a window or bubbles in a soda. This works great for winter cards, ocean scenes, or fairy tale pages.
3. Plastic wrap crinkle
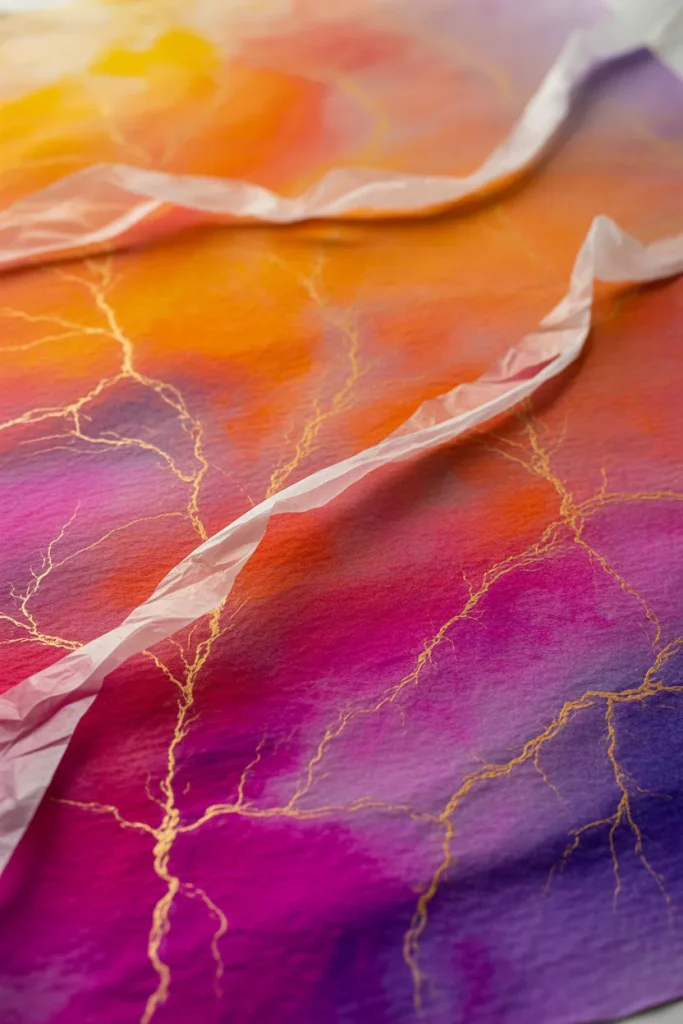
Paint a wet background using bright colors like orange, magenta, and purple. Before it dries, take a piece of plastic wrap (the kind from your kitchen) and scrunch it into a loose ball. Lay the crinkled plastic over the wet paint. Press gently so the plastic touches everywhere. Let the whole thing dry completely—don’t peek.
Once dry, peel off the plastic. You’ll see thin white lines and web‑like veins where the plastic lifted paint away. It looks like cracked earth, lightning bolts, or marble stone. Very fancy. Very cheap to make.
4. Splatter starfield
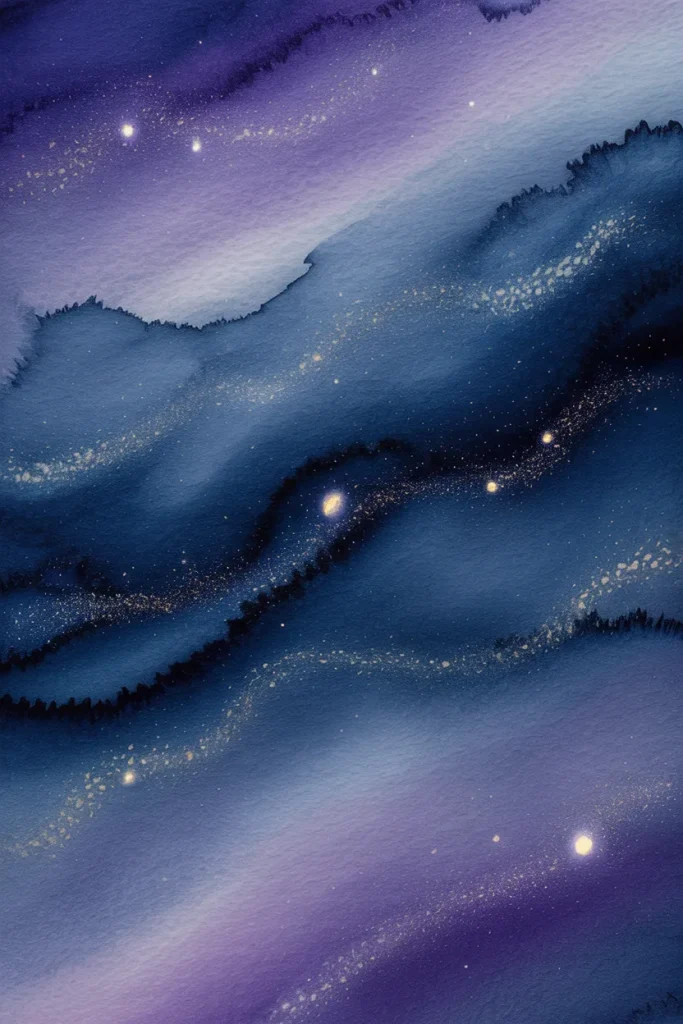
Load a brush with white watercolor (or a very light yellow). Tap the brush handle against your other hand’s finger right over your paper. Small drops will fly everywhere. Practice on scrap paper first. You want tiny dots, not big blobs.
Do this over a dry dark background—like a deep navy or midnight purple. The little dots look like stars. For bigger stars, use the tip of an old toothbrush. Flick the bristles with your thumb. This background makes any drawing feel like outer space. Add a simple moon or a rocket ship, and you’re done.
5. One‑color wash with edges
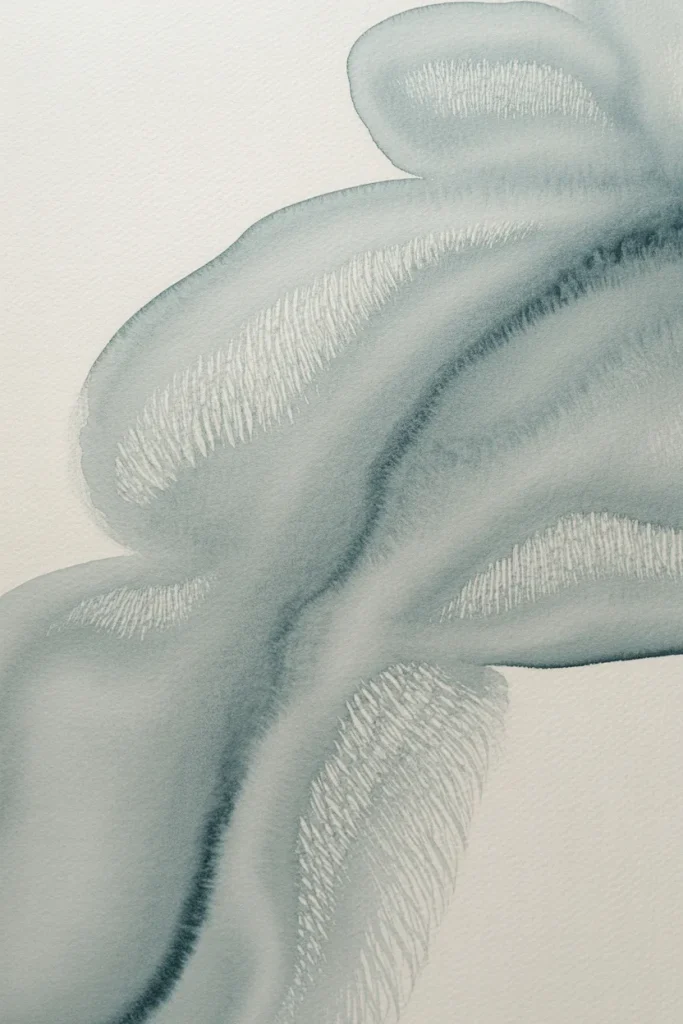
Pick one color. Just one. Maybe a calm gray‑blue or a warm terracotta. Paint a smooth wash across your whole paper. While it’s still damp, dip a clean brush in plain water and draw shapes into the wet paint—circles, stripes, wavy lines. The water pushes the pigment aside, leaving lighter paths.
This is called a bloom, and most beginners try to avoid it. But here, you want it. The soft, feathery edges make a quiet background that feels hand‑made. Write a single word on top, like “breathe” or “home.” Instant wall art.
6. Alcohol drop rings
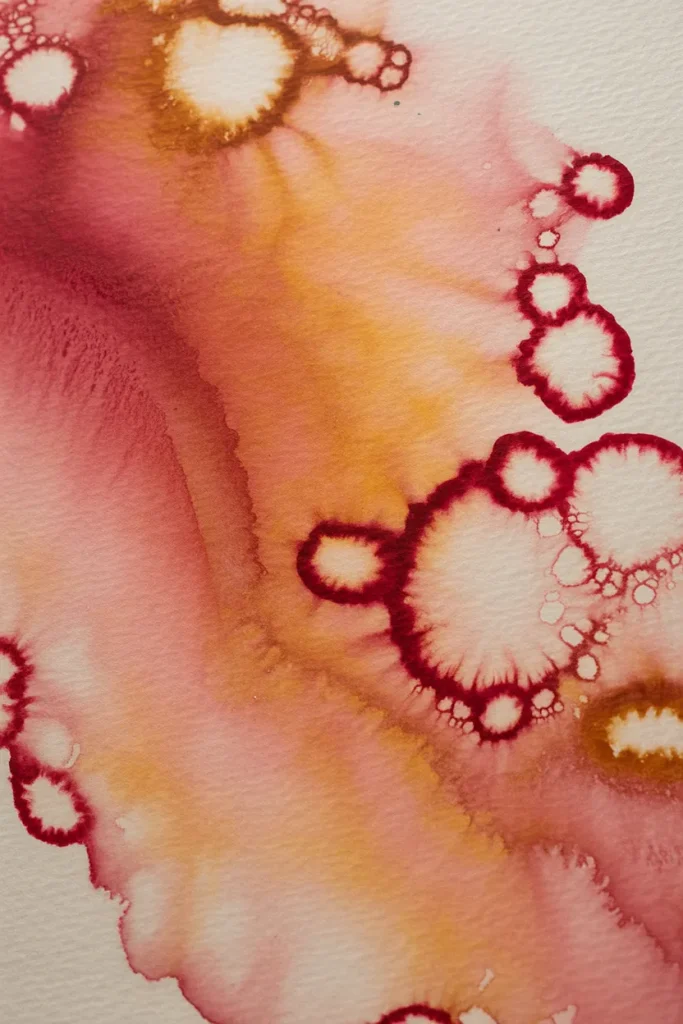
This one requires rubbing alcohol (ask an adult if you’re younger). Paint a wet, colorful background—reds and oranges work great. Then use a cotton swab or a clean brush to drop tiny amounts of alcohol onto the wet paint. The alcohol pushes the watercolor away in perfect circles. You’ll see rings with clear centers.
The effect is like looking through a microscope at cells. Or like bubbles popping. Don’t overdo it. Five or six drops are enough. Let it dry, and you have a science‑meets‑art background that looks costlier than it is.
7. Tissue paper texture

Crumple a sheet of plain white tissue paper (the kind for gift bags). Flatten it out again. You’ll have creases everywhere. Lay that crinkled tissue on top of a dry watercolor background that you already painted. Then paint over the tissue with a darker color. The paint will seep into the creases but skip the high spots.
Peel the tissue away while everything is still wet. You’ll get a reptilian scale pattern or a cracked leather look. This works beautifully for fantasy maps, dragon art, or old parchment styles.
8. Dry brush scratch
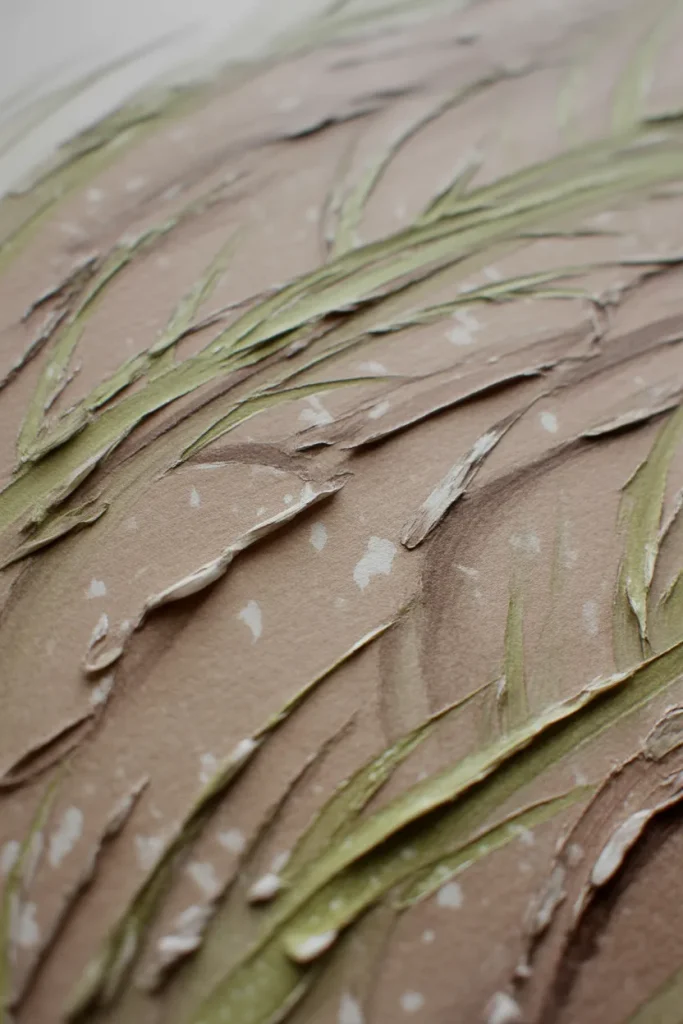
Load a brush with thick, almost dry paint. Very little water. Then drag the brush sideways across rough watercolor paper. The brush skips over the bumps, leaving streaks of color with white paper showing through. It looks like rough wood grain or wind blowing through tall grass.
Use two different colors one after the other—first a soft brown, then a pale green over the top. The layered streaks create depth without any hard work. This background is perfect for nature journaling or adding an “old barn wood” feeling.
9. Rubbing alcohol spray (fine mist)
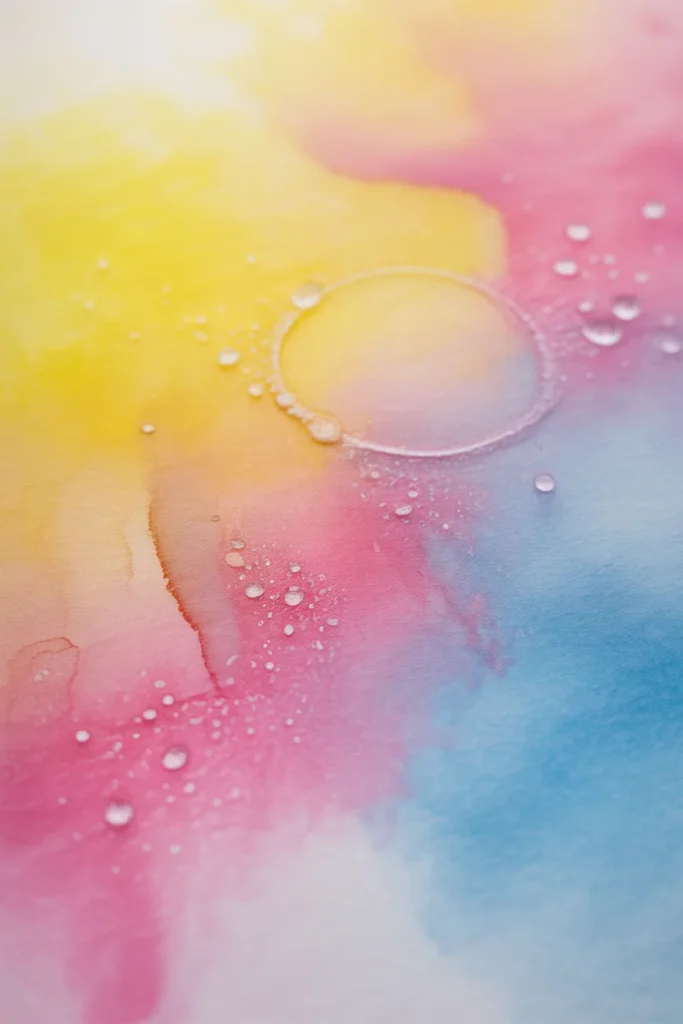
Put rubbing alcohol in a small spray bottle. Paint a wet background with three colors that blend well—like lemon yellow, bright pink, and light blue. Hold the spray bottle about a foot away from the paper. Give it one light spritz.
The alcohol will make tiny white dots and rings everywhere. It looks like rain on a window or distant stars. Very dreamy. Very easy. But be careful: too much spray turns your painting into a puddle. One spritz is plenty.
10. Gradient fade from dark to light
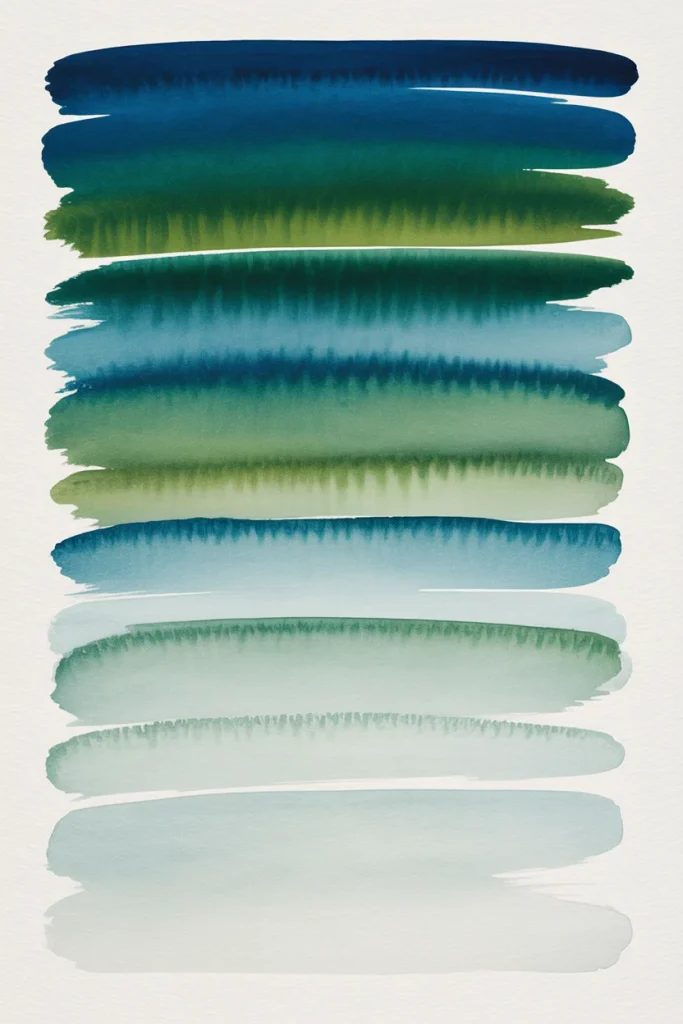
Start at the top of your paper with a very dark color—indigo or deep forest green. Paint a horizontal stripe. Then, without rinsing your brush, dip it in water and paint the stripe just below. The color gets lighter. Keep going: more water, lighter stripe. By the bottom of the page, you’re painting almost clear water.
You’ve made a smooth fade from dark to light. This background looks professional because it guides your eye down the page. Use it behind a silhouette of trees or a mountain range. The dark top makes the drawing pop.
11. Negative space with masking fluid
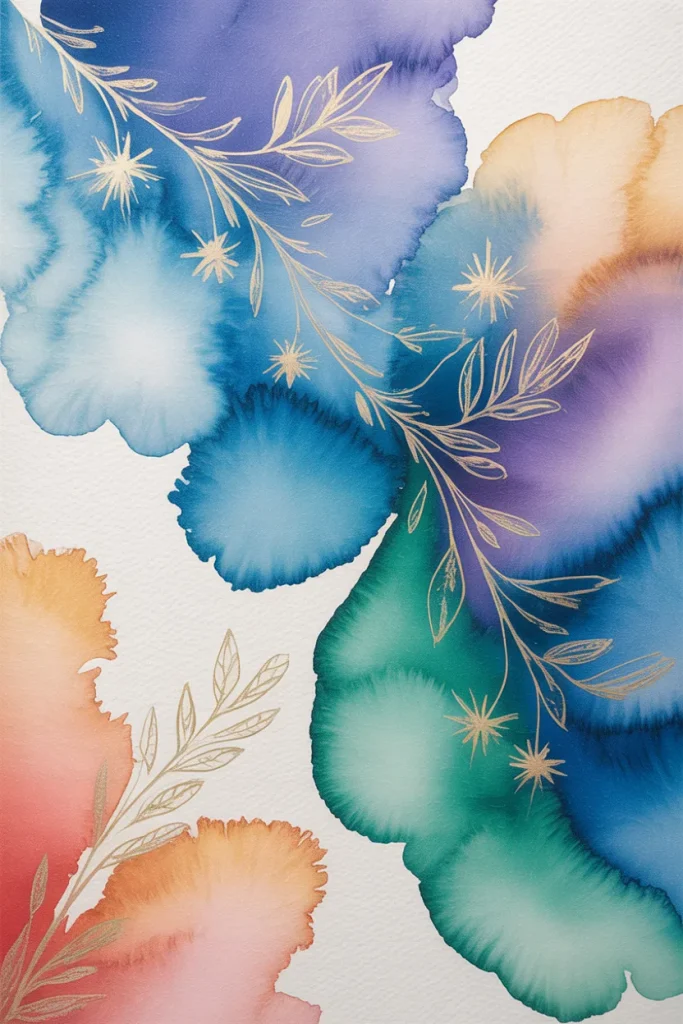
Masking fluid is like liquid rubber. Paint little shapes with it on dry paper—stars, leaves, hearts, or wavy lines. Let the fluid dry completely. Then paint a colorful background over everything. Any colors you like. Let that dry too. Then rub off the masking fluid with your finger or an eraser.
Where the fluid was, you’ll have clean white paper shaped exactly like your original drawing. It’s like magic. This background works for cards, signs, or any time you want words or shapes to stay perfectly white.
12. Two‑color swipe

Pick two colors that look good together, like peach and mint green. Paint a wet stripe of one color across the top of your paper. Paint a wet stripe of the second color right below it. Then take a dry, flat brush and swipe it straight down through both stripes. The colors mix in a soft, feathered line.
You get a marbled effect that looks like fancy endpapers in old books. Try different swiping directions: diagonal, zigzag, or curvy. Each gives a totally different background. This is fast, forgiving, and always pretty.
13. Coffee or tea stain
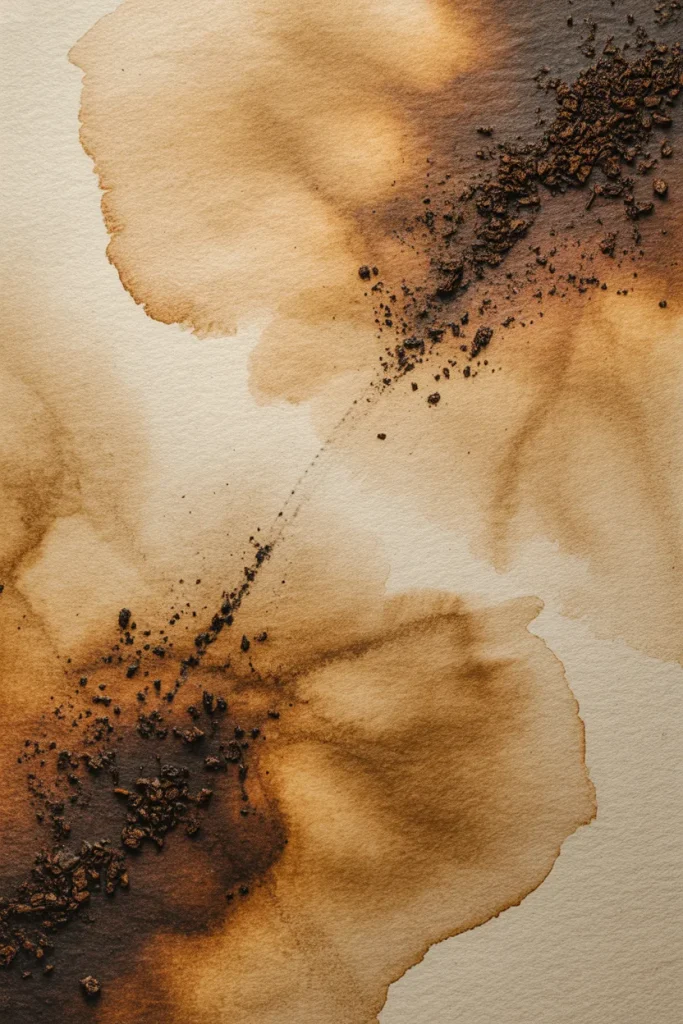
Brew a very strong cup of black coffee or dark tea. Let it cool. Use it just like watercolor paint. Paint a background using the coffee alone. It dries to a warm, sepia brown that smells like breakfast. For more texture, sprinkle instant coffee crystals onto wet coffee paint. They dissolve slowly, leaving darker speckles.
This background has an antique, treasure‑map look. No two stains are the same. It’s also safe for kids and smells amazing. Use it behind calligraphy or old‑fashioned drawings.
14. Raindrop runs

Paint a dry background first—any light color like sky blue or soft lavender. Let it dry fully. Then load a brush with a darker color and touch the tip to the top edge of your paper. Let a single drop run down the page. Tip the paper gently so the drop makes a crooked trail.
Do this over and over with different colors. The trails cross and overlap like raindrops on a window. It looks messy but in a really good way. This background says “I don’t try too hard” while actually looking creative.
15. Salt + plastic wrap combo
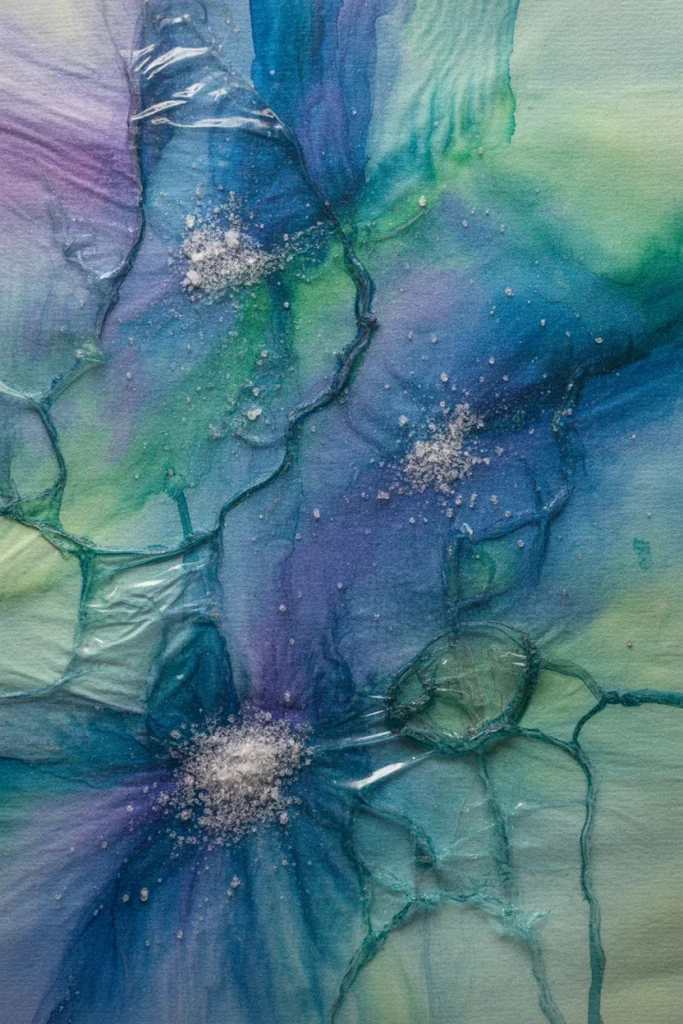
Paint a wet background with three colors. While it’s still very wet, sprinkle a little salt on some areas. Then lay crinkled plastic wrap on other areas. Let everything dry together. When you remove the plastic and brush off the salt, you get two textures in one background: starry dots and web lines.
The contrast makes your background look complex even though you did almost nothing. Use this for galaxy scenes, underwater worlds, or abstract art. People will ask how you did it. You can smile and say “kitchen tricks.”
16. Fingertip blending
This is the most human idea of all. Paint two or three wet blobs of color on your paper—not touching. Then use your clean fingertip (or a glove if you want) to smear the colors into each other. Your fingerprint leaves tiny ridges in the paint. It looks like soft velvet or distant hills viewed through fog.
No brush can make that exact texture. It’s yours alone. Use this background when you want something personal, like a handmade gift or a journal cover. The little imperfections are what make it beautiful.
Putting It All Together
You now have sixteen ways to turn a blank page into something alive. The best part? You don’t have to be good at drawing. Backgrounds do the heavy lifting. A simple doodle of a house looks ten times better with a sunset wash behind it. A single word like “dream” feels bigger with a starfield splatter.
Here’s a secret that professional artists know: backgrounds should be fun, not stressful. If a layer looks weird, call it texture. If two colors turn muddy, call it “earthy.” There are no mistakes in watercolor—only surprises.
What to Do Next
Try one idea today. Pick the one that made you curious. Get a cheap set of watercolors and any paper that says “watercolor” on the pack. Don’t overthink. Paint a background, let it dry, and put a simple shape on top—a flower, a moon, or just your name in big letters.
Then try another idea tomorrow. Mix two techniques together. Break the rules on purpose. Before long, you won’t be afraid of the white page anymore. You’ll see it as a playground.
Final Thought
Watercolor backgrounds are like the sky before a bird flies through. They set the mood without shouting. They give your art a place to live. And the more you play, the more you discover your own style. So go ahead. Wet that paper. Drop that color. Make a background that makes you smile.
