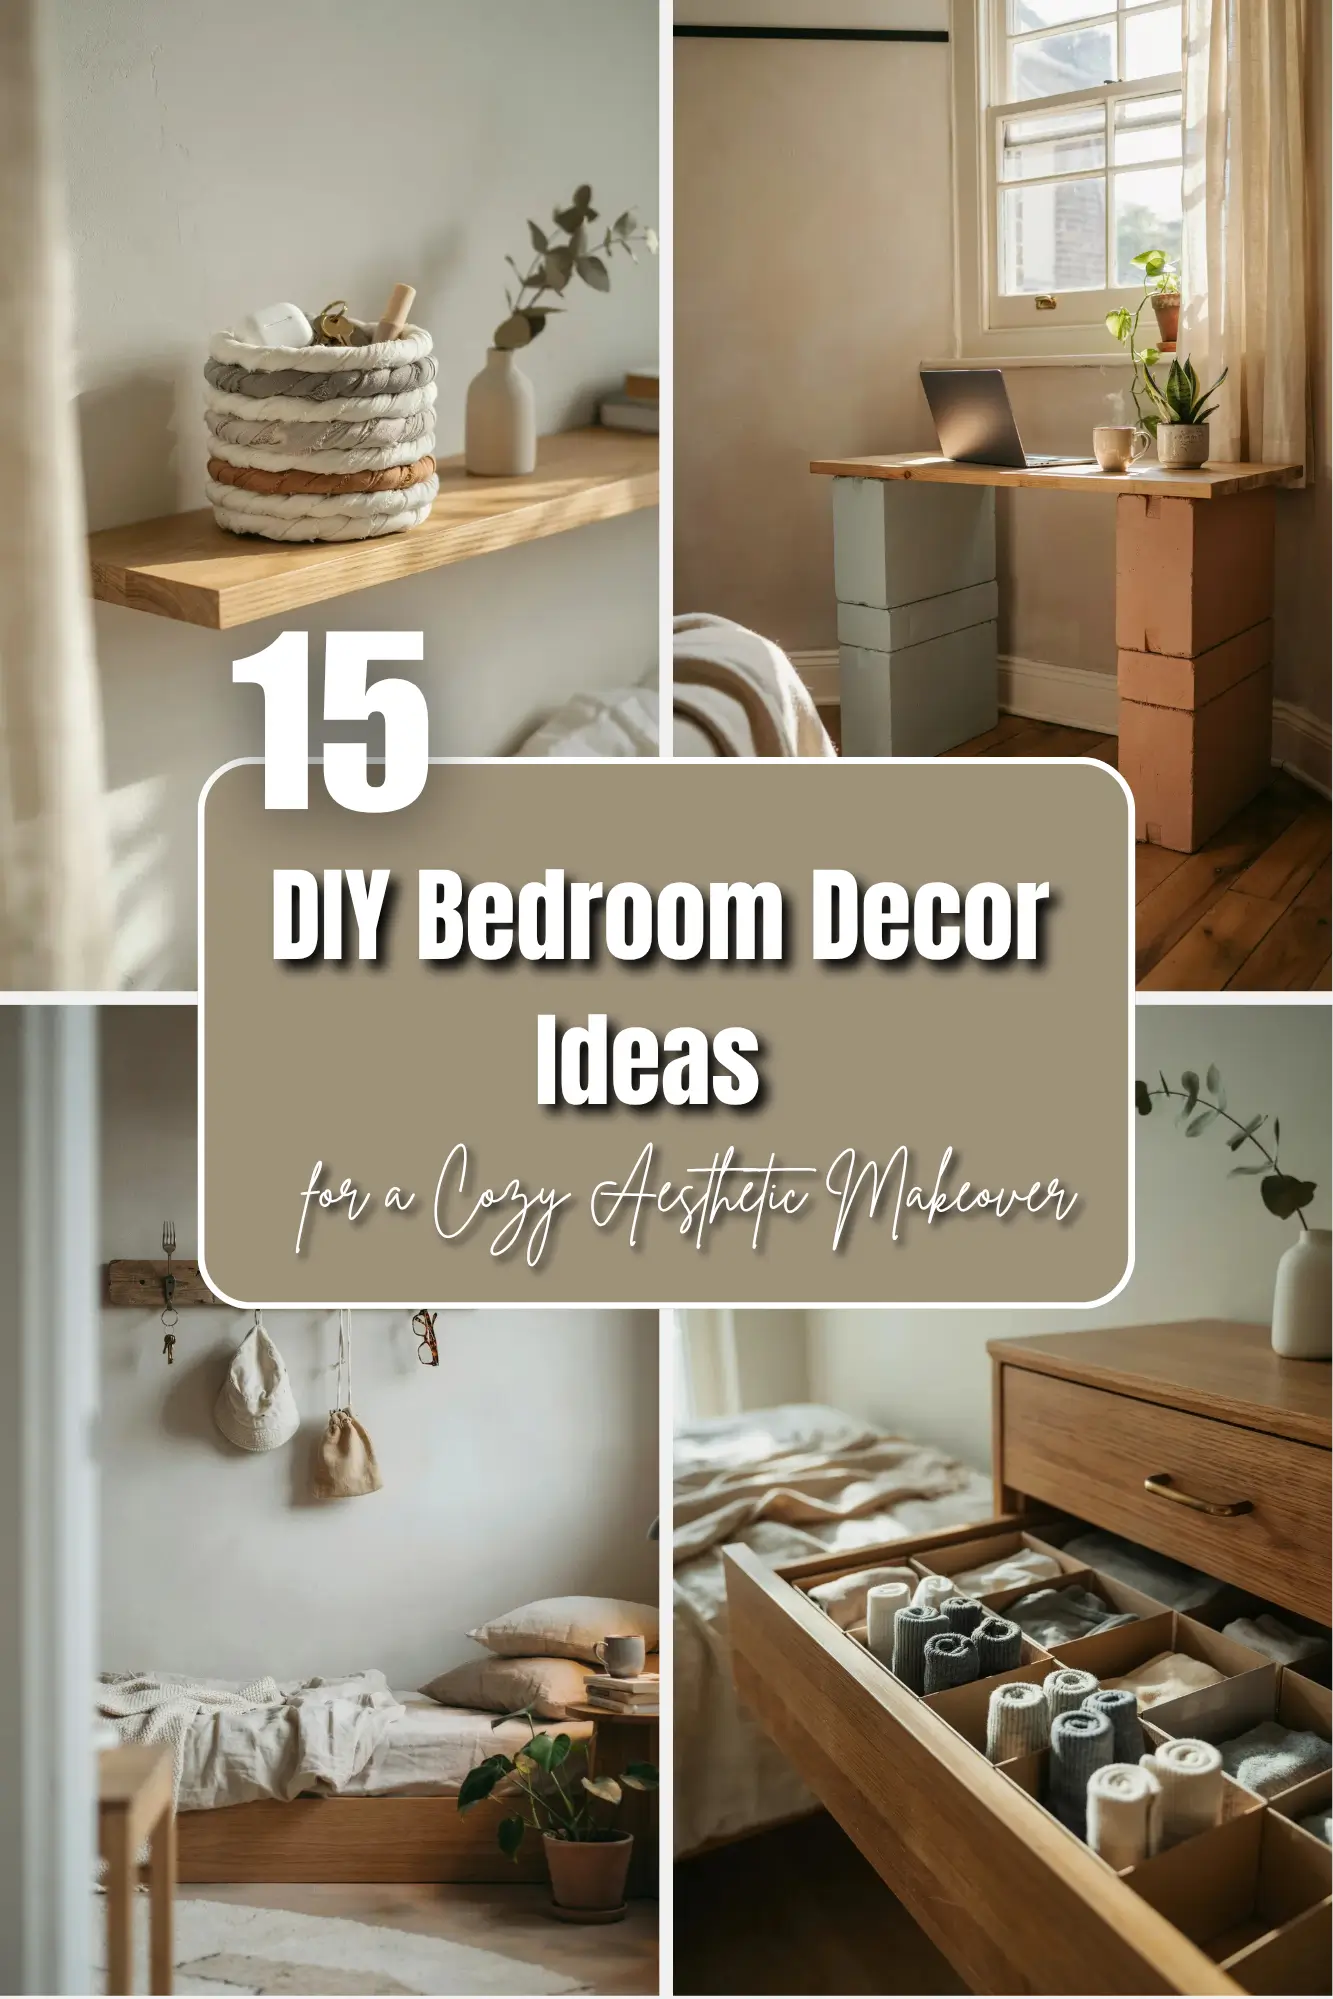
15 DIY Bedroom Decor Ideas
You walk into your bedroom. Beige walls stare back. A sad lamp sits in the corner. Your bed looks like a box on legs. You think, “I cannot afford a magazine room. I am stuck with this boring cave.”
Stop right there.
You do not need $5,000 or a interior design degree. You need your own two hands and a Saturday afternoon. DIY bedroom decor is not about fancy tools or perfect sewing. It is about small, smart changes that make your room feel like you.
I have gathered fifteen DIY ideas that anyone can finish. No woodshop required. No robotic steps. Just human-friendly tricks that turn a blah bedroom into a cozy nest.
Let us get your hands dirty.
Idea 1 Crate Nightstands
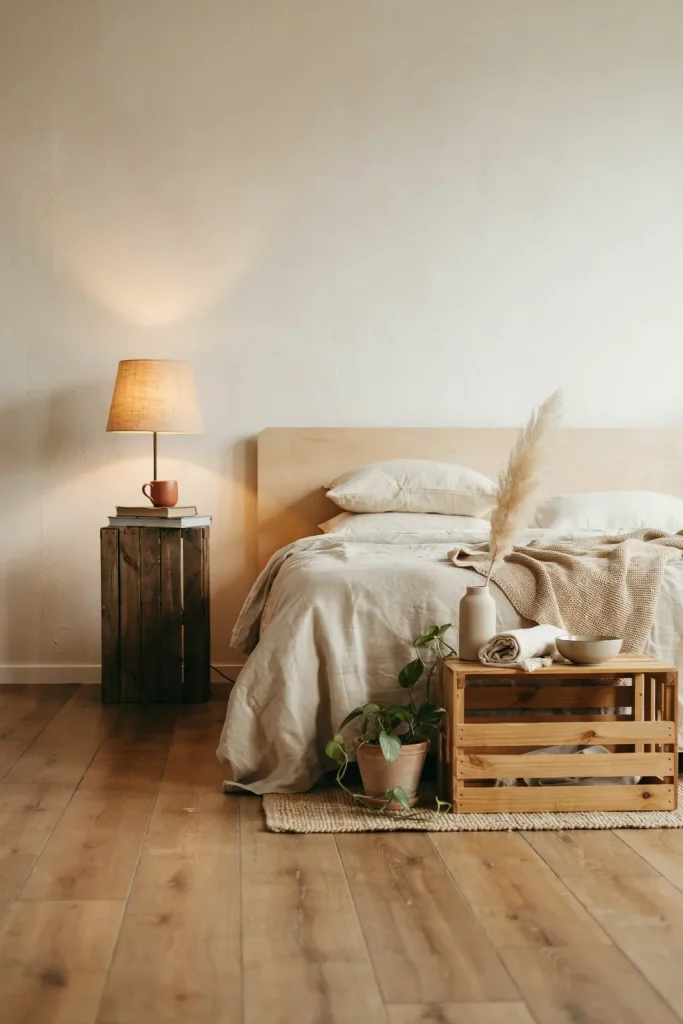
That old wooden fruit crate from the farmer’s market? Flip it on its side. Sand the rough edges. Rub in some dark wax or cheap wood stain. Now you have a nightstand with built-in shelf space.
You do not need two matching crates. Use one tall crate on your side. Use a flat crate on your partner’s side. The mismatched look feels collected, not store-bought.
Put your lamp on top. Slide books into the open side. The air moves through the slats, so dust does not hide underneath like a normal nightstand. Cost? Zero dollars if you already have a crate. Fifteen bucks if you buy one from a craft store.
Idea 2 Rope-Wrapped Lamp Base
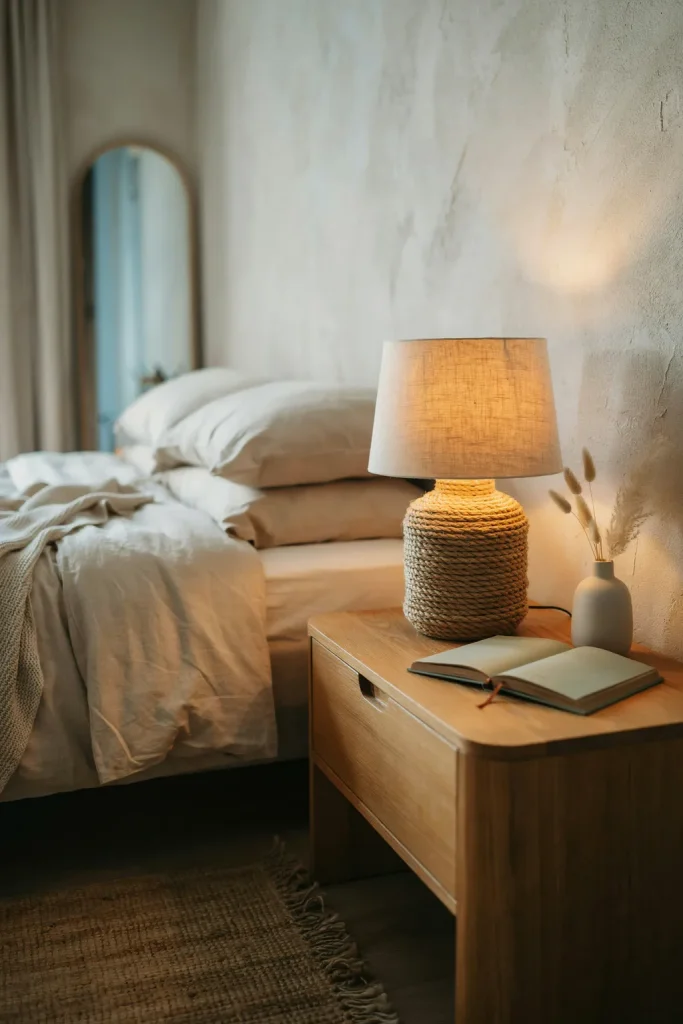
That ugly thrift store lamp with the brass base? Hide the brass with natural rope. Get 50 feet of cotton or jute rope from a hardware store for under $8. Squeeze a line of hot glue onto the lamp base. Wrap the rope tightly around, row by row.
Keep each row snug against the last. When you reach the top, tuck the rope end under the last wrap and glue it flat.
The rope adds warmth and texture. Your bedroom stops looking like a dentist’s office. Plus, rope hides scratches and stains. If you mess up a section, peel it off and start again. No one will know.
Idea 3 Painted Stripe Rug on Carpet
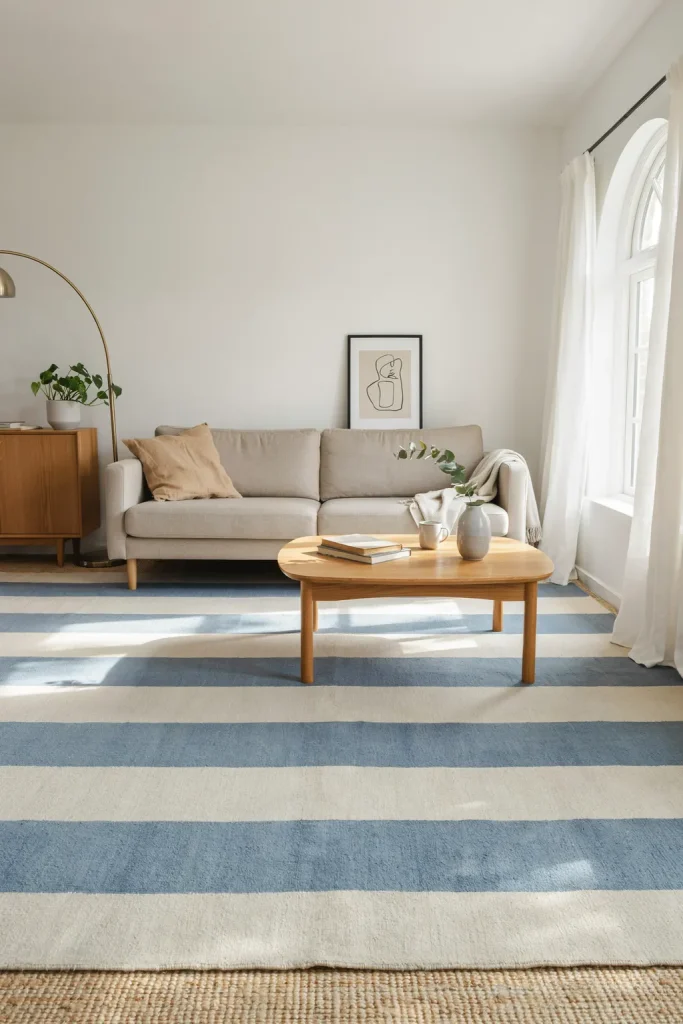
You cannot afford a $300 wool rug. But you have a beige carpet that looks like oatmeal. Fix it with blue painter’s tape and leftover wall paint.
Tape off wide horizontal stripes across your carpet. Use a level to keep lines straight. Make each stripe about 8 inches tall. Leave gaps of bare carpet between them. Then roll cheap flat latex paint right onto the carpet fibers.
Wait four hours. Peel the tape. You now have custom striped carpet. The paint soaks into the fibers and stays flexible. Vacuum gently after a week. The stripes last two years before you need to touch them up.
This trick works best on low-pile carpet. Do not try it on shag. Shag turns into a matted mess
Idea 4 Book Page Wall Art
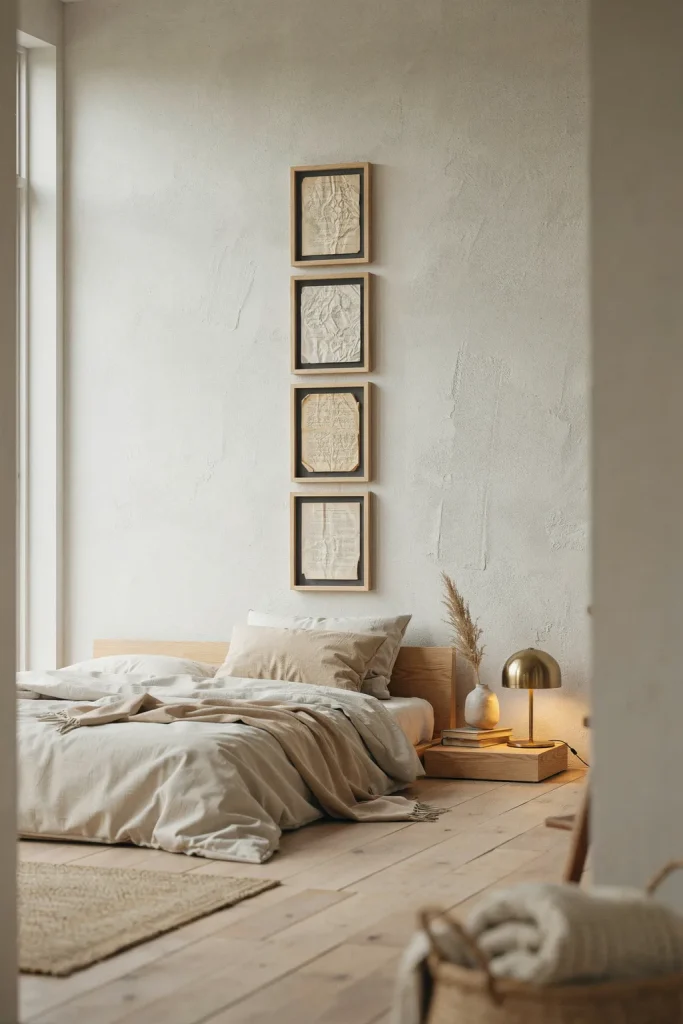
Gather an old paperback with yellowed pages. Any title works, but romance novels have the best crinkly paper. Tear out ten pages. Crumple each page into a loose ball. Uncrumple carefully so the paper has wrinkles but no rips.
Iron each page flat. Now you have vintage-looking sheets with natural creases. Frame them in five cheap IKEA frames. Hang them in a vertical line beside your bed.
The words become texture, not reading material. Guests will lean close and say, “Wait, is that a real book?” You nod. Total cost: five frames for $20. One book for $1.
Idea 5 PVC Canopy Curtains

You want a dreamy canopy over your bed, but real metal canopy frames cost $200. Go to the hardware store. Buy three 10-foot lengths of 1-inch PVC pipe. Buy four corner fittings. Cut the pipes to fit your bed’s width and height.
Assemble a simple rectangle that floats above your mattress. Hang it from ceiling hooks with thin rope. Drape a sheer curtain or a flat bedsheet over the top. Let the fabric fall loose around the bed posts.
Paint the PVC with spray paint made for plastic. Choose matte black or flat white so it looks like metal. No one will guess you used plumbing parts. Total cost under $40
Idea 6 Cork Board Headboard
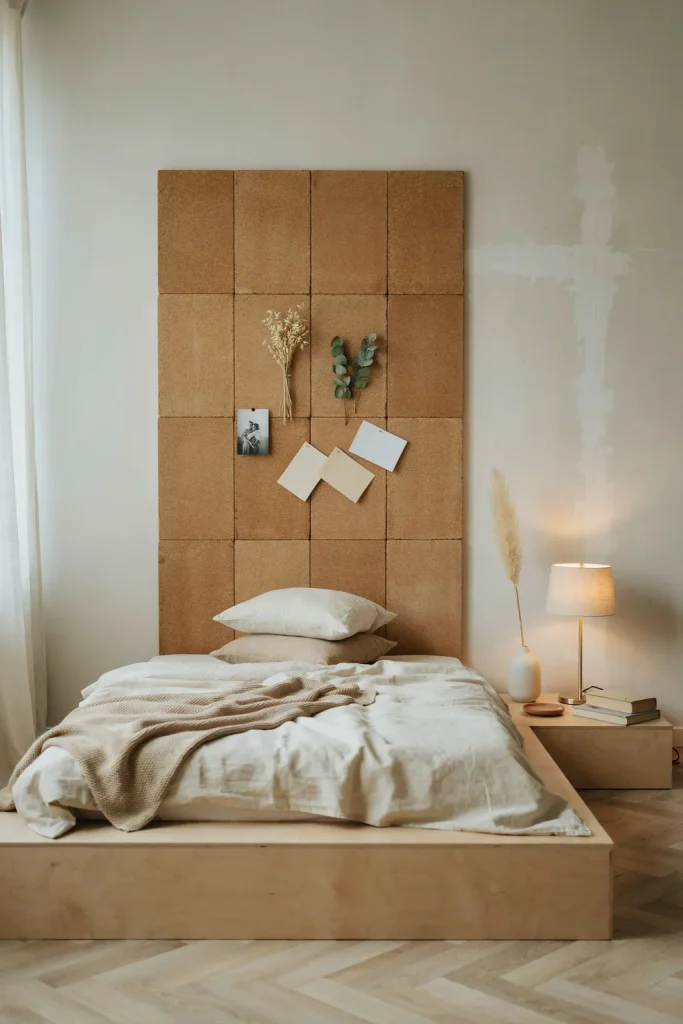
That blank wall behind your headboard screams for attention. Buy six packs of 12×12 inch cork floor tiles. These are not the thin bulletin board kind. Real cork floor tiles are thick and soft.
Arrange them in a rectangle the width of your bed. Glue them to a piece of thin plywood or foam board. Mount the whole thing on your wall using command strips.
Now you have a headboard you can pin things into. Stick photos, postcards, or dried flowers right into the cork. Change the display every month. When the cork gets beat up, peel off the top layer. Cork goes deep, so you get three or four fresh surfaces.
Cost around $35. No sewing. No power tools.
Idea 7 Drawer Pull Jewelry Holder
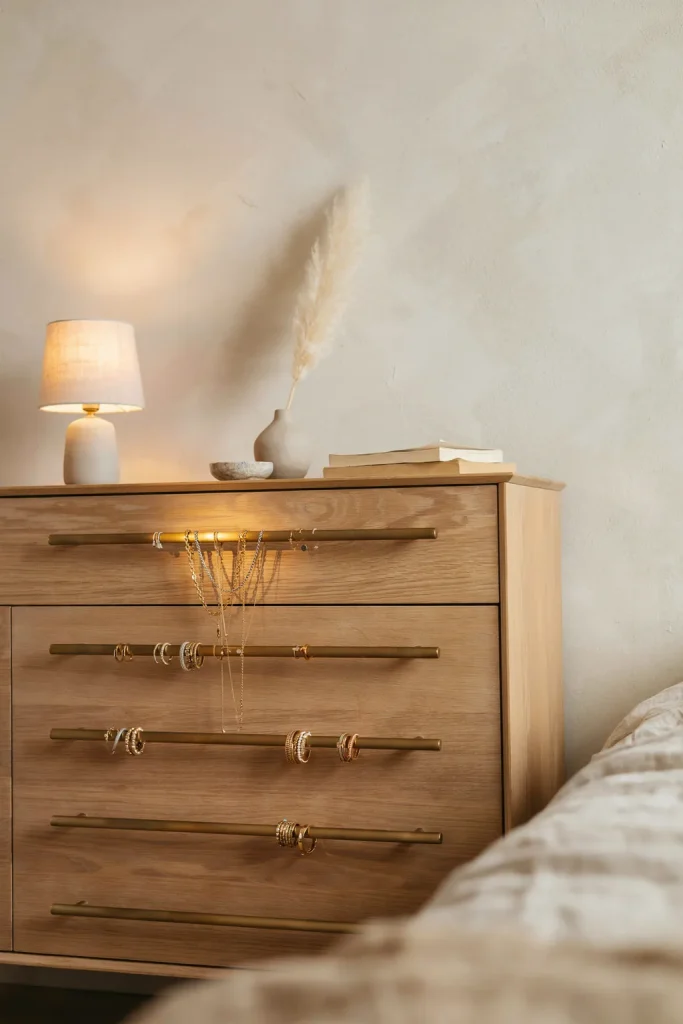
Your dresser has those boring round knobs. Replace three of them with long metal drawer pulls. Choose pulls that stick out 4 inches from the drawer face. Mount them horizontally.
Now you have a place to hang necklaces. Loop chains over the pull. Earrings with hooks can hang from the screw holes. Bracelets stack along the bar.
This keeps jewelry untangled and visible. You stop losing earrings in a bowl. Plus, the shiny pulls look like intentional decor, not a craft project. Cost for three pulls: $12 at a hardware store.
Idea 8 Shoe Box Drawer Dividers
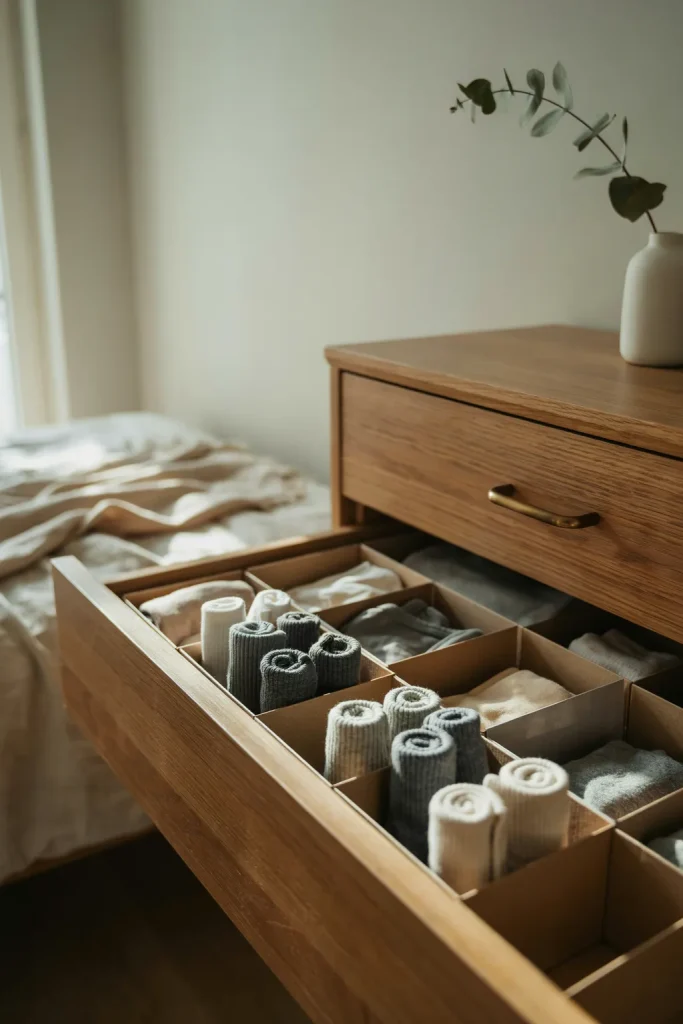
Your sock drawer is a dark pit of loneliness. Matches go missing. Toes suffer. Fix it with shoe boxes. Cut the lids off two identical shoe boxes. Trim the boxes to fit snugly inside your drawer. They become little compartments.
Fold socks into tight rolls. Stand each roll on its end inside a compartment. One box holds six sock rolls. The other box holds underwear. Suddenly, you open your drawer and see everything.
Cover the shoe boxes with leftover wrapping paper if you want pretty colors. But even plain brown cardboard works. This costs nothing except the shoes you already bought.
Idea 9 Washer String Lights
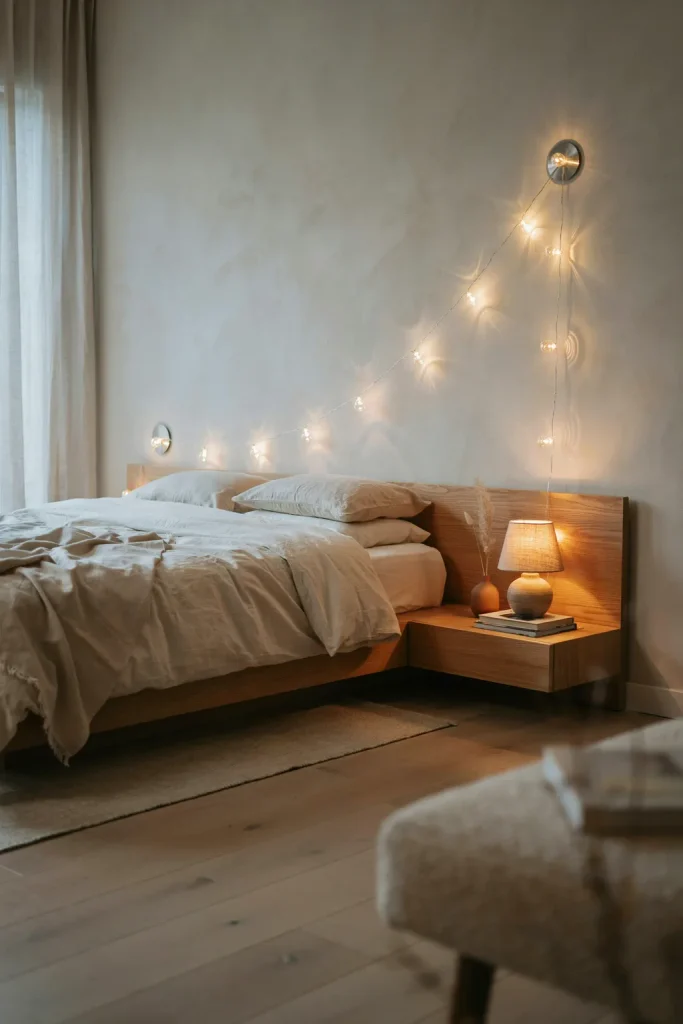
Those tiny fairy lights look magical but childish. Make them look grown up by adding flat metal washers. Buy a bag of 1-inch washers from a hardware store for $5. Thread each washer onto a string light bulb before you hang the lights.
The washers sit behind each bulb. They reflect the light like little mirrors. The metal adds weight so the string hangs straight instead of drooping. And the silver color matches any bedroom style.
Drape the lights along your headboard or above a mirror. The washers catch the glow and throw tiny rings of light on your walls. Much cooler than plain bare bulbs.
Idea 10 Paint Stick Wall Shelf
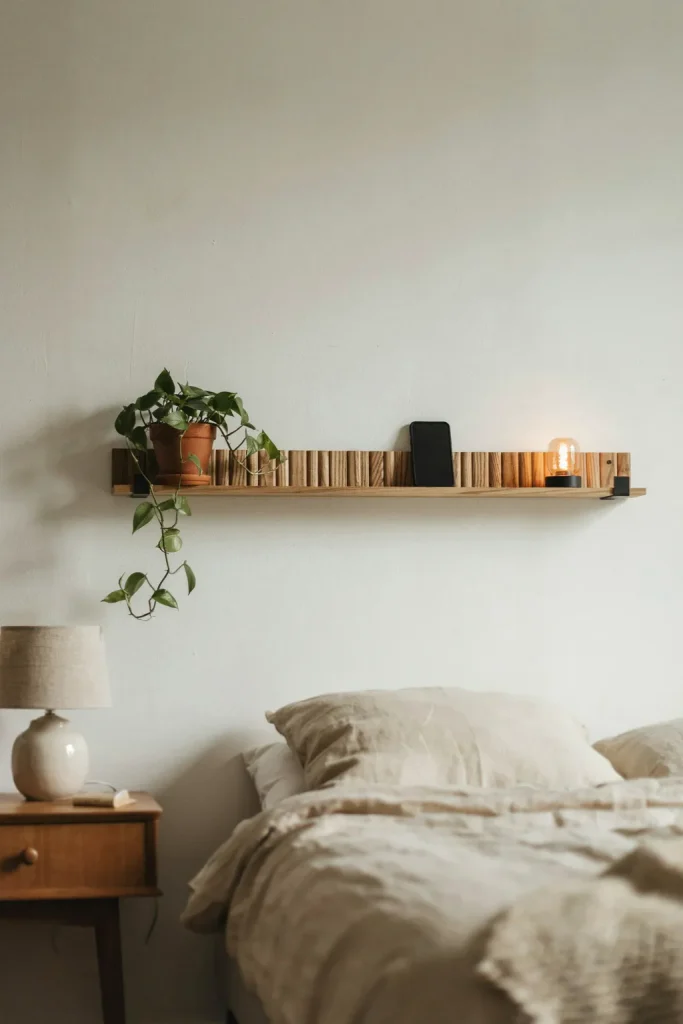
You know those free paint stirrers at the hardware store? Grab ten of them on your next visit. No one cares. Glue them side by side to make a solid plank. Use wood glue and let it dry overnight.
Sand the top smooth. Stain it dark walnut or paint it white. Attach two small L-brackets to the wall. Set your new plank on top.
You now have a skinny shelf perfect for one small plant and your phone. The paint sticks have a ribbed texture that looks intentional. Cost: zero for the sticks, $6 for brackets. Do not use this shelf for heavy books. It holds about five pounds max.
Idea 11 Sweater Pillow Covers
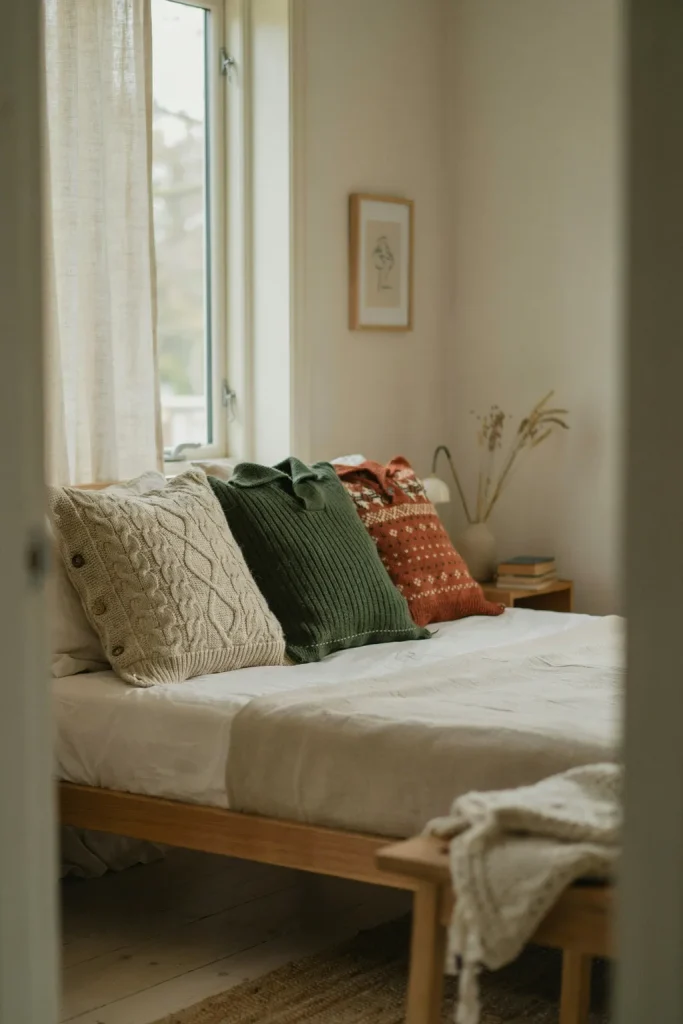
That old wool sweater with a hole in the elbow? Do not throw it away. Cut the arms off. Turn the body into a pillow cover. Slide a pillow insert inside the sweater. Fold the raw edges under. Sew them shut with a simple running stitch.
The sweater’s collar becomes a decorative flap. Buttons or zippers become details you did not have to add. No one knows you started with a thrift store sweater.
Use chunky knits for winter. Use lightweight cotton sweaters for summer. Swap them out when the seasons change. Cost: free if you use your own old sweater. Five bucks if you buy one from a charity shop.
Idea 12 Masking Tape Geometric Wall
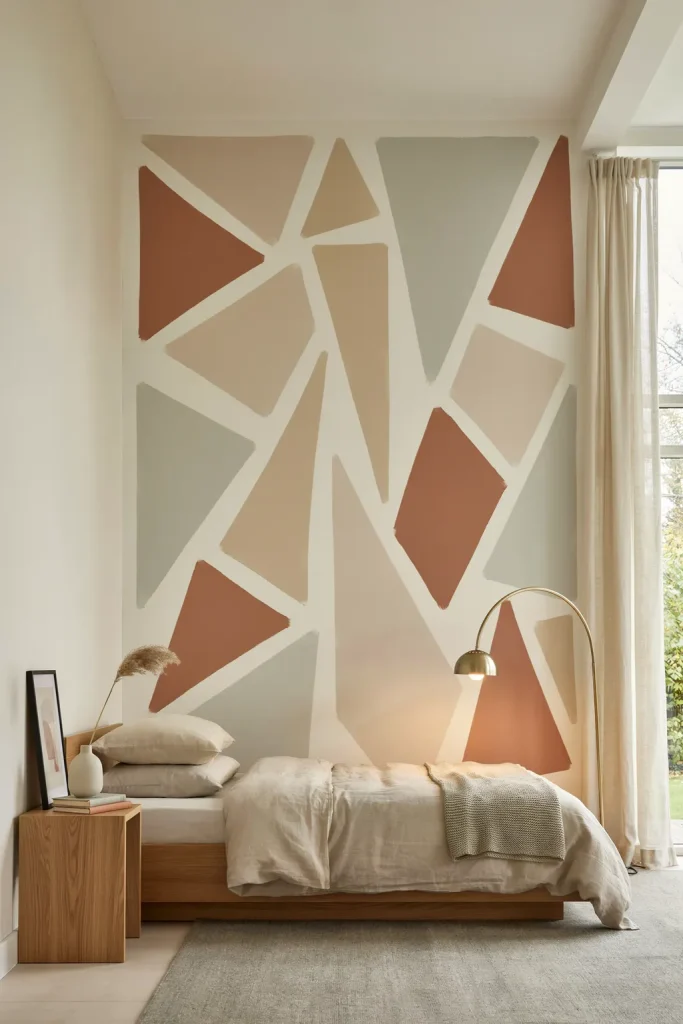
Painting a whole accent wall is messy. Tape is cleaner. Use wide masking tape (2 inches or wider) to make triangles or diamonds on one wall. Leave blank spaces between the tape lines.
Paint the whole wall with cheap white or gray paint. Let it dry. Peel the tape off while the paint is still a little wet. The taped areas stay the original wall color. The rest of the wall changes.
You end up with sharp geometric shapes floating on a new background. This looks like expensive wallpaper. But you spent $20 on paint and $6 on tape. No straightedge required because tape is already straight.
Idea 13 Fork Hook Wall Rack
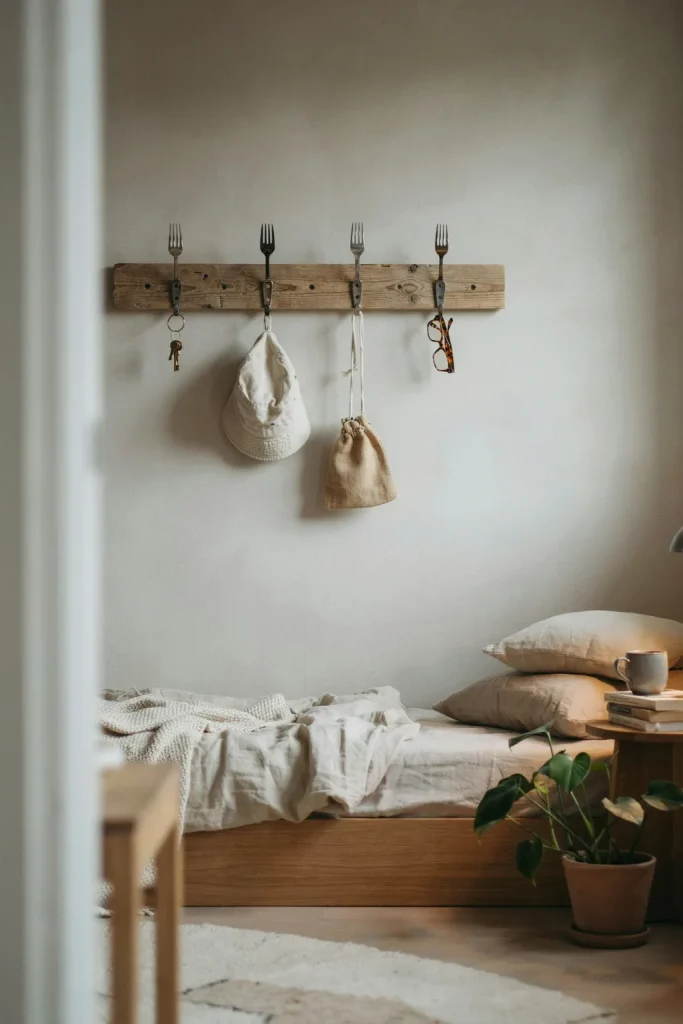
Take four cheap metal forks from a dollar store. Bend the tines forward using pliers. Hammer the handle flat. Screw each fork into a scrap piece of wood so the bent tines stick out like hooks.
Mount the wood strip on your wall. Hang keys, hats, or light bags on the fork tines.
This sounds ridiculous. It looks amazing. The fork hooks make people laugh, then they say, “Wait, that is actually useful.” Use old silver-plated forks for a vintage look. Use modern stainless forks for a sleek kitchen vibe in your bedroom.
Cost under $10.
Idea 14 T-Shirt Yarn Basket
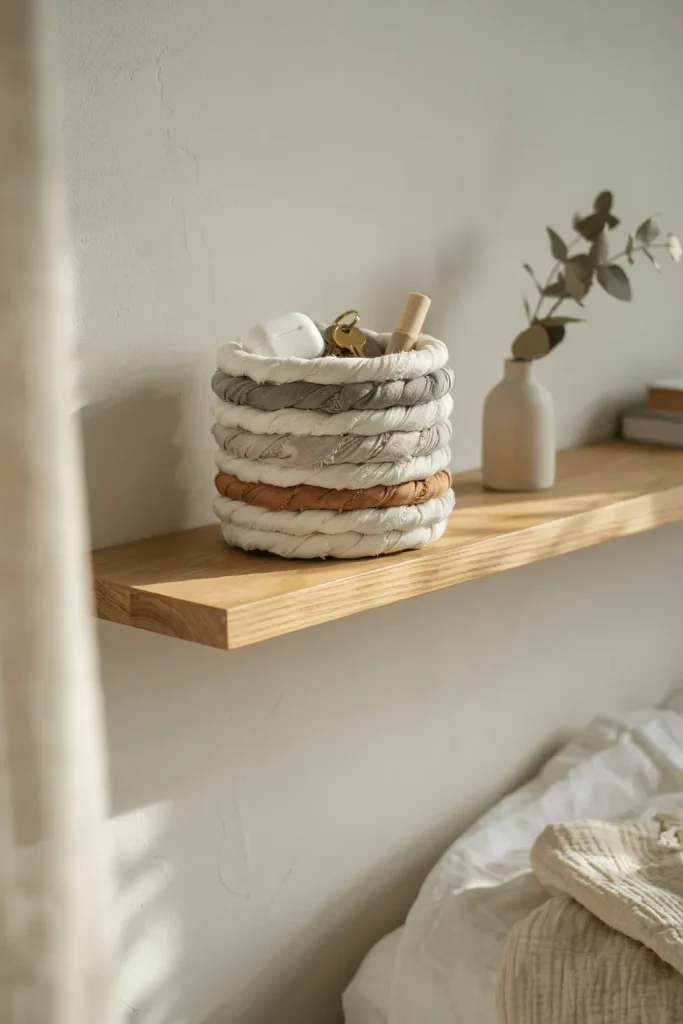
Cut an old t-shirt into a continuous spiral strip. Stretch the strip so the edges curl inward. Now you have t-shirt yarn. Crochet or braid that yarn into a small bowl. No crochet hook? Just braid three strands together and coil the braid into a circle. Sew the coils together with a needle and thread.
This basket sits on your nightstand holding lip balm, earbuds, and loose change. The soft fabric does not scratch your phone screen. And t-shirt yarn does not fray or shed fuzz.
Use a gray t-shirt for a neutral basket. Use a bright orange t-shirt for a pop of color. Cost: one old shirt you were going to throw away anyway.
Idea 15 Brick and Board Floating Desk
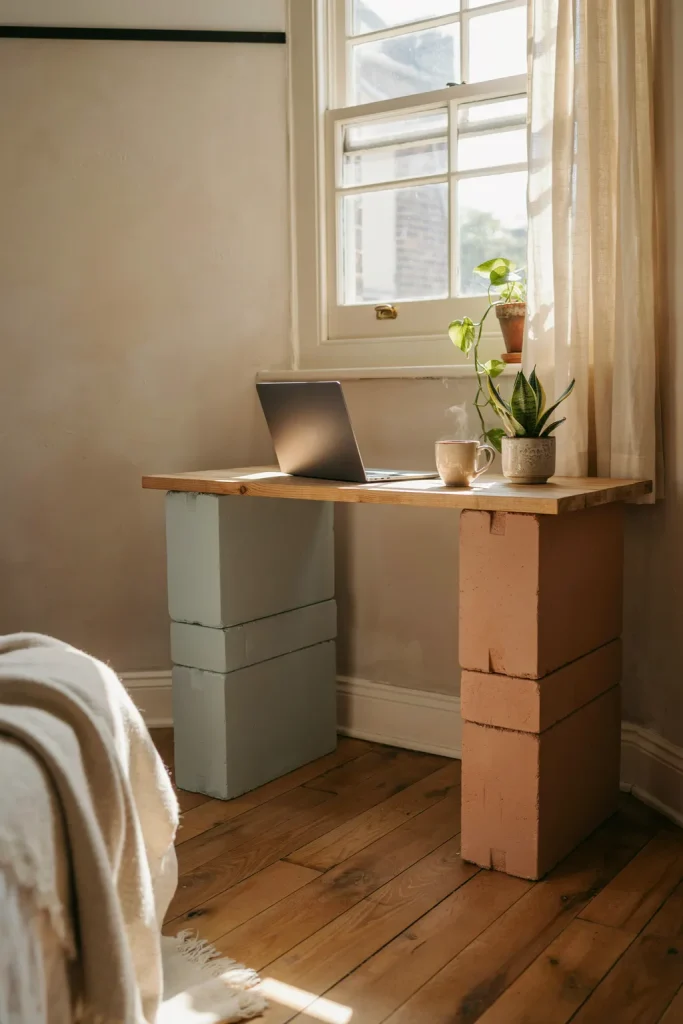
You need a tiny desk for your laptop. But you have no space for a real desk. Get two hollow concrete bricks from a building supply store. Each brick costs about $2. Get one 24-inch pine shelf board for $8.
Stack the bricks on the floor under your window. Lay the board across them. Slide your chair underneath. You just built a floating desk in 90 seconds.
Paint the bricks white so they do not look like construction leftovers. Stain the board dark so it matches your bed frame. The bricks are heavy enough that the desk will not wobble. When you move out, take the bricks to your next apartment. They never break.
This is the cheapest, strongest desk you will ever own.
How to Choose Which DIY Projects to Start With
You cannot build all fifteen this weekend. Pick based on your biggest problem.
If your bedroom feels dead and gray, start with Idea 3 (painted carpet stripes) or Idea 12 (tape wall shapes). Color changes everything.
If your bedroom feels messy and cluttered, start with Idea 8 (shoe box dividers) or Idea 7 (drawer pull jewelry holder). Organization makes a room feel calmer.
If your bedroom feels cheap and hollow, start with Idea 1 (crate nightstands) or Idea 6 (cork headboard). Furniture upgrades fool the eye.
If you have zero tools and zero money, start with Idea 4 (book page art) or Idea 14 (t-shirt basket). Paper and fabric are free.
Do one project. Live with it for a week. Then do another. Small wins build confidence.
Common DIY Mistakes That Ruin a Bedroom
I have seen people try these ideas and fail. Here is what goes wrong.
Using the wrong glue. Hot glue works for rope and fabric. It fails for wood and metal. Use construction adhesive for heavy stuff. Use wood glue for crates.
Skipping the sanding step. Rough edges catch your clothes and skin. Sand everything that touches you. Crate nightstands especially need smooth tops.
Painting over dust. Paint peels off dusty walls. Wipe down every surface with a damp rag before you paint. Wait for it to dry completely.
Hanging heavy things with command strips. Command strips hold 5 pounds max. Use wall anchors and screws for shelves and headboards.
Forgetting about fire safety. Do not hang string lights on curtains or bedding. Keep fabric away from light bulbs. Use LED bulbs only.
Making everything match perfectly. A bedroom that looks like a hotel room feels cold. Leave one drawer pull unpolished. Keep one crate rough. Imperfections make a room feel human.
Tools Every DIY Bedroom Decorator Needs
You do not need a garage full of power tools. Here is the short list.
- Hammer
- Screwdriver with four interchangeable heads
- Measuring tape
- Level (a small one, 12 inches long)
- Sanding sponge (fine grit)
- Hot glue gun and ten glue sticks
- Paintbrush (2 inches wide)
- Scissors that can cut fabric
That is eight items. Most cost under $10 each. Borrow the hammer from a neighbor if you have to. Do not buy a drill until your third or fourth project.
How to Make DIY Decor Last Longer
A homemade nightstand can last years if you treat it right.
Seal raw wood with polyurethane or wax. Unsealed wood soaks up water rings from your water glass. One coat of clear sealer stops that.
Keep painted surfaces out of direct sun. Sunlight fades paint within six months. Move your painted stripe rug away from the window.
Vacuum fabric projects gently. Use the brush attachment, not the spinning beater bar. Sweater pillows cannot handle aggressive vacuuming.
Touch up chips immediately. Keep a small jar of matching paint under your sink. A one-minute fix stops a chip from becoming a flaking disaster.
Do not get DIY furniture wet. Water ruins glue joints and swells particle board. Use coasters. Wipe up spills fast.
Real Talk: When DIY Is Not Worth It
Some things are better bought than built.
Mattress foundations. Building a bed frame is hard. Making it level and squeak-free takes skill. Buy a metal frame for $50 and save your back.
Window curtains. Sewing long straight hems is boring and easy to mess up. Buy cheap curtains from a discount store. Spend your DIY energy elsewhere.
Light fixtures. Wiring is dangerous if you guess wrong. Swap lamp shades, not lamp cords. Leave electrical work to people with licenses.
Large mirrors. Cutting glass at home leads to stitches. Buy a mirror from a thrift store and paint the frame yourself. Do not cut the glass.
Know your limits. A crooked crate nightstand is charming. A crooked electrical box is a fire hazard.
Conclusion
Your bedroom should not feel like a waiting room. It should feel like a hug at the end of a long day. But you do not need a credit card to get there. You need fifteen simple ideas and a Saturday afternoon.
Start with the cheapest fix. Grab an old book and tear out ten pages. Frame them. Hang them. Stand back and feel the difference. That one small win will push you to try the next idea.
Soon you will have crate nightstands holding your phone. Rope lamps glowing soft light. Cork headboards full of memories. And the best part? When friends ask where you bought that shelf, you can say, “I made it from paint sticks.”
That feeling never gets old.
Now turn off your phone. Go find an old sweater. Your bedroom is waiting.