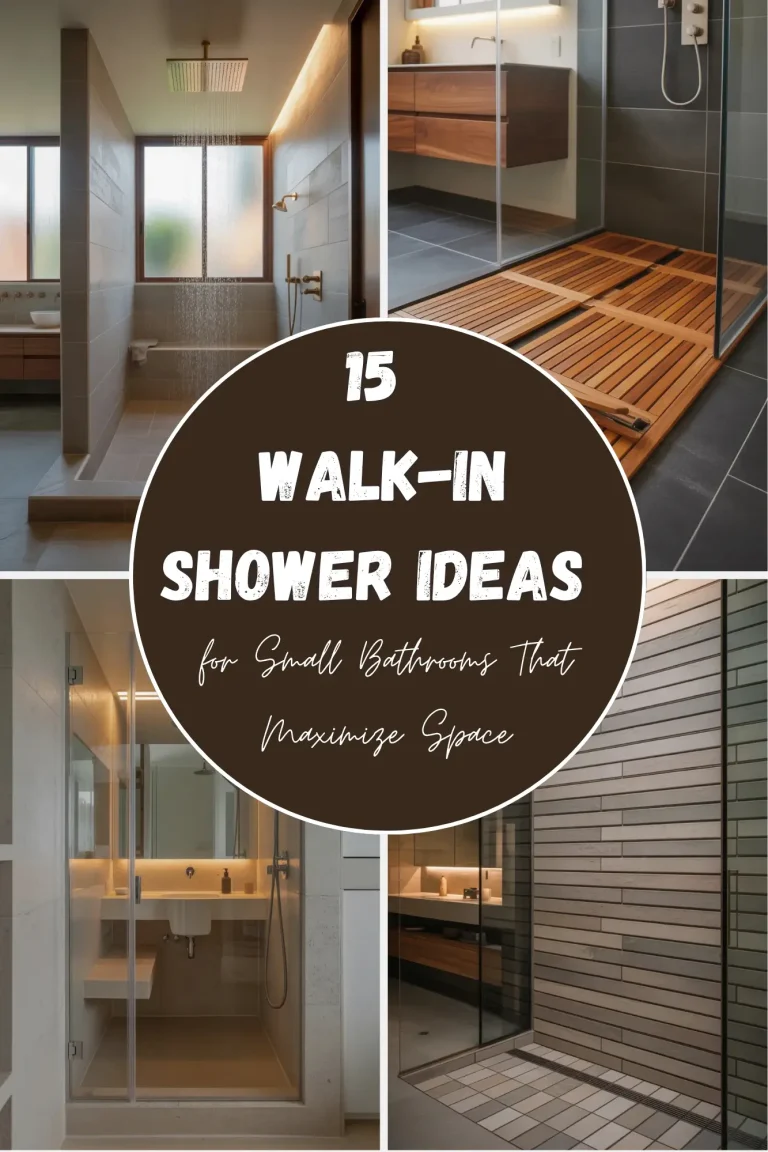
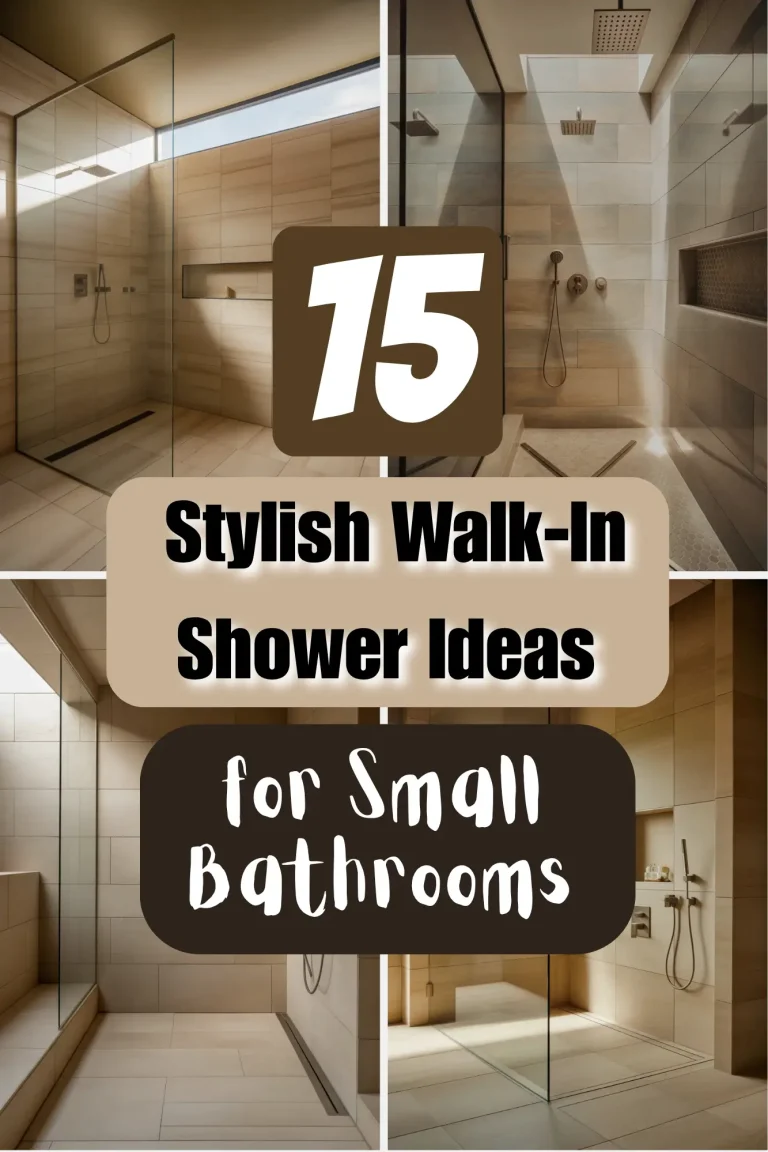
16 Doorless Walk-in Shower Ideas
You step out of the bath, and that squeaky glass door slams behind you. Water spots everywhere. Mold in the track. Your elbow is sore from bumping into the frame one more time. Sound familiar?
What if you could walk right into your shower—no door, no curtain, no hassle?
That is the magic of a doorless walk-in shower. It feels open. It looks clean. And you never scrub another foggy glass panel again.
But here is the real question. How do you build one without flooding your whole bathroom? And how do you make it look like a spa, not a gym locker room?
I have gathered 16 smart, real-world ideas for doorless walk-in showers. Each idea works for small bathrooms, big master baths, or even a basement refresh. You will learn simple tricks to keep water inside, make your space feel bigger, and add style without breaking the bank.
Let us jump right in.
What Makes a Doorless Shower Work?
Before we get to the 16 ideas, you need to know one secret. A doorless shower is not magic. It is science.
Water flows downhill. It also splashes. So a good doorless shower uses three things:
- A floor that tilts toward the drain (not away from it)
- A half-wall or a clever layout that blocks splashes
- A drain that can handle lots of water fast
That is it. No fancy tricks. Build those three pieces right, and your bathroom floor stays bone dry.
Now, let me show you 16 different ways to pull this off.
Idea 1 – The Long Linear Drain at the Entry
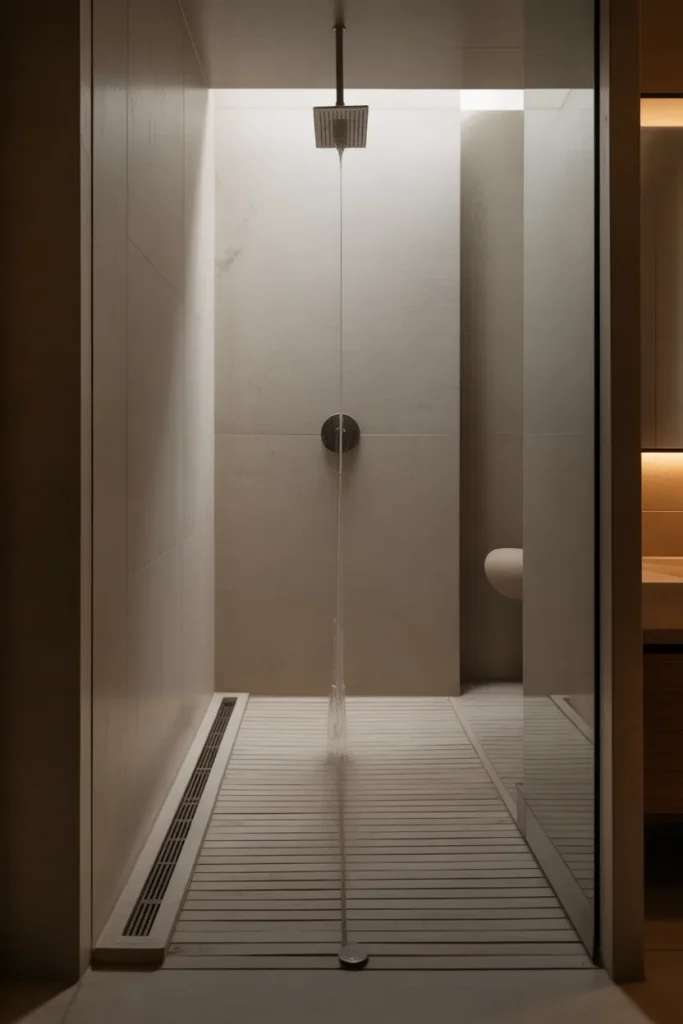
Most showers put a round drain in the middle. That works fine for a closed shower. But for a doorless design, you want a long, skinny drain right where the water wants to escape.
Place it across the entire opening of your shower. Think of it like a tiny river that catches every drop before it rolls onto your main floor.
The floor tiles should tilt gently toward this drain. You barely feel the slope, but water obeys every time.
This idea looks super modern. And you can walk right over the drain without stubbing your toe because it sits flush with the tile.
Idea 2 – The Curbless Entry with a Hidden Slope
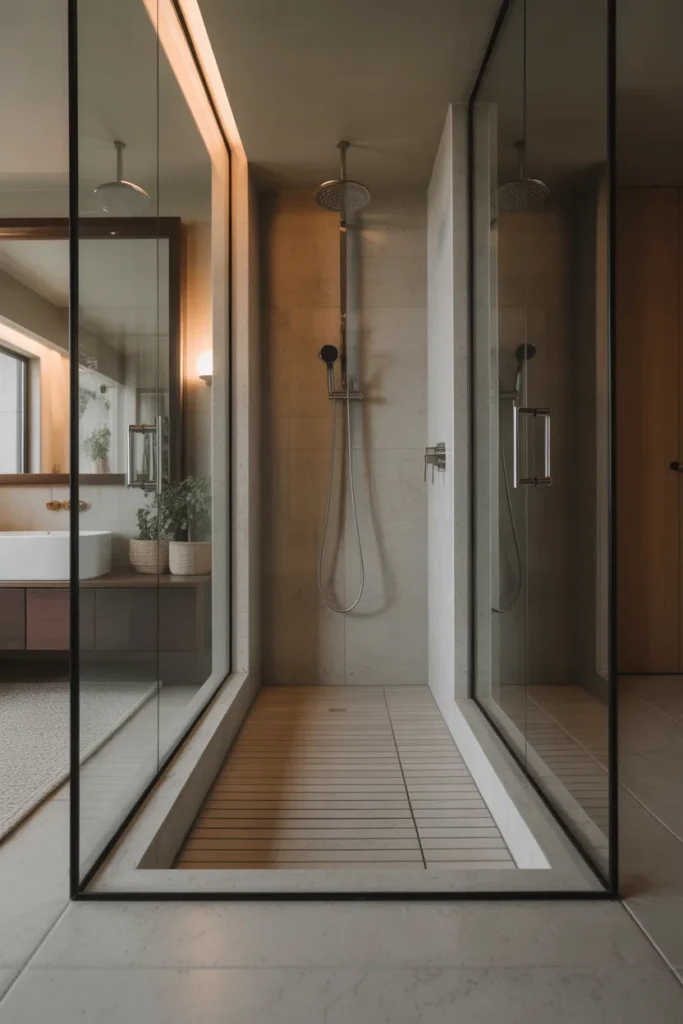
A curb is that little ledge you step over to get into a regular shower. In a doorless shower, you can remove it completely. That means no trip hazard. No ugly lip.
But here is the catch. Without a curb, you need the whole bathroom floor to tilt slightly toward the shower drain. Not just the shower floor.
Many people worry this feels weird to walk on. But a one-percent slope is so tiny you never notice it with your feet. Your level will see it. Your water will follow it. Your brain will forget it.
Pair this with large-format tiles to hide the slope even more.
Idea 3 – The L-Shaped Half Wall

Not every bathroom can have a huge open floor. Sometimes you need something to block splashes from the toilet or a wooden cabinet.
That is where an L-shaped half wall shines.
Build a short wall that comes out from the main wall. Make it about three to four feet tall. Then angle it so it creates a little hallway into your shower.
Water that bounces off your body hits that half wall and drips straight down. No flying mist. No wet toilet paper.
You can top the half wall with a piece of stone or leftover countertop. Now you have a shelf for shampoo too.
Idea 4 – The Wet Room for Small Bathrooms

A wet room sounds fancy, but it just means the entire bathroom floor is one big waterproof zone. The shower is not a separate box. It is just one corner of the room.
You put the drain in that corner. You tile the whole floor with non-slip tiles. Then you add a small glass panel or a half wall near the shower head.
The rest of the bathroom—sink, toilet, maybe a small stool—shares the same floor.
This works amazing for tiny bathrooms because you stop fighting for space. The whole room becomes the shower. And guests always think it looks like a high-end hotel.
Just remember to keep your toilet paper inside a covered holder. Trust me on that one.
Idea 5 – The Roman Bath Feel with Columns
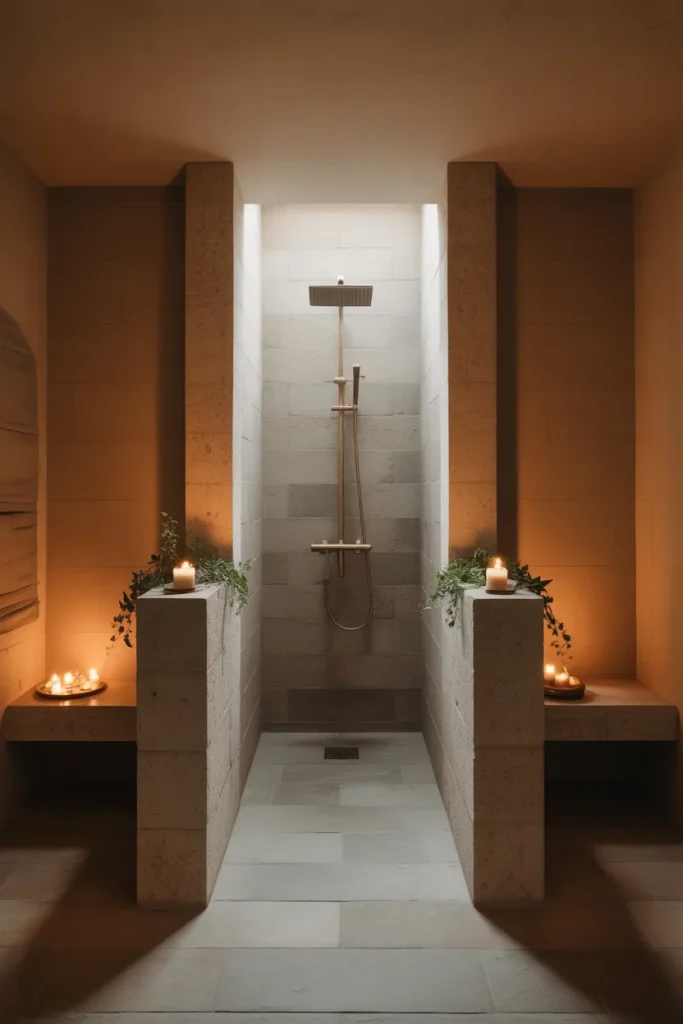
If you love old-world style, steal this idea from Roman baths. Use two short columns to mark the entrance to your shower.
No door. No glass. Just two stone or tile-wrapped columns about three feet tall. They stand like friendly guards on each side of the opening.
Water stays in because you put the shower head at the back wall, pointing slightly away from the open side. The columns also block side splashes.
Top each column with a small plant or a candle. Now your shower looks like a ruin you found in Tuscany. In a good way.
Idea 6 – The Diagonal Shower Head Placement
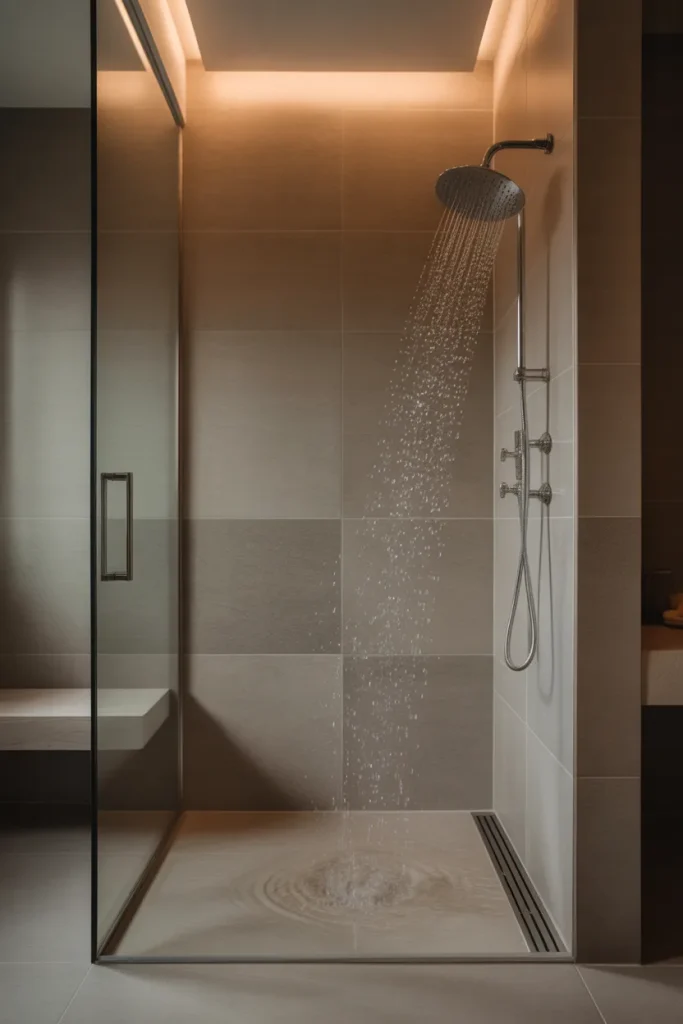
Most people point the shower head straight at the open side of a doorless shower. That is a mistake. Water flies right out.
Instead, put your shower head on a side wall, aiming diagonally toward the back corner.
Think of it like this. You stand near the back wall. Water hits your shoulder and most of it runs down your body to the drain behind you. The rest hits the back wall and drips down.
Very little water ever heads toward the open side. This simple angle change fixes eighty percent of splash problems without any walls or glass.
You can use a handheld shower head for even more control. Aim it exactly where you want.
Idea 7 – The Ceiling-Mounted Rain Shower
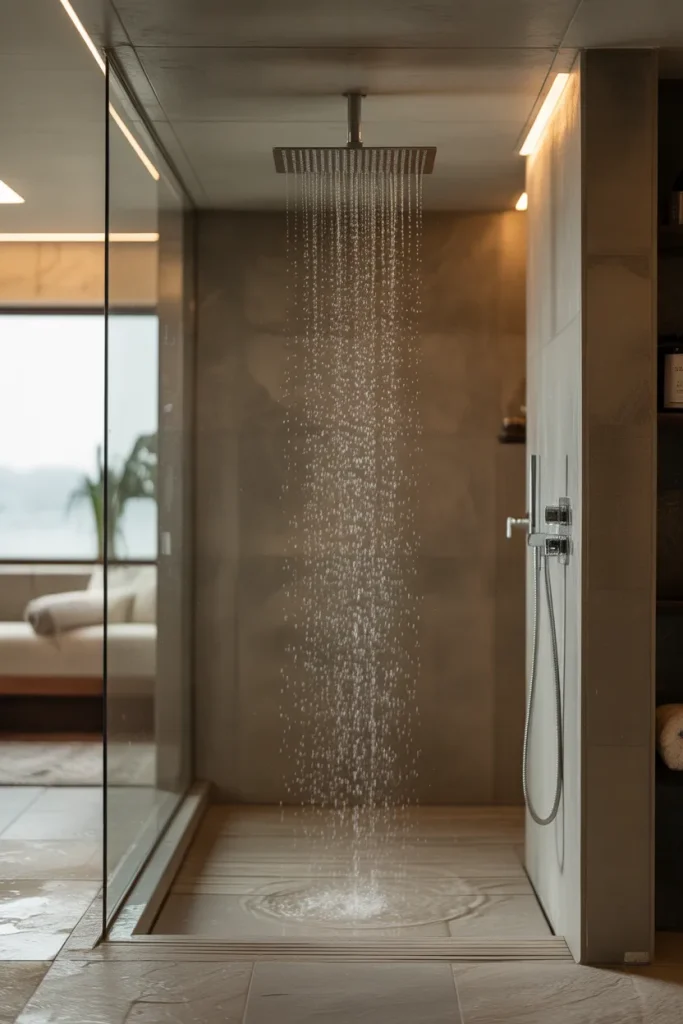
A rain shower head drops water straight down from above. This changes everything for a doorless design.
Because the water falls vertically, it does not shoot sideways. There is almost no horizontal spray. You stand under a gentle waterfall, and every drop goes right down the drain.
You still need a slope and a good drain. But you can skip almost all splash-blocking walls.
The only catch is water pressure. Rain showers need good pressure to feel satisfying. If your home has weak pressure, add a booster pump or choose a different idea.
Idea 8 – The Pebble Floor for Grip
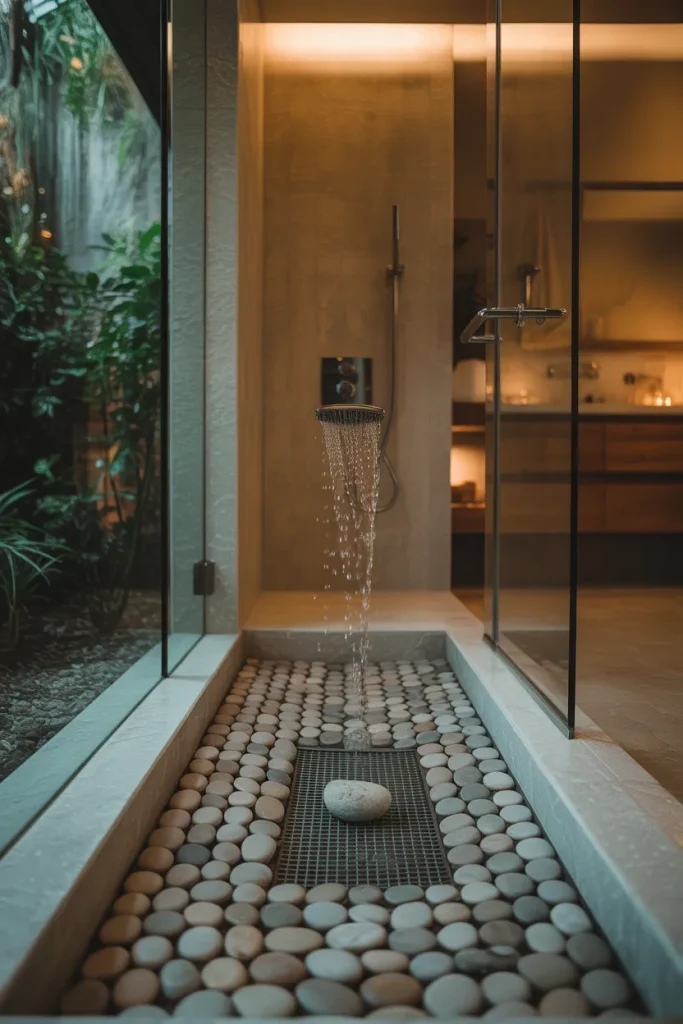
Doorless showers mean no door to hold onto when you step in. So the floor needs to feel safe under wet feet.
Pebble tiles are small, smooth stones set into mesh sheets. They feel amazing. Water flows between the stones. And your feet grip them naturally because the surface is never perfectly flat.
This is not just a safety trick. It also looks like a creek bed. Your shower becomes a little nature escape.
But pebble floors need more cleaning because stuff can hide between stones. Use a brush once a week, and you are fine.
Idea 9 – The Niche Wall as a Splash Guard
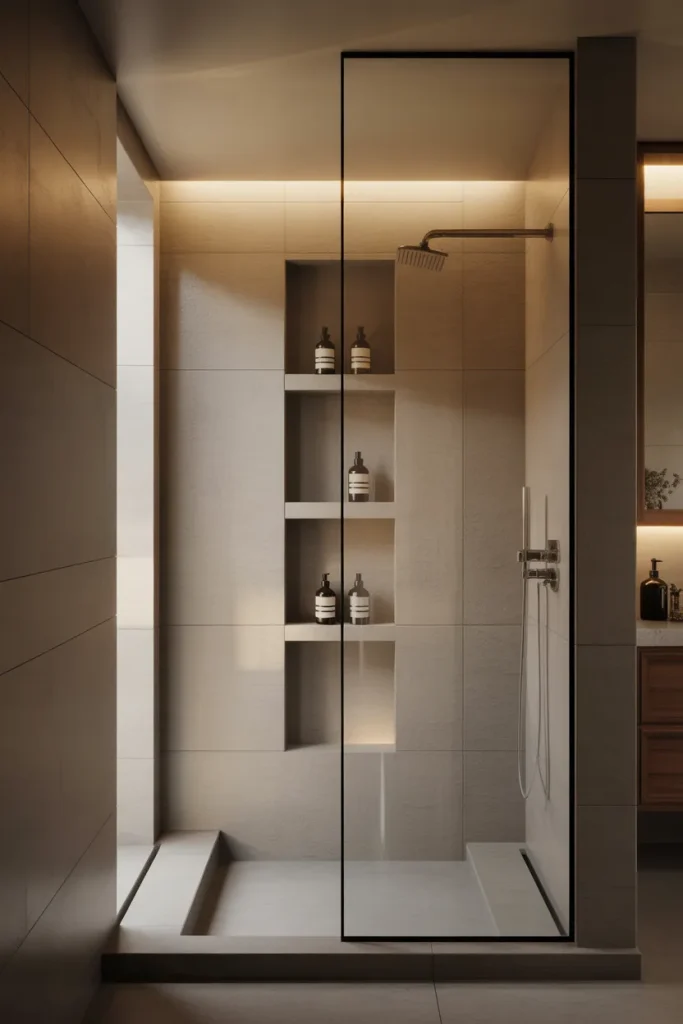
A shower niche is a little shelf cut into the wall for soap and shampoo. In a doorless shower, you can use a big niche as a splash blocker.
Build the niche on the side closest to the opening. Make it tall and shallow. The niche itself does not block water, but the wall around it does.
Better yet, place the niche so you have to reach past a small wall section to get your soap. That small wall section blocks splashes.
You get storage and water control in one move. That is what smart design looks like.
Idea 10 – The Folding Teak Bench
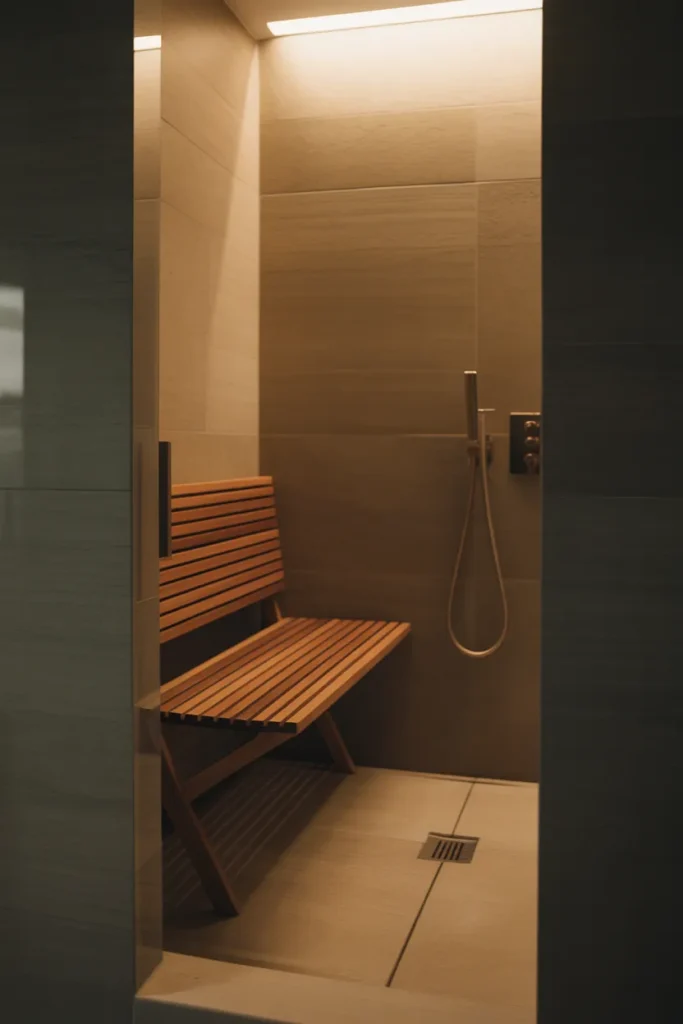
A bench inside a doorless shower serves two jobs. First, you can sit down to shave your legs or wash your feet. Second, it blocks splashes.
Put the bench on the side nearest the open entry. It does not have to be a full wall. Just a twelve-inch deep teak bench acts like a speed bump for flying water.
Teak is perfect because water does not rot it. And it feels warm under your body, unlike cold tile.
When you do not need the bench, fold it flat against the wall. Now you have a wide-open path again.
Idea 11 – The Offset Opening
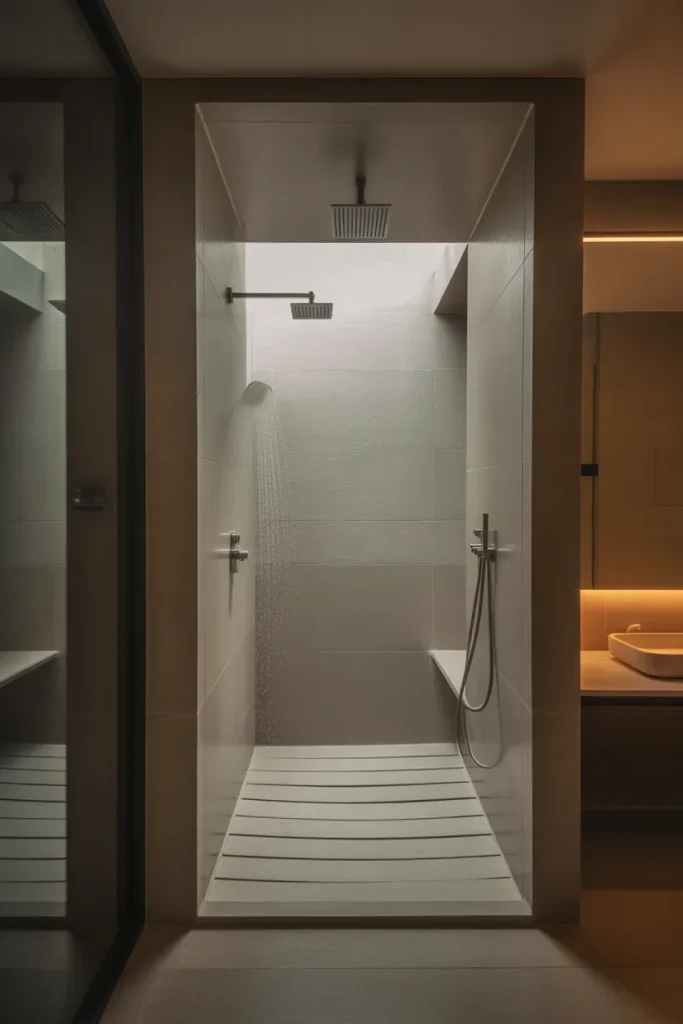
Most people center the opening to a doorless shower right in the middle. That is the worst spot.
Why? Because water from the shower head hits your body and sprays equally in all directions. Some of that spray goes straight out the middle of the opening.
Instead, put the opening off to one side. The shower head goes on the opposite side.
Now imagine you walk in, turn sideways, and stand with your back to the closed part of the shower. The open gap is behind your side. Water sprays away from the gap.
This tiny layout change is free. You do not build anything different. You just choose a different spot to cut the opening. And it works like a charm.
Idea 12 – The Textured Tile Path
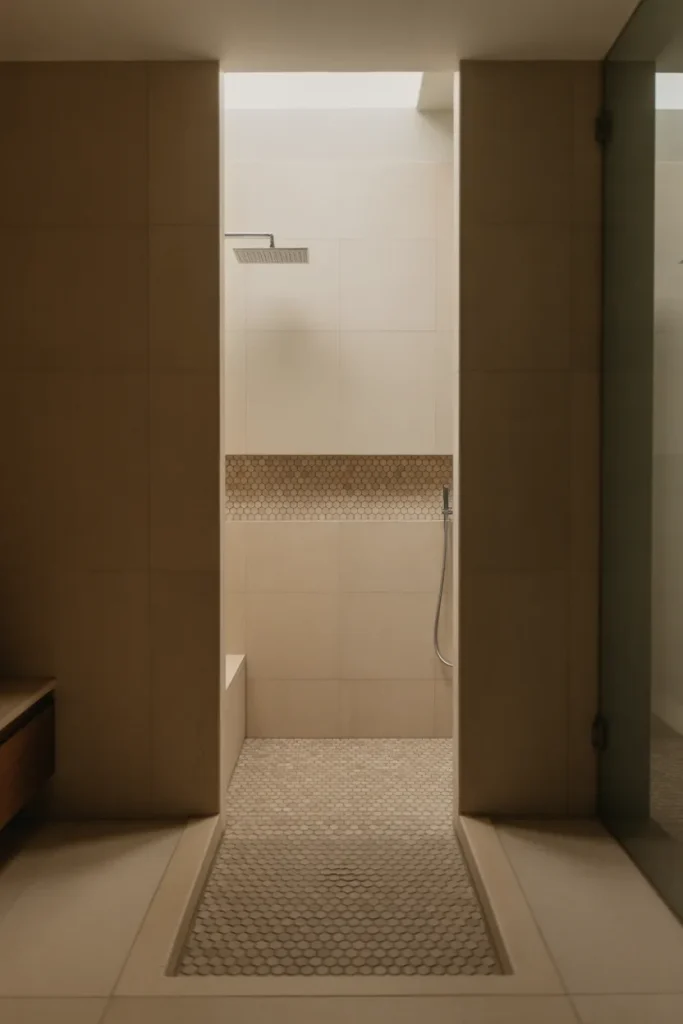
A doorless shower often flows right into the main bathroom floor. But if both floors use the same smooth tile, water can creep out before you even notice.
Break that connection with a textured tile path. Use a strip of rough, grippy tiles right at the shower exit. These tiles create a tiny lip—not a real curb, just a change in texture.
Water slows down when it hits rough tiles. And your foot feels the texture change, so you know you are stepping out of the wet zone.
Pick a mosaic or a small hexagon tile for this strip. It looks like a design feature, not a mistake.
Idea 13 – The Glass Wing on One Side
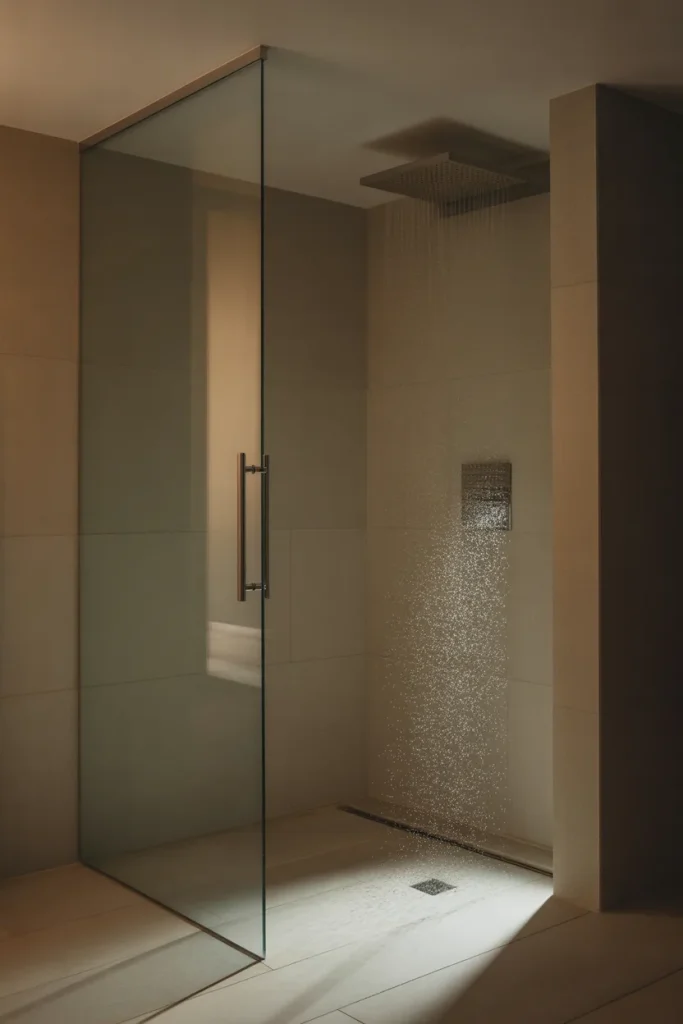
I know I said no doors. But a single fixed glass panel is not a door. It does not swing. It does not have hinges or handles or tracks that grow mold.
A glass wing is just a rectangle of glass bolted to one wall. It sticks out about two or three feet.
You walk around it to enter the shower. The glass blocks splashes from one side while leaving most of the shower open to the room.
This gives you the best of both worlds. You see the pretty tile through the clear glass, but your floor stays dry. And cleaning is easy because only two edges touch anything.
Idea 14 – The Sunken Shower Floor
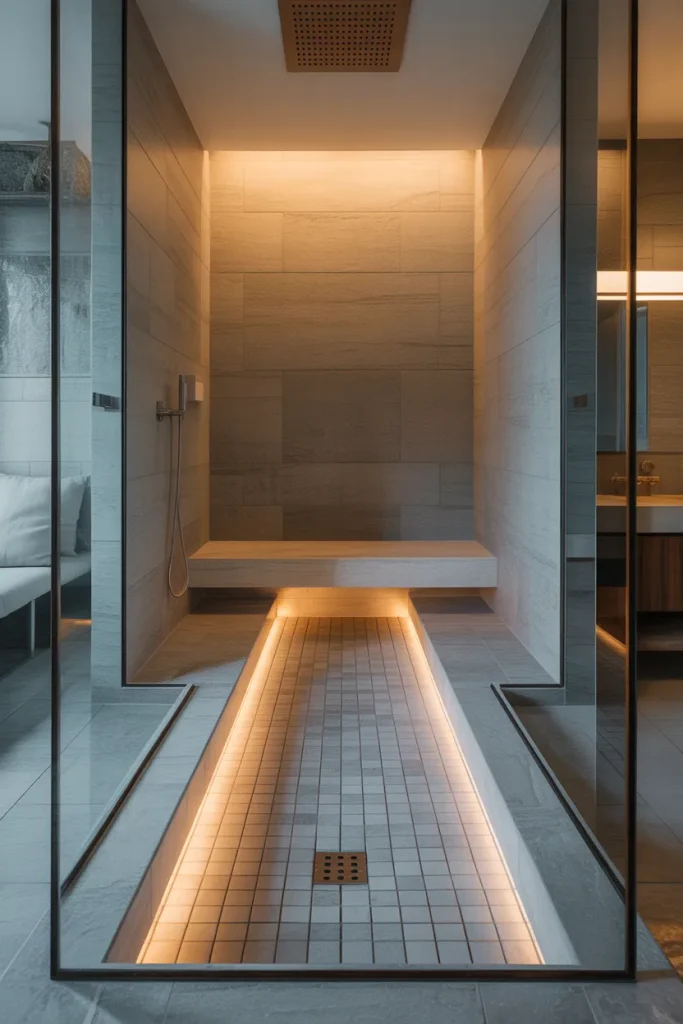
Want to be absolutely sure no water escapes? Drop the entire shower floor down by one inch.
That is called a sunken shower. You step down into it. The main bathroom floor is higher, so water would have to flow uphill to get out. And water never flows uphill.
This feels amazing. You literally step down into a different world. The lower ceiling above the shower (if you have one) makes the space feel cozy.
The only downside is building it. You need to cut into your floor joists or build a step up into the rest of the bathroom. Not a weekend project for most people. But for a forever home? Totally worth it.
Idea 15 – The Curved Wall for Style
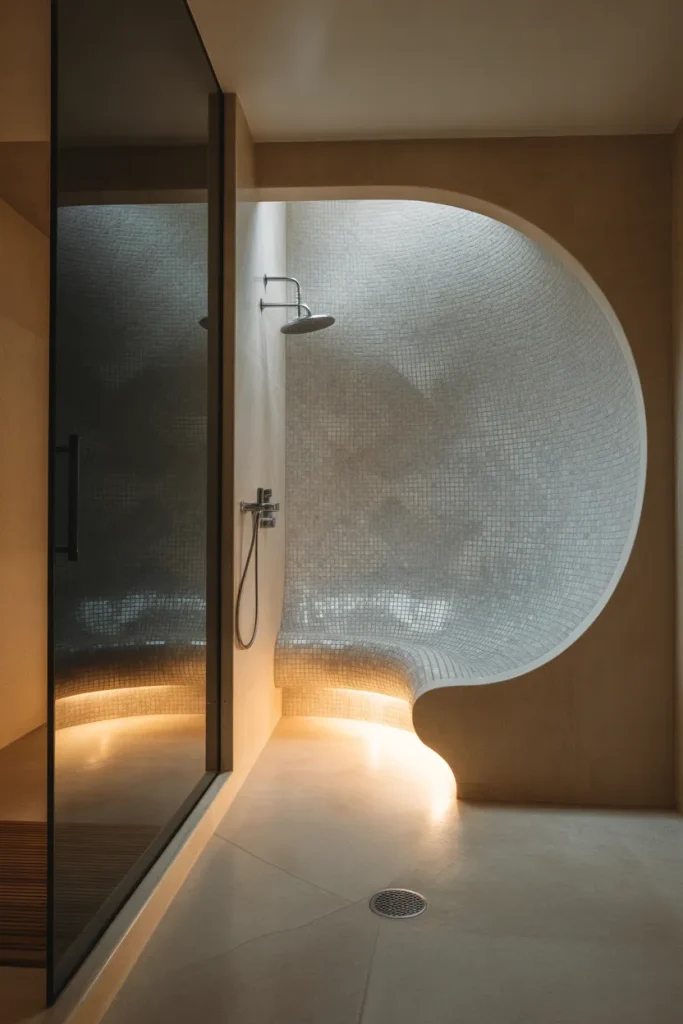
Straight walls are boring. A curved wall turns your doorless shower into art.
Build a half-circle wall that wraps partway around the shower area. The opening is a gentle curve rather than a sharp corner.
Curved walls push water back toward the center better than straight walls. Water hits the curve and slides sideways, not straight out.
You can buy pre-made curved shower walls made of waterproof foam. Cover them with small mosaic tiles that bend easily. The result looks like something from a futuristic movie.
Idea 16 – The Double Drain System
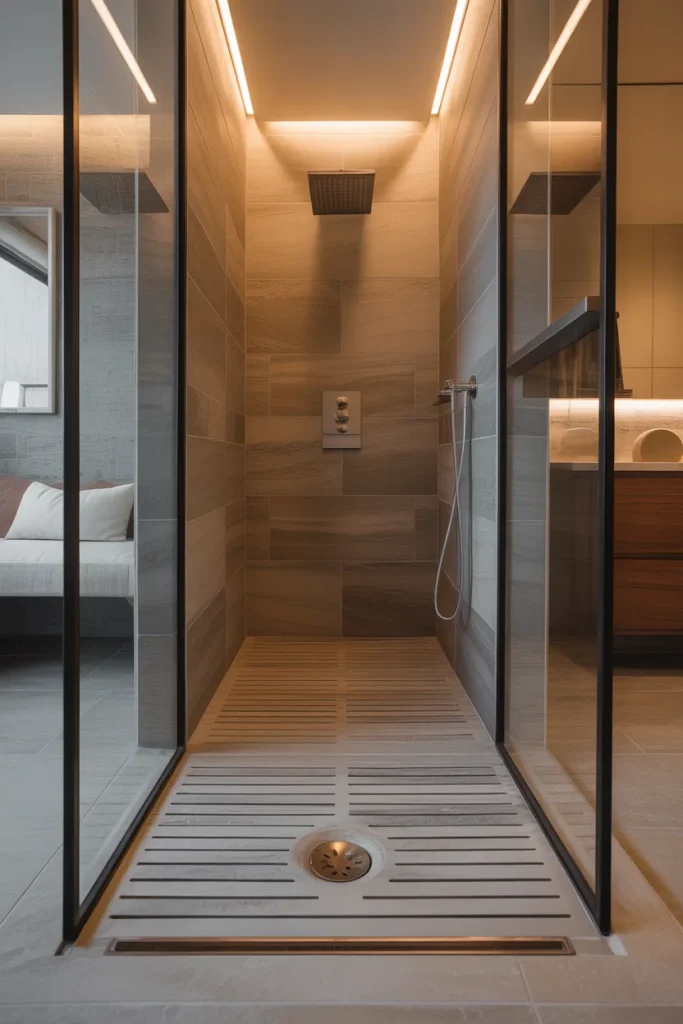
Most showers have one drain. That is fine until someone leaves the shower head pointing at the open side. Then water races out before the one drain can catch it.
A double drain system uses a second drain right at the entry threshold. This second drain is just a small, hidden channel that catches any escapees.
You will never see the second drain if you cover it with a matching tile grate. But it works silently, sucking away those last few drops that try to run onto your dry floor.
This is overkill for most bathrooms. But if you have kids who love to splash, or if you are a little clumsy like me, double drains give you peace of mind.
How to Pick the Right Idea for Your Home
You now have sixteen solid ideas. But which one fits your life?
Ask yourself three questions.
First, how much space do you have? A wet room works great for tiny bathrooms. A sunken floor needs more room to build safely.
Second, who uses the shower? Older adults or people with bad knees should avoid sunken floors and curbs. Stick with a curbless entry and a long drain.
Third, what is your style? If you love modern, go with the linear drain and glass wing. If you love cozy, pick the pebble floor and teak bench.
Mix and match too. You can put a diagonal shower head inside a curved wall with a pebble floor. The best doorless showers combine two or three of these ideas.
Common Worries (And Why They Should Not Stop You)
People always ask me the same fears about doorless showers. Let me put those fears to rest.
Will my whole bathroom get wet?
No, if you build it right. Use one of the splash-blocking ideas above. The half wall, the diagonal shower head, or the glass wing will stop 99 percent of stray water.
Is it cold without a door?
Yes, a little. But you can fix that with a heated floor or a ceiling-mounted heat lamp. Or just enjoy the fresh air. Many people find open showers less stuffy than glass boxes.
Does it cost more?
Sometimes. A linear drain costs more than a round drain. Waterproofing the whole floor adds labor. But you save money by not buying a glass door, which can cost a thousand dollars or more. In the end, it often evens out.
Can I convert my existing shower to doorless?
Maybe. If your current shower has a curb and a swinging door, you can remove both. But you might need to redo the floor slope and move the drain. Call a tile pro for a quote. It is cheaper than a full remodel.
What to Avoid at All Costs
I have seen doorless showers fail. Here is what kills them.
Flat floors. If your floor does not slope toward the drain, water will find the lowest spot. That spot might be your hallway.
Cheap drains. A four-inch round drain cannot keep up with a rainfall shower head. Spend extra on a long channel drain or a large square drain.
Wrong tile. Smooth, polished marble looks expensive. It also gets slippery as ice when wet. Use matte, textured, or small tiles for the shower floor.
Forgetting the toilet. If your toilet sits near the open side of the shower, move it or build a higher half wall. Nobody wants a wet toilet seat.
A Simple Step-by-Step to Build Your Own
You do not need to be a contractor to plan a doorless shower. Just follow these steps.
One, pick your location in the bathroom. Choose a corner or an alcove with two existing walls.
Two, decide where the opening goes. Put it on the side away from the toilet and cabinets.
Three, choose your drain style and location. Long drains go at the opening. Round drains go in the back corner.
Four, plan your floor slope. For a long drain, slope everything toward it. For a round drain, slope from all sides like a shallow bowl.
Five, add a splash block. That could be a half wall, a glass wing, or a bench.
Six, pick non-slip tiles for the floor. Save smooth tiles for the walls.
Seven, install a shower head that points away from the opening or straight down.
Eight, test it with a bucket of water before you tile. Pour water all around. Watch where it goes. Fix any puddles.
Nine, tile everything. Grout well. Seal the grout.
Ten, enjoy your first doorless shower. Leave the fake glass door guilt behind forever.
Real People, Real Doorless Showers
I talked to three homeowners who made the switch. Here is what they said.
Maria in Phoenix turned her cramped tub-shower combo into a doorless wet room. She said, “I used to hate cleaning the folding shower door. Now I just squeegee the wall for ten seconds. My bathroom looks twice as big.”
Tom in Ohio built a curbless shower with a linear drain after his hip surgery. He said, “No step to trip over. I roll my shower chair right in. My wife wishes we did this ten years ago.”
The Lee family in Seattle added a glass wing and a teak bench. Their two young kids love the open shower. Mrs. Lee said, “No more fights over who left the door open. There is no door. Best parenting hack ever.”
Final Costs and Budget Tips
A doorless walk-in shower costs between two thousand and eight thousand dollars if you hire pros. That includes ripping out the old shower, moving the drain, waterproofing, tiling, and adding a glass wing or half wall.
Doing it yourself cuts the price in half. The hardest part is sloping the floor. Buy a pre-sloped shower pan made for doorless designs. That costs about three hundred dollars but saves you days of frustration.
Save money by skipping glass altogether. Use a half wall made of painted wood (waterproofed well) or tile over concrete blocks. Wood half walls cost under one hundred dollars.
Spend money on the drain and the waterproof membrane. Those two things determine if your shower works or fails. Cheap drains clog. Bad waterproofing rots your subfloor.
The Bottom Line
A doorless walk-in shower is not a trend. It is a smarter way to bathe. You get more space, less cleaning, and a cleaner look. And you never fight a sticky sliding door again.
The sixteen ideas I shared give you a starting point. Pick one that fits your budget and your bathroom size. Add a second idea if you want extra safety. Mix and match until it feels right for your family.
Start small if you are nervous. Just change your shower head to a rain style and aim it straight down. That alone reduces ninety percent of splashes. Then add a long drain when you have more money.
Your bathroom should work for you, not the other way around. A doorless shower puts you back in control. No doors to wipe. No tracks to scrub. No elbows to bruise.
Just you, warm water, and an open space that feels like a deep breath.
Conclusion
You have seen sixteen real ways to build a doorless walk-in shower. From long drains and curved walls to pebble floors and offset openings, each idea solves the same problem—keeping water where it belongs while getting rid of a clunky door.
The best part? You do not need a huge budget or a giant bathroom. A small wet room fits in forty square feet. A diagonal shower head costs nothing to try. A folding teak bench adds safety and style for under two hundred dollars.
Pick one idea that excites you. Draw it on paper. Call a tile installer or watch a few videos. Then take that first step into a shower that welcomes you instead of boxing you in.
No door. No limits. Just clean, simple, smart design.
Now go enjoy your next shower. You have earned it.